

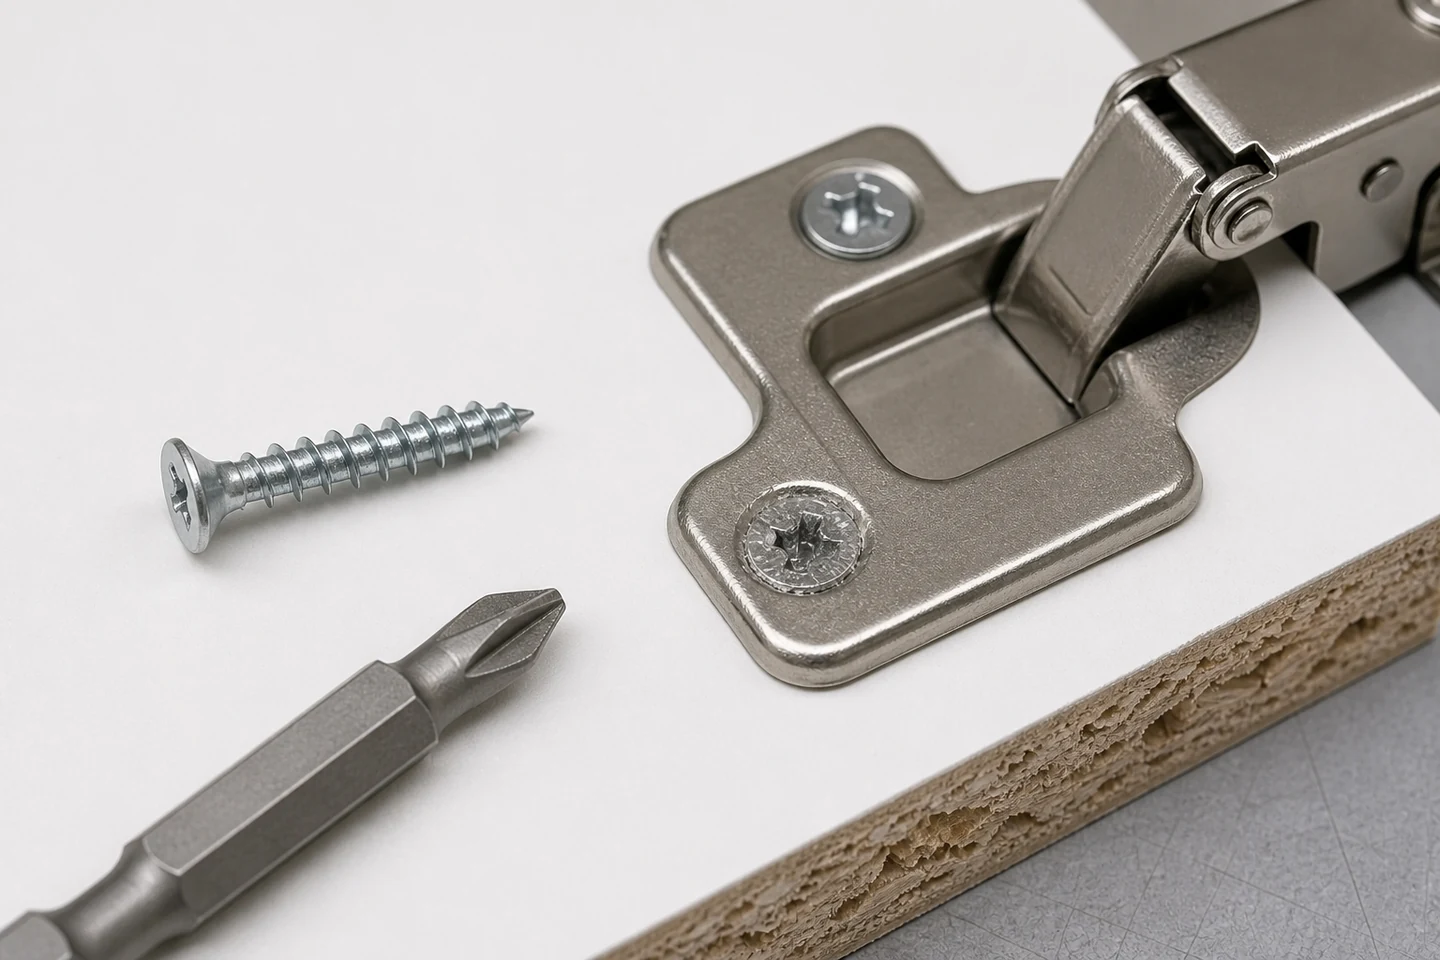
When a chipboard screw head strips, the recess can no longer transfer the required drive force in a controlled way. The damage may begin with a worn or incompatible bit, shallow engagement, angled driving, excessive speed, a blocked hardware hole, high insertion resistance, over-tightening, or a recess already damaged during handling.
Stop after the first repeatable slip. Repeated attempts round the recess further and remove evidence about when contact was lost.
Record the stage where stripping began
Separate starting, thread engagement, hardware clamping, countersink seating, and final tightening. A slip during the first turns suggests fit or alignment; a slip near final clamp may indicate rising resistance, hardware interference, stripped board material, or a tightening stop beyond the useful window.
Photograph the screw in place, the hardware, pilot or entry location, bit, tool setting, and connected parts before extraction.
Build a recess-contact set
Keep the stripped screw, an unused screw from the same lot, the suspect bit, and a confirmed fresh compatible bit. Seat the disconnected bits by hand and compare engagement depth, rotational play, contact marks, chips, and debris.
| Contact clue | Possible direction | Next check |
|---|---|---|
| Polish only at recess tips | Shallow or incompatible engagement | Confirm driver type and size |
| Damage concentrated on one side | Angled tool or screw | Review access and alignment |
| Fresh bit fits unused screw only | Event damage or incoming recess variation | Compare documented samples |
| Both bits slip near final seating | Joint resistance or tightening stop | Inspect pilot, hardware, board, and torque stage |
Map the drive window through the joint
On representative board and hardware, record tool setting and result through several controlled stages. Observe thread entry, pull-down, hardware contact, surface compression, and the point where additional rotation no longer improves clamp. Use the approved tightening method rather than driving until the sound changes.
Keep screw, pilot, board lot, edge distance, hardware, bit, alignment, and operator fixed while changing one drive variable.
Inspect resistance below the head
Check pilot preparation, hole alignment through hardware, board density and damage, screw diameter and length, thread engagement, countersink fit, and whether connected parts close without forced bending. A screw can have a sound recess and still strip if the joint demands excessive drive force.
Verify that the head seats against the intended hardware surface rather than binding on an edge or undersized hole.
Control bit condition and tool alignment
Replace bits according to a defined wear limit, clean the holder, and confirm full retention. Hold the driver on the screw axis with stable axial contact. Limited access around hinges or brackets may force an angle; change the assembly method or approved tool access rather than accepting repeated cam-out.
Higher speed or impact is not a universal correction. It can reduce the time available to stop at clamp and accelerate recess, hardware, board, and thread damage.
Plan extraction and repair before another attempt
A stripped head may require a controlled extraction method that protects the hardware and board. After removal, inspect the hole for lost particle support and determine whether the original screw, a verified repair system, a relocated fixing, or component replacement is appropriate.
The limitation is important: a drive-window sample does not establish final joint capacity, furniture life, screw conformity, or suitability for every board and tool. Those conclusions require the applicable design and validation requirements.
Review the Chipboard Screw category and the broader screw range. Send screw and bit references, board and hardware details, pilot preparation, tool settings, drive-stage notes, and recess photographs through the inquiry page when a chipboard screw head strips.
FAQ
Can a stripped chipboard screw be driven with a larger bit?
A different bit may engage damaged material unpredictably and can worsen the recess. Use the approved extraction or repair method after recording the condition.
Does a stripped head mean the board hole is also stripped?
No. Recess damage and loss of thread support are different conditions, although both can occur in one event. Inspect the screw and receiving hole separately.
Will a lower clutch setting prevent every stripped screw head?
It may help control final tightening, but driver fit, alignment, speed, pilot, hardware interference, screw geometry, and joint resistance must also be correct.
A controlled drive window makes chipboard screw head strips easier to prevent and separates interface damage from board-hole failure.





