

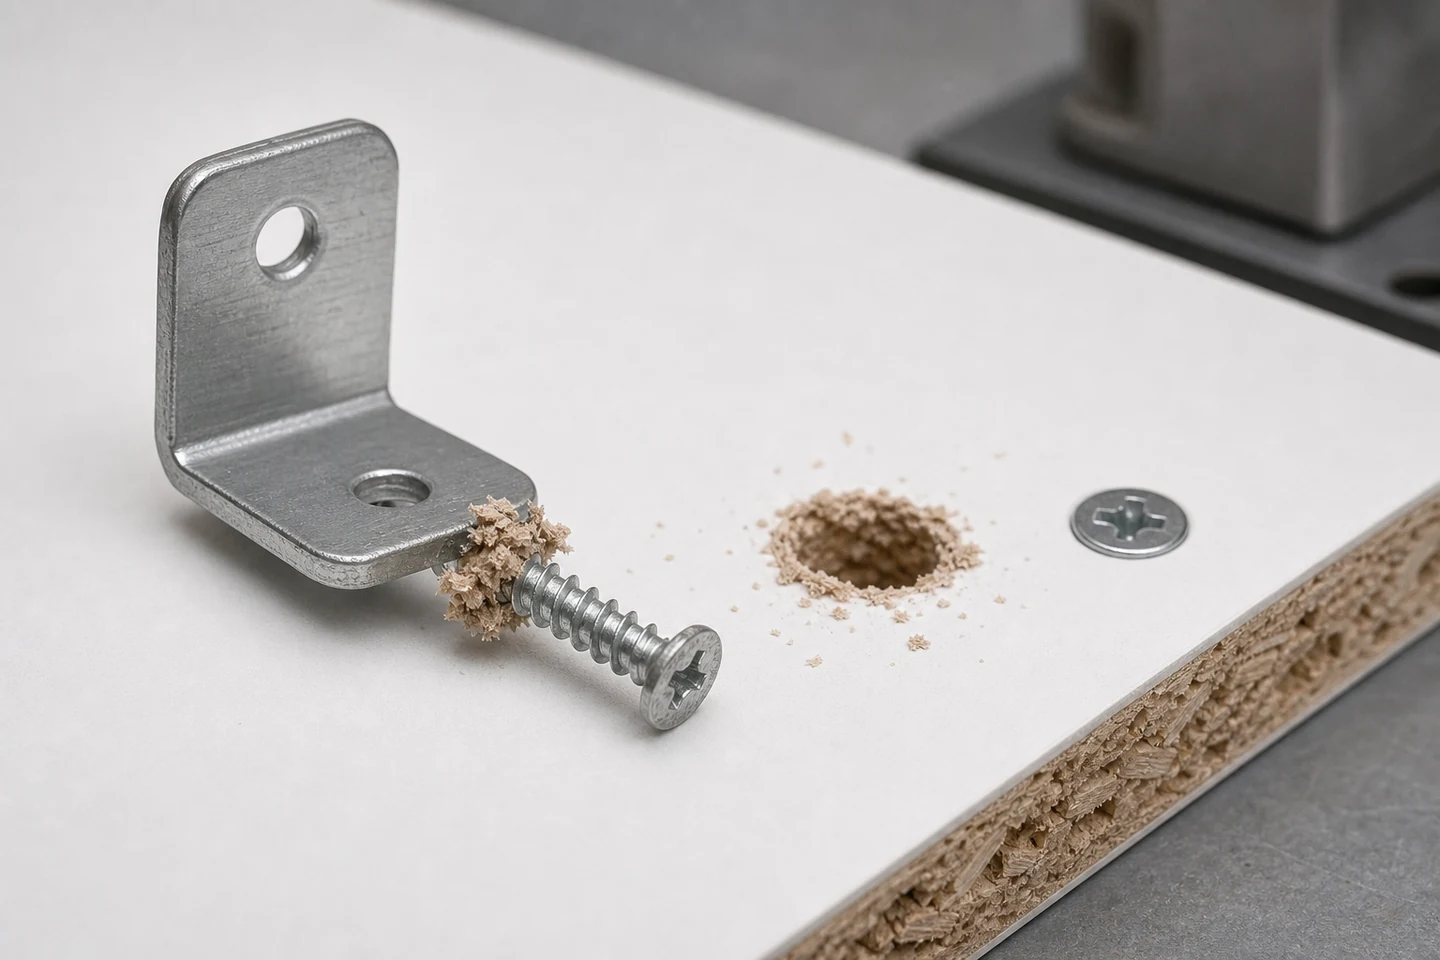
When a chipboard screw pulls out under load, the material attached to the threads and the shape of the remaining hole show how support was lost. The failure may involve a particle breakout cone, stripped thread track, insufficient engagement, installation damage, edge proximity, hardware leverage, repeated cycling, moisture change, or a load outside the intended joint path.
Do not brush particles away or reinsert the screw. Photograph the loaded orientation, bracket position, screw, hole, board edge, and nearby fixings before handling.
Record load and displacement before final pullout
Where the event occurs in a controlled test, log load, direction, application point, rate, joint movement, and the stage when permanent displacement begins. In service, document the product action, frequency, impact, vibration, and time first noticed.
A final pullout value without the movement history cannot show whether the joint gradually loosened, the board cracked suddenly, or hardware leverage changed during the event.
Read the failure cone and hole wall
| Hole evidence | Possible mechanism | Next comparison |
|---|---|---|
| Large particles attached to threads | Breakout of receiving material | Board density, engagement, edge distance |
| Smooth enlarged thread track | Progressive stripping or cycling | Installation and service history |
| Crack reaches board edge | Limited edge margin or leverage | Geometry and load direction |
| Surface crushed under hardware | Clamp loss or bracket rotation | Head bearing and hardware fit |
Measure the engagement that actually remained
Record screw diameter, length, head, thread, pilot preparation, hole depth, board thickness, laminate, hardware thickness, and how much thread entered sound core material. Subtract voids, damaged zones, countersinks, and hardware clearance rather than using total screw length as engagement.
Compare a stable fixing from the same assembly where the procedure permits. Positions may differ because of edges, previous holes, board density, or load distribution.
Photograph and retain the particles still attached to the threads. Their size, laminate fragments, compression, and orientation can help distinguish a compact pullout cone from gradual wear that produced fine loose material.
Separate installation damage from service damage
Review the original tightening method. Excessive installation torque can strip particles while the hardware still feels tight; insufficient clamp can allow movement that enlarges the hole during service. Misaligned hardware can add prying load before the product is used.
Keep installation samples and cycled samples separate so the first point of damage can be identified.
Map hardware leverage and shared load
Measure the distance from the applied load to the fixing group and note which screw begins to lift first. Check bracket stiffness, slot clearance, number and spacing of screws, connected-part movement, and whether the load changes direction. One screw may carry more than an equal share.
A larger screw is not a universal correction. It changes hole expansion, edge margin, hardware clearance, and board stress, and must be verified in the actual joint.
Choose repair from the remaining material
Possible approved responses may include a purpose-designed insert, relocated fixing, different hardware, replacement panel, or redesigned load path. The pulled hole should be evaluated before selecting a repair that removes more material or transfers load toward an edge.
The limitation is scope: a single pullout event or bench test does not establish furniture life, structural safety, board-lot conformity, or suitability for every load case. Those conclusions require the applicable design and validation program.
Review the Chipboard Screw category and the broader screw range. Send board and screw references, hardware geometry, pilot and tightening method, load history, displacement record, and hole photographs through the inquiry page when a chipboard screw pulls out under load.
FAQ
Does screw pullout mean the chipboard is defective?
Not by itself. Engagement, pilot preparation, torque, edge distance, hardware leverage, load, cycling, moisture, previous damage, and board condition all affect the result.
Can the same hole be reused after a screw pulls out?
The remaining material is likely changed and may not provide the original support. Use only an approved repair verified for the joint and board condition.
Will a longer screw always increase pullout resistance?
Only sound receiving engagement is useful. Extra length may enter a void, leave the panel, approach an edge, or create other risks without correcting installation and load-path problems.
Reading the hole and load history makes chipboard screw pulls out under load a joint-design investigation rather than a simple replacement decision.





