

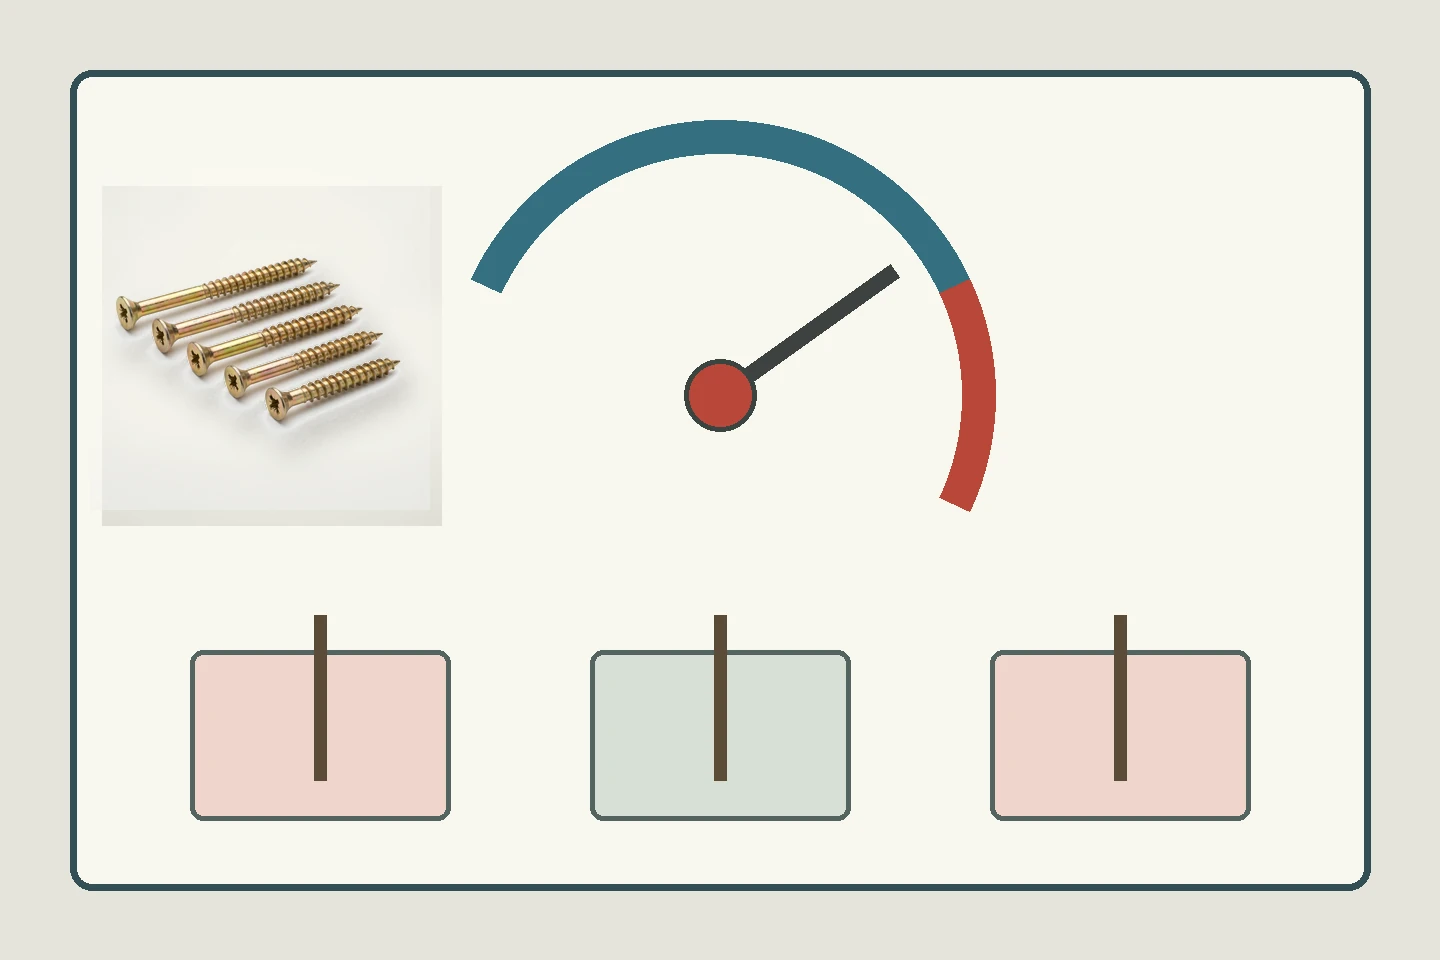
A chipboard screw torque test for furniture should separate the torque needed to seat the joint, the production setting that closes it consistently, and the torque at which the board, recess, head, or thread path fails. One maximum number cannot describe all three boundaries.
ProAirNails recommends testing the actual board, pilot-hole route, screw, mating part, tool, and assembly direction. A screw that performs well in a dense laboratory block may behave differently near a laminated panel edge or after a consumer reassembles the joint.
Define the joint outcome before recording torque
State what “seated” means: head position, gap closure, bracket contact, surface condition, alignment, and allowable movement. Define failure events separately, including recess cam-out, head break, thread stripping in the board, board splitting, surface bulge, insert rotation, hardware deformation, and continued turning without added clamp.
Use three torque windows
The seating window describes where the intended joint closes. The process window gives the tool setting and expected variation used in production. The failure window begins where unacceptable damage or loss of engagement occurs. A practical setting needs separation from both incomplete seating and the earliest credible failure.
| Window | Primary observation | Release question |
|---|---|---|
| Seating | Gap, head position, surface, alignment | Has the joint reached its intended geometry? |
| Process | Tool output, operator result, repeatability | Can production stay inside the safe range? |
| Failure | Strip, split, cam-out, break, deformation | What is the first unacceptable boundary? |
| Removal | Breakaway and retained material | What changed after dwell or service? |
| Reassembly | Second-cycle seating and damage | Can the intended reuse scenario be supported? |
Lock down the board and pilot-hole variables
Record panel type, supplier, lot, nominal thickness, density information where available, face layer, laminate, moisture condition, edge distance, grain or particle orientation, pilot diameter, depth, countersink, drilling tool, backing, and hole age. Randomly changing panels during a test can create apparent screw variation that actually belongs to the substrate.
Control the screw and mating hardware
Record diameter, length, thread form, unthreaded portion if present, point, head, recess, finish, lot, and mating bracket or component. Confirm that the screw does not bottom in a blind hole before the joint closes. Preserve accepted and failed screws so recess damage and thread material can be compared after testing.
Select tools that reveal the event
Use an appropriate calibrated or verified torque-measurement route with a suitable range, drive bit, alignment support, sampling rate, and zero check. Record whether the value comes from a hand tool, rotary transducer, instrumented driver, or production-tool verification. Tool readings are not automatically interchangeable.
- Use a fresh identified bit at the baseline.
- Keep the drive axis aligned.
- Define speed and any dwell.
- Stop at the written event.
- Record abnormal sound, rotation, and visible damage.
Run a ladder instead of jumping to failure
Begin below expected seating, increase through the closing region, establish a repeatable production candidate, then approach failure with controlled samples. Do not repeatedly tighten one coupon to create an entire curve unless repeated loading is the intended method. Fresh joints provide cleaner comparisons for first-assembly behavior.
Compare the result across material lots
The chipboard screw torque test for furniture should include the weakest credible material conditions, not only an average panel. Stratify results by board lot, edge and field location, pilot route, hardware lot, and operator where relevant. Review individual modes and low results rather than approving from the group mean alone.
Separate installation yield from torque strength
| Observed event | Category | Investigation direction |
|---|---|---|
| Cam-out before seating | Installation | Bit, recess, axis, speed, head access |
| Panel gap remains | Joint geometry | Pilot, bottoming, alignment, hardware |
| Thread path strips | Substrate engagement | Board, hole, edge, thread, setting |
| Head breaks | Screw or loading | Lot, geometry, finish, misalignment |
| Surface bulges | Material displacement | Edge distance, pilot, head, laminate |
Use standards as method references, not automatic approval
The official ISO 16047 page addresses torque/clamp-force testing for threaded fasteners under its defined scope. A chipboard screw in engineered wood is a different joint system, so its principles cannot be copied without validating the specimen, friction, tool, endpoint, and application method. The ISO 9001 overview is useful for thinking about controlled processes, documented information, monitoring, and improvement; certification or compliance is not claimed by citing the page.
Add removal and reassembly only when relevant
Flat-pack furniture may be assembled once, adjusted, serviced, moved, or rebuilt. If reuse matters, define dwell time, removal direction, second insertion, allowed hole reuse, joint alignment, and failure rule. Do not promise unlimited reassembly from one successful second cycle.
Translate the study into production controls
Set tool program, verification frequency, bit-change rule, panel and screw identity, pilot control, first-piece review, reaction plan, and record. A production chipboard screw torque test for furniture should use a short verified check that is linked to the approved study instead of repeating a destructive limit test on every shift. ProAirNails can discuss chipboard screws, related screw products, the broader product range, and sample details through the inquiry page.
Make the RFQ test-ready
Send joint drawings, board and hardware details, screw specification, pilot route, tool, speed, access, seating definition, observed failures, sample quantity, test matrix, production volume, packaging, and change controls. Ask the supplier to mark confirmed inputs and assumptions. This turns chipboard screw torque test for furniture from a loose number request into a reproducible joint study.
State the boundaries clearly
A coupon or sample cabinet cannot represent every board lot, consumer tool, overload, impact, climate, move, or service life. Torque alone does not prove complete furniture safety or durability. ProAirNails can provide agreed product evidence; qualified designers, manufacturers, and buyers remain responsible for the joint, test safety, acceptance, and final product requirements.
Use the chipboard screw torque test for furniture to keep production between complete seating and the earliest credible damage boundary, with enough evidence to reopen the decision after a material or tool change.
FAQ
Why use three torque windows?
They separate joint seating, the production setting, and the earliest unacceptable failure instead of reducing the joint to one maximum value.
What does seating torque mean?
It is the torque region associated with reaching the defined joint geometry, head position, and gap closure.
What is stripping torque?
It is the region where thread engagement or another joint element loses its intended ability to carry further tightening.
Should the same hole be tightened repeatedly?
Use fresh joints for first-assembly comparisons unless repeated tightening is the explicitly defined study.
Why test more than one board lot?
Panel density, face layers, moisture, particles, and manufacturing variation can change seating and failure behavior.
Does a calibrated tool guarantee a good joint?
No. Alignment, bit, screw, pilot, board, hardware, speed, and endpoint still influence the result.
When should removal torque be measured?
Measure it only when service, retention after dwell, or disassembly is relevant and the method is clearly defined.
Can one result approve all furniture panels?
No. Approval applies to the tested joint, materials, tools, conditions, sample plan, and stated limits.
What should trigger revalidation?
Reopen affected checks after changes to board, screw, finish, pilot, hardware, tool, settings, supplier, or joint geometry.
What should be included with an RFQ?
Include drawings, material lots, pilot details, screw, tool, seating rule, failure modes, quantities, tests, and acceptance criteria.





