

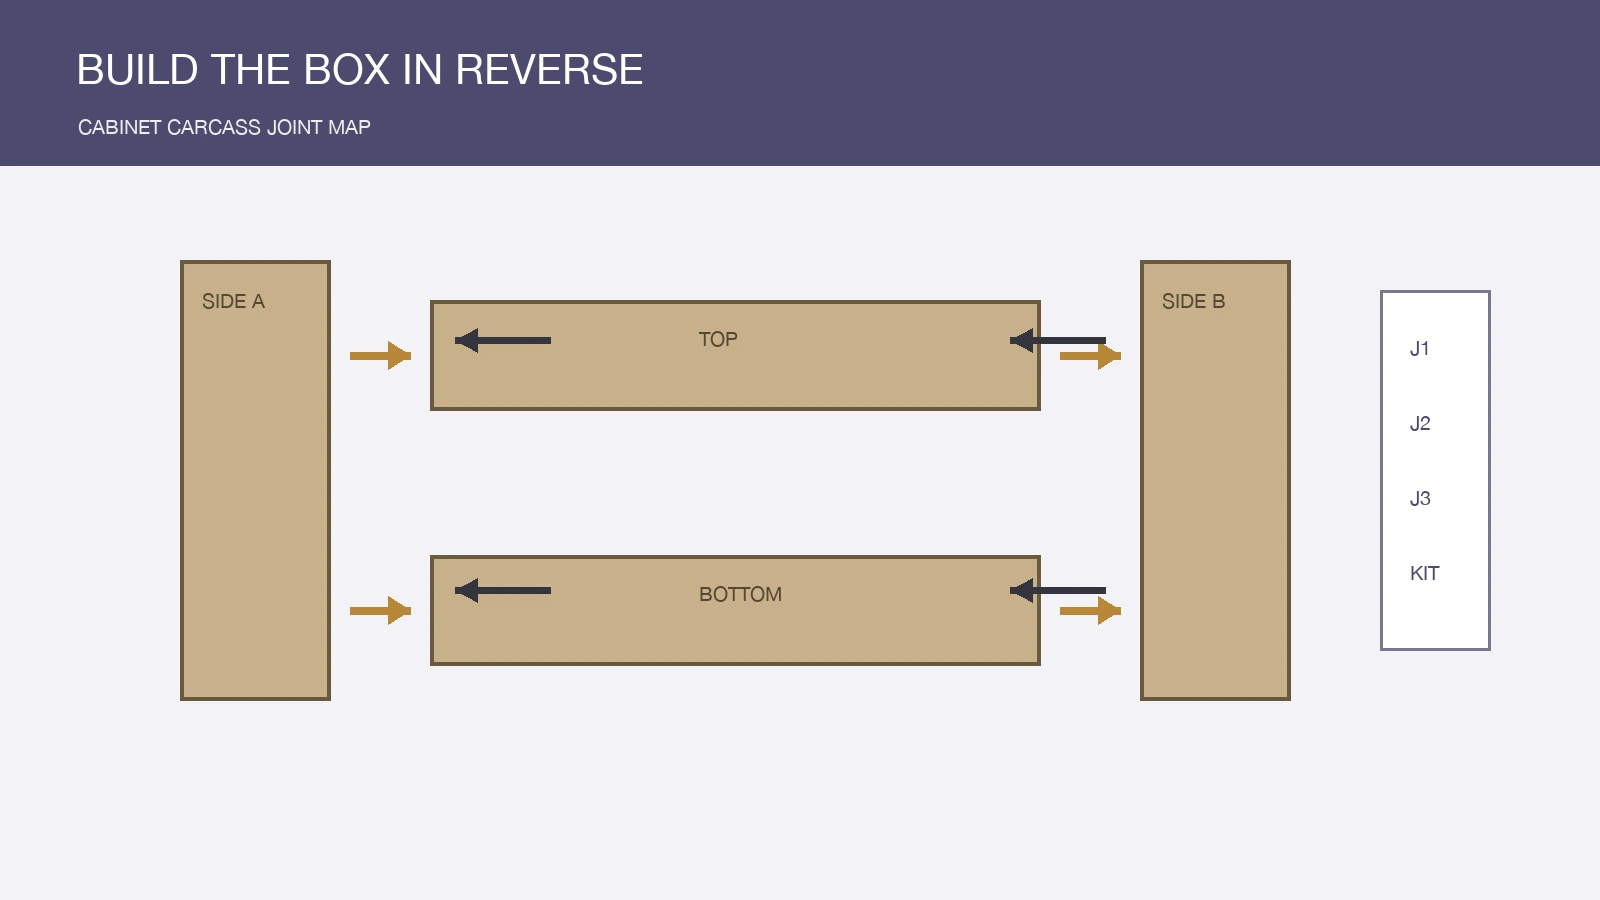
Chipboard screws for cabinet carcasses should be chosen from an exploded cabinet map, not from panel thickness alone. A side-to-top joint, fixed shelf, back connection, stretcher, cleat, and hardware block do different work. They also give the driver different access and place the screw at different distances from an edge.
ProAirNails recommends taking one approved cabinet apart on paper before building the sample. Number each joint, mark the assembly direction, and state whether it must survive shipping, installation, adjustment, or later disassembly. The map turns a generic screw request into a set of testable decisions.
Draw the exploded box before selecting dimensions
Show the side panels, top, bottom, fixed shelves, back, stretchers, plinth or hanging details, and hardware zones. Add panel material, thickness, surface finish, edge treatment, pilot-hole method, driver access, and the direction of each screw. A plan view alone can hide a narrow edge or blocked tool path.
| Joint | Assembly question | Failure to watch |
|---|---|---|
| Side to top or bottom | Can the joint close square without edge breakout? | Bulge, split, stripped hole, or open seam |
| Fixed shelf | How is the panel supported during driving? | Drift, tilted screw, or visible surface rise |
| Back or stretcher | Does the screw path conflict with a groove or fitting? | Exit, interference, or missed material |
| Hardware zone | Can assembly and adjustment occur without collision? | Driver access loss or overlapping holes |
Mark the joints where appearance matters and those hidden after installation. A concealed bulge can still prevent a cabinet from sitting square or accepting hardware.
Use chipboard screws for cabinet carcasses as a controlled family
Specify thread, major diameter, core relationship, length, head, recess, point, finish, and any unthreaded or special section required by the drawing. The product name alone does not guarantee the same geometry across suppliers.
If several lengths share the cabinet program, give each one a controlled item code and joint assignment. Do not allow an assembler to substitute the nearest-looking screw from an open bin. Colour, head shape, or overall length can appear similar while thread or recess differs.
Run the access and pilot-hole trial together
A straight laboratory drive does not show what happens inside a narrow cabinet. Build a representative corner or shelf bay and use the production driver, bit, fixture, and operator posture. When the approved process uses a pilot hole, record bit diameter, depth, location, and chip-clearing method rather than describing it only as “pre-drilled.”
- Confirm panel identity, thickness, edge quality, and surface condition.
- Mark hole position from the same datum used in production.
- Drill with the approved tool, bit, depth stop, and support.
- Clear chips by the approved method before inserting the screw.
- Drive to the seating condition on the drawing and inspect every face.
For chipboard screws for cabinet carcasses, the access trial often reveals more than a pull test. A good screw cannot compensate for a driver held at an angle because a shelf blocks the intended path.
Square the cabinet before judging torque
Measure the cabinet diagonals, joint closure, panel flushness, and hardware reference points before drawing conclusions from a driver setting. A rising torque value can indicate useful seating, but it can also reflect misalignment, chip packing, surface friction, a damaged recess, or a screw approaching an obstruction.
Record the complete curve or event description if the production tool provides it. Otherwise, use a controlled setting and a clear visual acceptance standard. One peak value should not become a universal strength claim for different panel grades, densities, moisture conditions, pilot holes, or edge distances.
Plan one disassembly without pretending the joint is new
Some cabinets are assembled once; others are flat-packed, adjusted, serviced, or moved. If disassembly matters, remove and reinstall the screw using the intended tool and procedure, then inspect hole damage, joint closure, seating, and squareness. State the permitted cycle count in the test plan rather than assuming unlimited reuse.
| Checkpoint | First assembly | After approved disassembly |
|---|---|---|
| Recess | Bit engages without cam-out damage | Bit still engages for the defined service step |
| Panel edge | No split, bulge, or laminate crack | No new damage beyond the acceptance limit |
| Joint closure | Seam closes and cabinet squares | Joint returns to the approved geometry |
| Hole condition | Thread forms a controlled path | No stripping or uncontrolled enlargement |
Keep the panel material inside the approval boundary
Panel labels such as particleboard, chipboard, or MDF do not describe one universal screw-holding condition. The Composite Panel Association particleboard reference shows that panel standards include grade and screw-holding properties. Buyers should keep the actual panel product and supplier information with the cabinet trial.
The AWI architectural wood casework standard provides a useful scope for project casework requirements. Neither source selects a screw for a specific drawing; project documents, component data, and physical assembly evidence still control the decision.
Protect small parts through packing and kitting
Kit each screw code so the installer can match it to the joint map. Confirm inner quantity, bag or box strength, label, lot code, bit requirement, instructions, and separation from similar hardware. Run a packing and handling check with the real cabinet carton so loose screws cannot mark finished panels or migrate into the wrong compartment.
ProAirNails can help buyers compare chipboard screws, review related screws, coordinate complementary brad nails, and submit a joint map through Contact Us. Include panel data, drawing, joint codes, pilot-hole process, driver and bit, quantities, kit format, destination, and delivery timing.
Release a joint map that can survive the reorder
The approval for chipboard screws for cabinet carcasses should connect each item code to its joint, panel, hole, tool, seating result, disassembly limit, and pack. Retain screws from the approved lot plus photographs of the carton and finished cabinet.
At reorder, ProAirNails recommends checking chipboard screws for cabinet carcasses against the approved material declaration, thread and dimensions, head, recess, point, finish, packing, label, lot identity, and proposed process changes. If the panel supplier, edge detail, hardware layout, or assembly route changes, reopen the affected joint instead of carrying the old approval across a new box.
FAQ
Why use an exploded map for chipboard screws for cabinet carcasses?
It shows joint direction, panel edges, driver access, hardware conflicts, appearance zones, and the exact screw assigned to each connection.
Does panel thickness determine screw length?
No. Joint geometry, direction, edge distance, head, point, thread, pilot hole, required engagement, and exit risk also matter.
Should every joint use the same screw?
Only when the drawing and trial show that the same specification fits each joint's load, access, material, and appearance requirements.
What should be recorded for a pilot hole?
Record panel, datum, bit diameter, depth, tool, support, chip clearing, hole condition, and the screw used in the trial.
Can driver torque alone approve the joint?
No. Torque can be influenced by alignment, chips, friction, recess damage, obstruction, and panel variation; inspect joint geometry too.
Why measure cabinet diagonals?
Diagonal comparison helps show whether the box is square; a seated screw is not a pass if the cabinet geometry is wrong.
Can a screw be reused repeatedly?
Do not assume unlimited reuse. Test the number of assembly or service cycles required by the product and inspect the hole after each.
What panel information belongs in the approval?
Keep the product, supplier, grade or declaration, thickness, surface, edge condition, moisture context, and sample identity.
What belongs in a cabinet screw kit?
Use controlled item codes, quantities, labels, separation, compatible bit information, instructions, and protection from finished panels.
When should a cabinet fastener trial be reopened?
Recheck changes to screw geometry, finish, panel, pilot hole, edge detail, joint, hardware, tool, assembly sequence, packing, or supplier process.





