

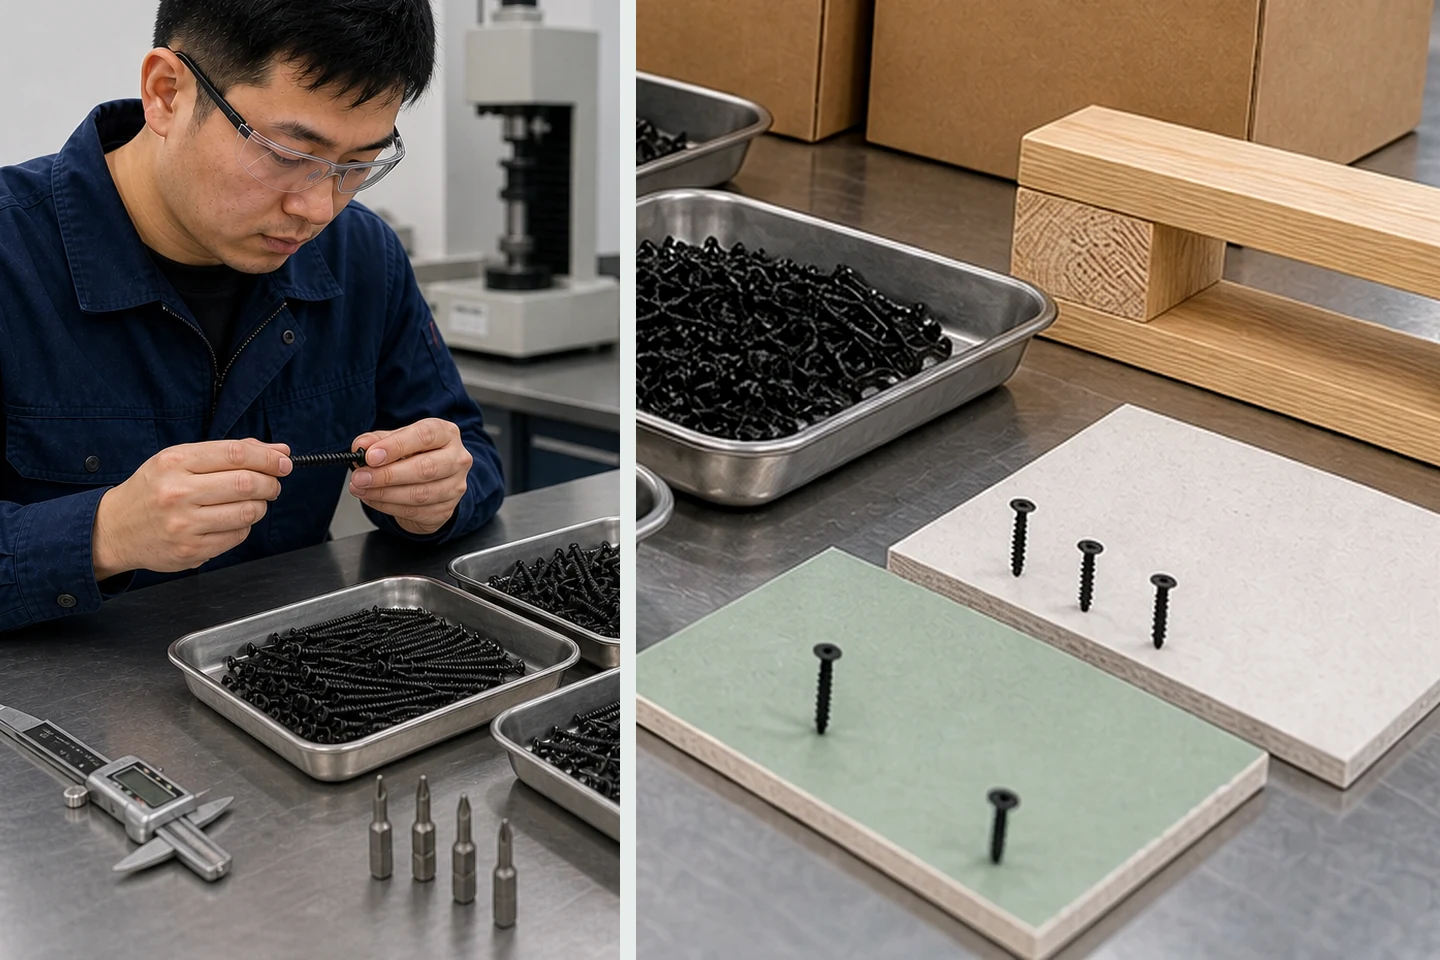
Drywall screw head seating problems usually come from one of five places: depth control, a worn or mismatched bit, an angled approach, movement behind the board, or a screw and substrate combination that has not been tested together. The visible pattern matters more than one isolated screw.
A head that sits proud is not the opposite of an overdriven head in every case. Both can appear during the same run when the board flexes, the operator changes pressure, or the driver reaches the framing inconsistently. Start by reading the pattern, then change one variable at a time.
Start with the pattern you can see
Inspect a group of fasteners under side lighting. Mark where the result changes: at board edges, over a particular stud, after a bit change, near a joint, or only when the tool is held overhead. That location history is evidence.
| Visible result | First causes to check | Useful next observation |
|---|---|---|
| Head remains above the surface | Shallow depth setting, poor bit engagement, dense framing, insufficient drive energy | Does the same screw seat correctly in a supported test piece? |
| Head cuts through face paper | Depth set too deep, excessive pressure, board void, repeated driving | Is paper damage concentrated at edges or unsupported areas? |
| Some heads are proud and others overdriven | Variable support, angled tool, operator pressure, inconsistent framing contact | Does the pattern follow one stud or one working position? |
| Bit slips before seating | Worn bit, wrong recess fit, debris, damaged screw recess | Does a new confirmed bit remove the problem immediately? |
Use a four-branch fault tree
- Confirm support. Press gently beside the screw location before driving. If the board moves toward the framing, the fastener may pull the board late in the drive and then sink suddenly. Check framing contact, board fit, and edge support before changing the screw.
- Confirm the driver interface. Fit a new bit that matches the recess and inspect the depth-control nose. A bit can look usable while its working edges are rounded. Clean dust from the nose so it contacts the board predictably.
- Confirm alignment. Drive perpendicular to the board with steady forward pressure. An angled bit touches one side of the recess, reduces torque transfer, and can make the depth stop contact the surface unevenly.
- Confirm the fastening combination. Compare the actual board, framing material, screw point, thread, length, and driver setting. The result from timber framing cannot automatically predict the result in light-gauge metal, and a successful laboratory sample cannot replace a site trial.
Run a controlled ten-position test
Use scrap pieces from the current board and framing rather than a different material kept in the workshop. Install several screws at field positions, several near the permitted edge zone, and several while reproducing the difficult working angle. Keep the same tool, bit, pressure setting, and screw batch during the first pass.
Record proud heads, paper tears, bit slips, and any location where the board moved. Then change only one factor, such as the bit or depth setting, and repeat. This small comparison is more useful than changing the screw, bit, tool setting, and technique together.
Know when the result is not a driver adjustment
Stop and inspect the assembly if a screw misses framing, the board is visibly damaged, the framing moves, or the same location repeatedly fails with a confirmed tool setup. Do not keep driving into torn paper to make the head disappear. The fixing may no longer have the intended bearing surface.
Likewise, one acceptable test piece does not establish a universal setting. Board density, framing thickness, coatings, screw geometry, tool wear, and operator position can change the outcome. The practical limitation of any troubleshooting chart is that it narrows the cause; it does not certify the finished assembly.
Turn the diagnosis into a repeatable work instruction
Once the cause is confirmed, photograph an acceptable seated head, record the driver and depth setup, identify the bit, and note the approved screw reference. Keep a short start-of-shift check using the actual materials. This gives supervisors and installers a shared result instead of a vague instruction to drive “flush.”
That record also makes future drywall screw head seating problems easier to compare across shifts, material deliveries, and tool changes.
For available screw formats, review the ProAirNails Drywall Screw range. The factory overview explains the wider manufacturing context, while the inquiry page can be used to send a current screw, board type, framing material, and the failure pattern.
FAQ
Should a drywall screw head be perfectly flush?
The intended result is generally a controlled recess that does not break the face paper, but the approved condition should follow the board system, project requirements, and installer guidance. Use a representative test rather than judging one screw in isolation.
Why do drywall screws sit proud over only one stud?
That pattern can point to framing contact, framing thickness, alignment, board movement, or a local obstruction. Compare the same screw and setting at adjacent supported locations before changing the whole setup.
Can a different screw solve repeated seating problems?
It can be part of the solution when the current point, thread, length, recess, or coating is unsuitable, but support, bit fit, tool setting, and technique should be checked first. Test the complete combination in the real materials.
Document the observed pattern when discussing drywall screw head seating problems with ProAirNails.





