

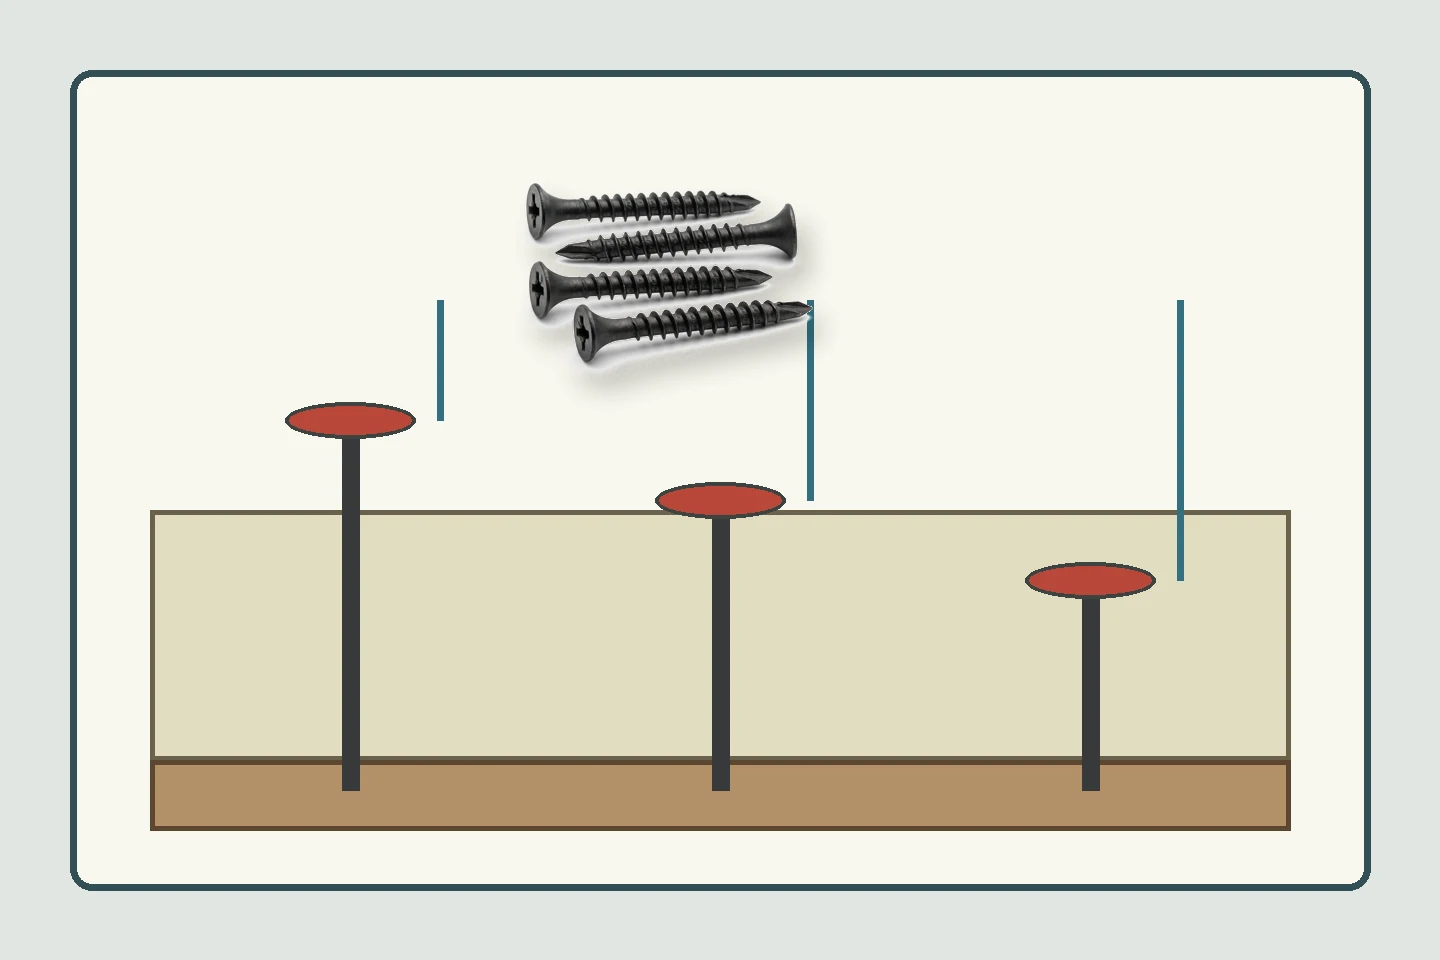
A drywall screw point penetration test should show how the point enters the defined board-and-stud stack, while separating entry behavior from recess engagement, drive depth, thread formation, and final seating. A screw that pierces quickly in a thin coupon may behave differently through a board face, air gap, and steel stud.
ProAirNails recommends recording the complete stack, tool, speed, angle, point geometry, and first failure rather than reporting one entry-force number without context.
Define the penetration event
Choose the event that matters to the installation: first board entry, point contact with stud, stud piercing, thread engagement, complete seating, or an unacceptable failure. Record time, displacement, force if measured, visible board damage, and whether the driver or bit slipped.
Build the real coupon
Record gypsum board type and thickness, face paper, steel gauge or wood support, air gap, overlap, edge distance, screw length, thread, point, head, recess, finish, and backing. A board-only coupon answers a different question from a board-plus-stud assembly. Keep the layers aligned and identified.
| Input | Control | Why it changes entry |
|---|---|---|
| Point | Type, sharpness, damage, lot | Controls initial cutting and piercing |
| Board | Type, thickness, face, lot | Changes resistance and breakout |
| Stud | Material, gauge, profile | Sets the metal entry boundary |
| Tool | Bit, speed, pressure, axis | Changes applied motion and slip |
| Geometry | Angle, edge distance, overlap | Changes the local path |
Keep the entry axis visible
Use a guide or fixture when the comparison requires a fixed angle. Record whether the production tool is handheld or supported. An angled entry can increase board damage, cause recess cam-out, and make a point look weak when the actual issue is alignment.
Record the complete drive sequence
Note contact, board penetration, stud contact, stud entry, thread formation, head seating, and stop. Photograph the entry and exit sides where accessible. Preserve failed screws and coupons; tip damage, metal chips, torn paper, or a widened hole often explains why the next screw behaved differently.
- Verify the bit and driver before the trial.
- Use identified board and stud lots.
- Control speed and pressure.
- Record angle and support.
- Separate first-entry and final-seating failures.
Read the relevant standard scope
The active ASTM C1002 page covers steel self-piercing tapping screws for applying gypsum panel products or metal plaster bases to wood members or steel studs. It does not prescribe every project coupon, tool program, penetration rate, or acceptance rule. Those remain part of the specified installation system.
Separate point, bit, and substrate causes
Slow entry may result from point geometry, damaged point, board face, stud gauge, low tool output, wrong bit, off-axis drive, or a screw that bottoms before the joint closes. Compare a controlled reference screw, a maintained tool, and the same stack before changing several inputs.
Use an evidence table for disposition
| Finding | Question | Response |
|---|---|---|
| Board entry tears | Is angle or point causing breakout? | Review point, axis, board, and edge distance |
| Stud not pierced | Is gauge, tip, speed, or length correct? | Hold setup and compare controlled samples |
| Recess cam-out | Is bit engagement or axis limiting? | Inspect bit, recess, and driver support |
| Fast entry, poor seating | Does the screw engage the intended support? | Review length, thread, and drive depth |
| Scatter by board lot | Is the face or thickness changing? | Stratify lots and update the trial matrix |
Use sampling without hiding variation
The ISO 2859-1:2026 reference can support attribute sampling for a defined screw lot. Define defects such as no stud penetration, torn paper, severe cam-out, or incomplete seating, and set the sample and escalation rules before testing.
Prepare the supplier request
Send board and stud details, screw point and thread, length, head, recess, tool, bit, speed, angle, photos, observed failure, coupon drawing, sample count, and acceptance. ProAirNails can discuss drywall screws, screw products, the product range, and trials through the inquiry page.
State the boundary
A point penetration test cannot prove every field condition, corrosion exposure, fire or acoustic rating, or long-term assembly performance. It applies to the stated stack and method. Qualified project personnel remain responsible for installation and acceptance.
Use a short first-piece check after a bit change or tool service, then compare it with the original drywall screw point penetration test baseline. This catches drift before a full wall section is installed.
When a point fails only at a board edge or stud transition, preserve the coupon and photograph the entry path. The location often explains more than a single force reading.
ProAirNails can use the marked coupon, screw lot, and tool details to structure a focused comparison instead of repeating an undefined demonstration.
Repeat the drywall screw point penetration test when the project changes from wood support to steel stud, because the point and thread may face a different entry boundary. Record the new stack rather than carrying the old result forward.
Mark every coupon with board face, stud side, screw entry point, and test sequence. If a second screw is installed near the first, record the spacing and order because the first hole can change local resistance. This simple map helps an installer explain whether a slow entry came from the point, the support, or a damaged neighboring location during drywall screw point penetration test review.
Use drywall screw point penetration test to identify where entry stops being a screw problem and becomes a system problem.
FAQ
What should the penetration test measure?
Define whether it measures board entry, stud piercing, thread engagement, seating, force, time, or a pass/fail event.
Is a board-only coupon enough?
No. A board-plus-stud stack answers the actual installation question when steel or wood support is involved.
Why control the drive angle?
Angle affects board damage, bit engagement, point path, and stud entry.
What can cause slow entry?
Possible causes include point geometry, board, stud gauge, speed, bit, pressure, or off-axis driving.
Does ASTM C1002 set every tool setting?
No. It defines a relevant screw scope; the installation system defines its method and acceptance.
Should failed screws be discarded?
No. Retain them with the coupon and photographs so the failure mode remains visible.
How should defects be classified?
Separate board breakout, no stud penetration, cam-out, tip damage, incomplete seating, and identity errors.
When should testing be repeated?
Repeat after changes to screw, point, board, stud, tool, bit, speed, or installation geometry.
Can one sample approve all board lots?
No. Approval applies to the tested stack, lots, method, and stated boundaries.
What belongs in an RFQ?
Include the complete stack, screw, point, tool, angle, failure photos, test method, and acceptance rule.





