

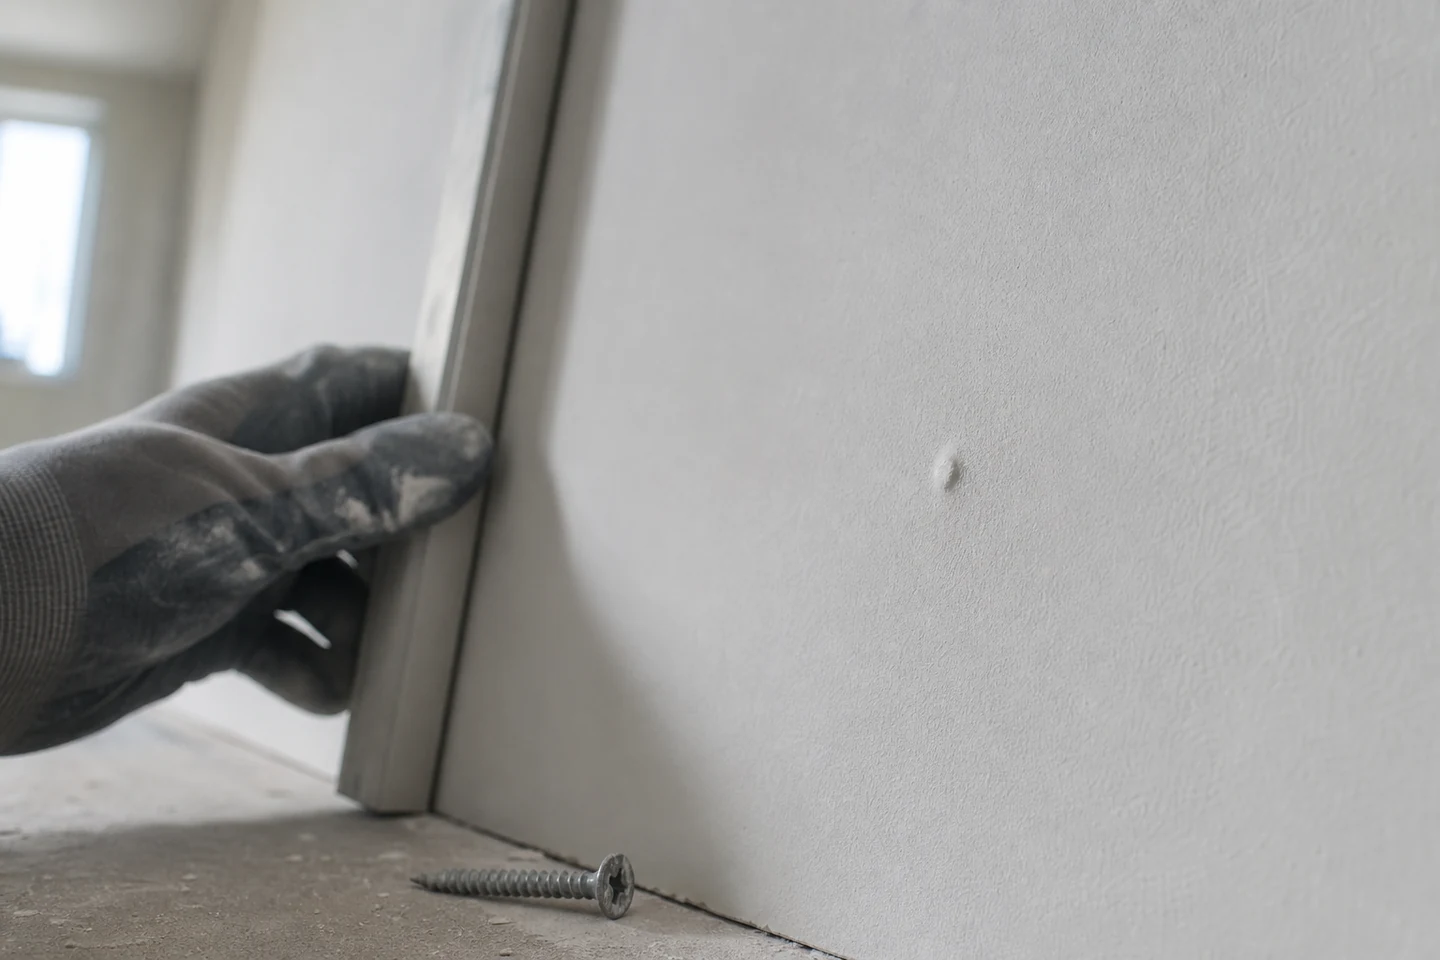
Drywall screw pops after finishing are a symptom, not a diagnosis. The raised circle may be linked to movement between board and framing, a fastener that did not hold the board tightly during installation, damaged face paper, changing timber moisture, or a repair that covered the mark without correcting the underlying condition.
The most useful first question is not “Which screw should replace it?” It is “When did the mark appear, and what else changed at the same time?” A timeline can separate a one-position installation fault from wider movement in the wall or ceiling.
Build the failure timeline before opening the surface
Record the date the board was installed, when joint treatment and painting were completed, when heating or air conditioning began operating, and when the first marks became visible. Add any known water event, seasonal temperature change, structural work, door adjustment, or heavy vibration nearby.
A pop noticed during sanding belongs to a different timeline from a row that appears months after occupancy. The first may point toward seating depth, missed framing, board support, or paper damage. A later pattern may justify checking material movement, framing condition, humidity history, or an assembly detail. The timeline narrows the inspection; it does not prove the cause by itself.
Map every visible mark on one elevation
Use removable tape or a photograph to plot the positions. Do they form a straight vertical line over one stud, repeat along a ceiling member, gather near a board edge, or appear randomly? Also note whether joint cracks, nail pops, door movement, staining, or surface waviness occur nearby.
| Observed pattern | What to inspect next | Why the pattern matters |
|---|---|---|
| One isolated pop | Fastener engagement, torn paper, local board support | A local installation or substrate condition is more plausible than a wall-wide cause |
| Several marks in a straight line | Framing member, board-to-frame contact, repeated driver position | The shared support line may connect the failures |
| Marks near a board joint | Edge support, joint movement, fastener spacing, finishing history | Edges respond differently from field positions |
| New marks across several rooms | Timing, environmental change, material movement, installation records | A broader event may be affecting multiple assemblies |
Open one representative position carefully
Select a location that represents the repeated pattern rather than the easiest mark to reach. Follow the project repair procedure and remove only enough finish to see the fastener head, face paper, and immediate board condition. Check whether the head is proud, whether the board moves when gently pressed, whether paper has lost bearing around the head, and whether the fastener appears to have entered framing.
Do not keep turning the same screw deeper through damaged paper. Once the paper has torn, the original bearing condition has changed. A suitable repair may require an additional fastener into confirmed support and treatment of the old position, but the exact method must follow the wall system, project specification, and responsible trade guidance.
Compare the opened sample with an undisturbed control
Inspect a nearby position on the same support line that has not popped. Compare board movement, screw seating, edge distance, surface condition, and the apparent support behind the sheet. If possible, use project records to confirm screw type, length, framing material, board thickness, and driver setup.
This comparison prevents a common mistake: finding one loose screw and assuming every visible mark has the same cause. The popped and control positions should be documented with the same lighting and scale so another person can review the difference.
Choose the response from the evidence level
- Local evidence: one failed position with sound adjacent work may support a limited repair and monitored follow-up.
- Repeated evidence: several failures on the same member justify checking that member, board contact, and the original fastening pattern before closing the surface.
- Assembly evidence: cracking, moisture, movement, or failures across multiple areas should be escalated to the person responsible for the system rather than treated as cosmetic spots.
The limitation is important: a visual blog cannot certify a wall, assign responsibility, or replace project requirements. It can help organize observations so the repair does not erase the clues.
Close the repair with a monitoring note
Record the repaired locations, materials used, photographs, date, room conditions, and the person completing the work. Set a practical review point after the surface has been refinished. If drywall screw pops after finishing return along the same line, the repeated pattern is stronger evidence than the first isolated mark.
For available formats, review the ProAirNails Drywall Screw range. Manufacturing context is available on the factory page, and current board, framing, screw, photographs, and failure timing can be sent through the inquiry page.
FAQ
Why do drywall screw pops appear after painting?
Painting makes small surface changes easier to see, but a later pop can also follow board or framing movement, a fastener that did not hold the sheet tightly, or damaged paper around the head. Inspect the pattern and timing before repairing it.
Can I simply drive the visible screw deeper?
Not automatically. If the face paper is damaged or the screw has poor engagement, driving it deeper may not restore the intended bearing. Confirm support and follow the approved repair method for the wall system.
When should repeated screw pops be escalated?
Escalate when marks repeat along framing, appear with cracking or moisture, affect several areas, or return after repair. Those signs justify review beyond a cosmetic patch.
A documented timeline makes drywall screw pops after finishing easier to diagnose and less likely to be hidden by a temporary repair.





