

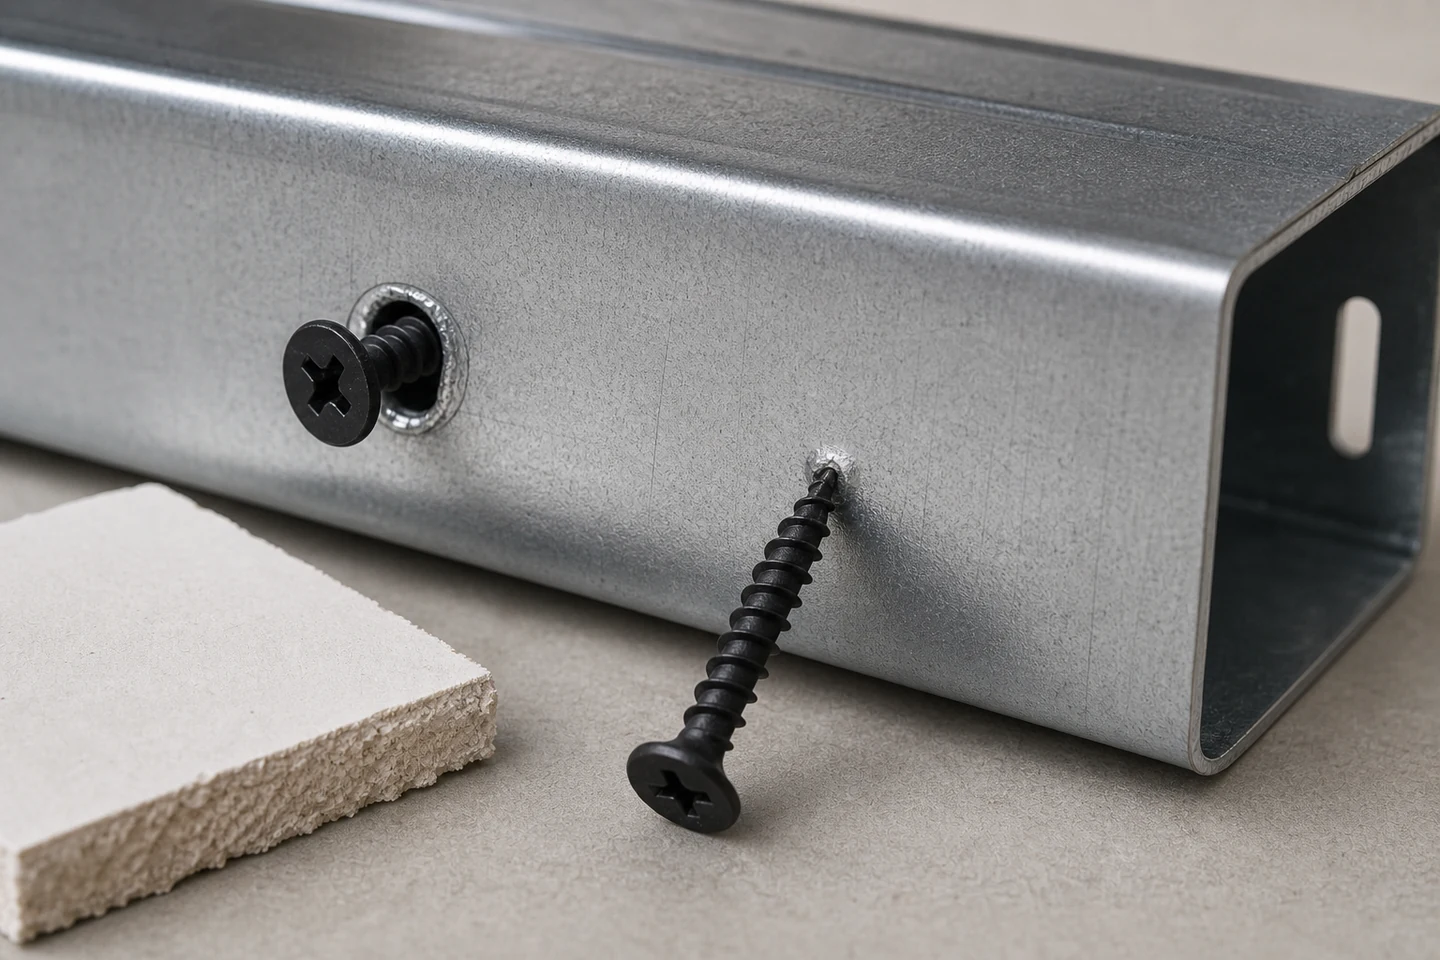
When a drywall screw will not pierce metal stud, stop before repeated spinning polishes the point or enlarges the contact mark. The event may involve a damaged point, unsuitable screw type, angled entry, moving flange, doubled steel, hidden hardware, or a drive method that does not maintain stable axial contact.
ProAirNails recommends preserving the first failed screw with its marked stud position. Record the board stack, screw reference, tool, speed, angle, sound, and stage at which the point stopped advancing.
Separate first contact from thread engagement
Confirm whether the point never opened the steel, opened it but failed to form engagement, or entered before the head stopped progressing. These are different stages. Photograph the contact mark and screw point before cleaning either surface.
A bright circular mark may follow spinning at one location. A crescent or wandering scratch can indicate unstable angle or flange movement. A raised burr may show partial piercing but does not prove correct thread formation.
Map what lies behind the board
| Location clue | Possible condition | Evidence to confirm |
|---|---|---|
| Failure at one isolated position | Lap, bracket, existing fastener, hard feature | Approved framing inspection |
| Failure along one flange | Movement, steel condition, alignment | Support and stud map |
| Failure across several studs | Screw, tool, method, or system mismatch | Controlled material comparison |
| Failure near flange edge | Glancing entry or reduced support | Entry position and tool angle |
Do not assume every visible metal surface is a single light-gauge flange. Lapped studs, tracks, clips, reinforcements, and service components can change the entry stack.
Inspect point geometry and screw identity
Retain unused screws from the same package and compare point shape, straightness, thread, coating, recess, and visible handling damage. Confirm the product reference against the specified wall system and receiving material. Similar black screws may have different geometry or intended use.
A sharp-looking point alone does not establish suitability. Entry also depends on steel layers, driver stability, speed, axial pressure, board movement, and the complete screw design.
Recreate one controlled entry window
Use representative board and framing offcuts approved for testing. Keep screw, tool, bit, operator, support, and entry location fixed. Change one permitted variable at a time and record time to pierce, visible mark, head seating, paper condition, and any spinning.
At ProAirNails, useful technical inquiries include the actual stud thickness or layers, screw size and thread family, point photographs, tool model, bit condition, and a short event sequence. This evidence is more actionable than reporting only that the screw felt blunt.
Control replacement and escalation
Do not continue at a location where hidden services or hardware may be present. Follow the project procedure for inspection and alternative fastener position. Hold the suspect package, tool, or framing input when failures repeat beyond the defined threshold.
Record successful entries from the same stud line as controls. If only one position resists, compare local framing details before changing the whole process. If the pattern follows multiple clear positions, expand the comparison across unused screws, a confirmed bit, another approved tool, and representative framing from the same delivery.
Also note whether the gypsum board was already tight to the flange. A gap can absorb axial movement and make the point skate, while excessive pressure can deform an unsupported flange. The board, operator, screw, and receiving steel must therefore be reviewed as one entry system.
The limitation is important: this entry check does not establish wall-system compliance, structural capacity, screw-lot conformity, or tool safety. Those decisions require qualified review under the applicable criteria.
Review the ProAirNails Drywall Screw category and broader screw range. Send screw and bit references, stud details, location map, point photographs, and drive settings through the ProAirNails inquiry page when a drywall screw will not pierce metal stud.
FAQ
Should I increase driver speed when the point stops?
Not automatically. More speed can polish the contact, damage the recess, or hide an obstruction. Confirm screw selection, alignment, support, and the receiving stack first.
Does a failed entry prove the screw point is defective?
No. Point condition is one possibility, but tool angle, steel layers, movement, hidden hardware, handling, and an unsuitable screw-system combination can also contribute.
Can I move the screw slightly and try again?
Use only the approved spacing and hidden-service procedure. A nearby position may still intersect the same obstruction or fall outside the permitted fastening zone.
A matched ProAirNails evidence set makes drywall screw will not pierce metal stud a defined entry-stage investigation rather than repeated trial and error.





