

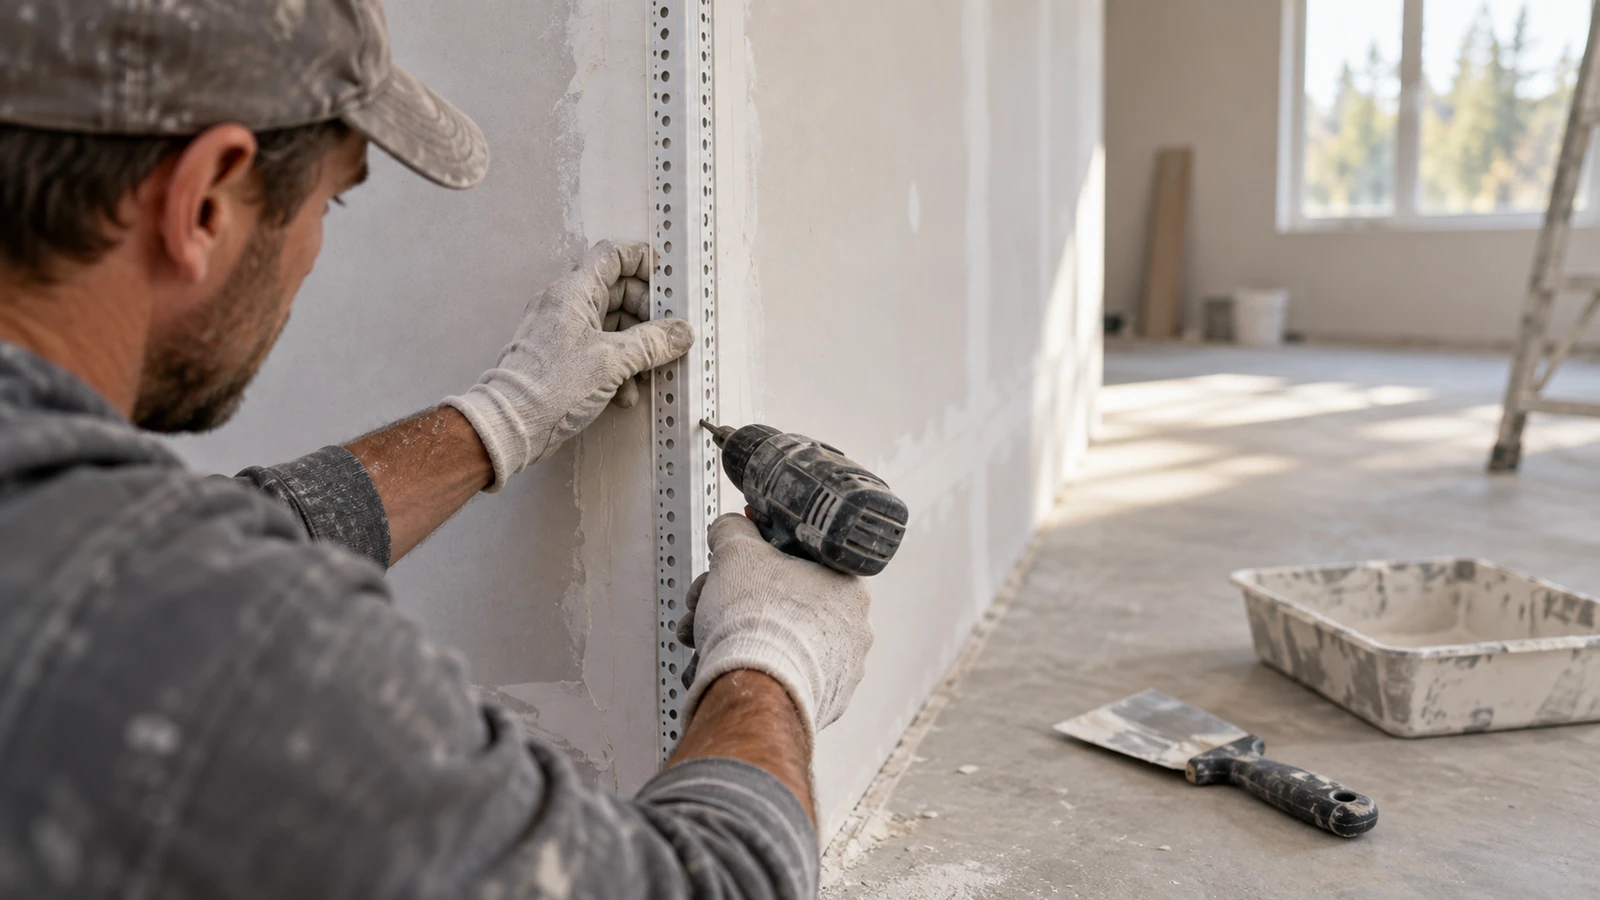
Every plasterer has seen the same crack: a hairline running parallel to the corner bead, appearing a few weeks after the painters have packed up. It looks like a materials failure. It is nearly always a movement problem wearing a materials costume.
ProAirNails supplies drywall screws for corner bead into fit-out work, and the calls that follow a failed corner arrive with the same assumption attached. The bead must have been faulty. Working backwards from the crack is more useful than arguing about the bead, because in most cases the movement came from the board, from the frame, or from a corner that had nothing behind it.
The crack always appears on the same line
The failure has a signature. The split runs parallel to the bead at a consistent distance from the corner, on one side or both. It opens as the heating comes on and closes again when the air turns humid.
Behaviour like that describes movement. A genuine material failure looks quite different: blistering, a proud edge, a crack that follows the compound instead of the board joint.
Why the bead moves before the board does
A bead is a thin section with almost no bearing area, sitting on the face of the board along the arris. Movement of the board, whether from moisture, temperature or a frame settling behind it, arrives at that line and stops there.
Where the corner has no backing the two boards move independently, and the bead becomes the only thing keeping them in line. Beads do not fail because they are weak. They fail because they were handed a job that drywall screws for corner bead were never meant to do alone.
Matching drywall screws for corner bead to the bead material
Bead arrives on site in several forms, and the fixing has to suit the material it passes through as well as the substrate behind it. A screw that bites happily into a metal bead will pull straight through a thin plastic profile or tear a paper face.
| Bead type | Fixing that suits it | What to watch |
|---|---|---|
| Paper-faced bead | Fine thread screw with a small head | Do not over-drive; the head will tear the paper face |
| Metal bead | Fine thread screw through the perforated flange | Drive through the holes, not beside them |
| Plastic bead | Fine thread screw set just below the surface | The flange flexes; too much pressure distorts the corner |
| Bead on a corner with no backing | Screw into any available framing plus additional backing | Fix the missing support before fixing the bead |
Screw spacing is a finishing decision
Spacing does two jobs at once. It holds the profile while the compound sets, and it decides how evenly the bead resists the small movements underneath. An irregular pattern produces the wave that only shows under raking light.
| Position on the bead | What it controls | Practical note |
|---|---|---|
| Ends of the bead | Whether the bead can lift at a joint | Fix close enough to the end that the flange cannot curl |
| Along the flange | How evenly the bead resists movement | Keep the interval regular rather than clustering at the corner |
| Where two boards meet | Whether the joint stays closed | Fix on both sides of the joint, not across it |
| Over a framing member | Whether the fixing has anything to hold | Screw where the framing is, not where the bead happens to be |
Paper tape and bead are not the same joint
An internal corner taped with paper behaves nothing like an external corner armoured with bead. Tape is bedded in compound and moves with the boards around it. Bead is a mechanical component fixed through a board into a substrate, passing movement on rather than absorbing it.
Treat the two as the same detail and the specification asks for the wrong thing. The bead wants drywall screws for corner bead that hold firmly without crushing the flange. The tape joint wants paper and compound, and no screws at all.
Corners with no backing
A corner that had nothing behind it when the bead went on is the most common reason corners fail, and the cheapest thing to put right, provided somebody notices before the boards are fixed. ProAirNails asks about backing first on a bead enquiry, because nothing else in the specification matters if the answer is no.
- Check every external corner for backing before the board is fixed, and add blocking where it is missing.
- Keep the two boards of a corner on the same plane where the design allows, so the bead is a trim rather than a bridge.
- Do not fix a bead to unsupported board ends and expect the compound to hold them together.
- Photograph the corner with the bead dry-fitted, before compound hides the fixing pattern.
- Record the fixing type and spacing, because the first question after a crack is always what was used.
Inspection before the finish coat
The check worth making happens after the first coat, while the bead is seated and the surface is still honest. Straight edge down both sides, eye along the line under raking light, fingers along the flange for any drywall screws for corner bead that have pulled it out. Photograph the result, because the fixing pattern is what has to be explained if the corner cracks in a year.
The ASTM specification for accessories used with gypsum board describes how bead and trim for board are tested, which is useful when a failure has to be discussed with a supplier instead of argued about on site.
Tools, pressure and the fixing
Over-driven bead is almost never a fastener choice. It is a tool setting. The OSHA requirements for hand and power tools in construction cover guarding, inspection and training for powered tools, and the same discipline applies to setting a depth stop before the first length of bead goes on.
What a fixing cannot correct
Screws will not repair a frame that moves, and they will not rescue compound that went on thin or got sanded through. Where a corner cracks again after a repair, look upstream of the bead.
This is also not a specification for a fire-rated or acoustic assembly. In those walls the bead and its fixings belong to a tested system, and nobody should be improvising them on site.
FAQ
Which drywall screws for corner bead should I use?
A fine thread screw with a small head that suits the bead material, long enough to reach the substrate behind the board without distorting the flange.
How far apart should the fixings be?
Close enough to hold the flange evenly and prevent curling at the ends. The interval comes from the bead manufacturer and the substrate.
Why does the crack appear weeks after painting?
Because it takes that long for seasonal movement or drying to load the joint. The crack is a timeline, not a sudden failure.
Can I fix a cracked corner with more compound?
Only if the movement has stopped. Otherwise the repair will crack again along the same line.
Does the corner need backing?
It should have something behind it wherever the bead spans unsupported board.
Should bead be fixed to both boards of the corner?
Fixings should land where there is framing, on both sides of the joint where possible, rather than across it.
Is a paper-faced bead easier to fix?
It is easier to finish but less forgiving of over-driving, because the head can tear the paper.
What causes a wavy corner line?
An uneven fixing pattern, a distorted flange, or bead fixed over board that was not flat.
Can I use the same screws as the board?
Often yes, provided the screw suits the bead material and the head does not tear it. The driving depth still has to be set for the bead.
What belongs in an enquiry for bead fixings?
The bead type, the board thickness, the substrate, the tool and the finish the corner has to take.
Sequence: bead first or board first
Fix the frame, fix the boards, confirm the backing, then set the bead and check the line before any compound goes on. ProAirNails supplies drywall screws, staple pins and pneumatic nails into interior fit-out work, and a description of the corner assembly is enough to quote from. Send it through Contact Us.





