

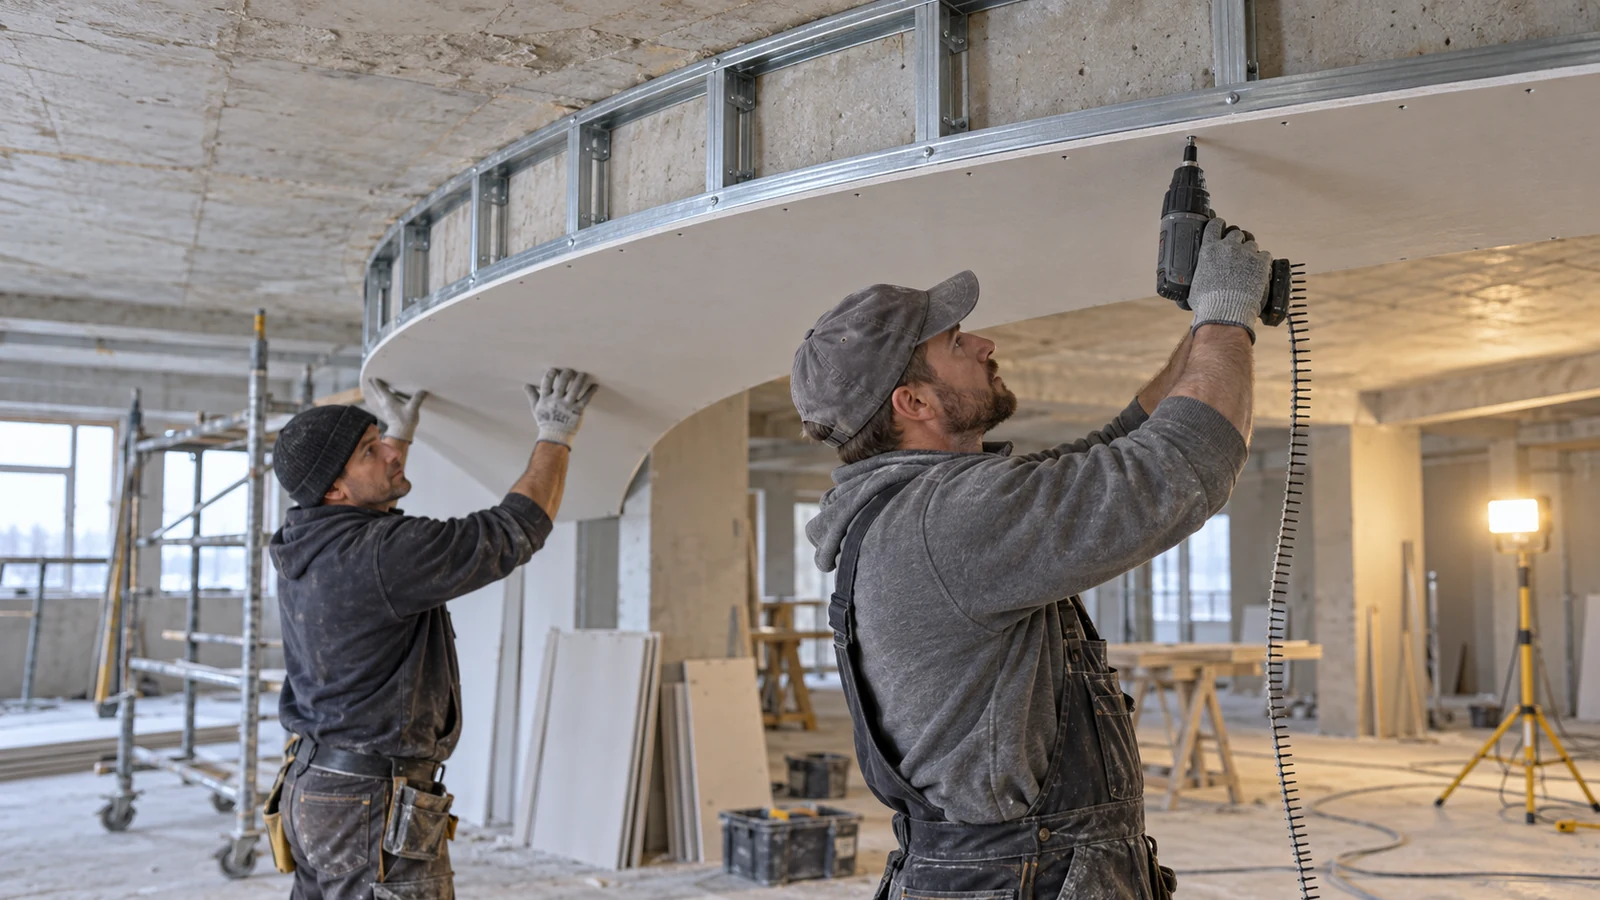
Drywall screws for curved soffits have to follow the bend, not a straight-line grid. A curved run changes as the board is wrapped, so a pattern that works on a flat ceiling can crush the face, open a joint, or leave a wave along the radius. The screw plan belongs to the geometry of the curve.
ProAirNails recommends a radius card that records the design radius, bend direction, board thickness, frame spacing, backing, screw spacing, tool, and the staged fastening sequence. That card gives the installer and the inspector the same view of the finished curve.
Bend the board before the screw line starts
Confirm the design radius and the board type before the first sheet is lifted. Bending a board across its thickness is a different operation from bending it along its length, and the allowable radius depends on the product data. Dry-bend a short offcut first and watch how the face behaves.
ASTM C840 covers the application and finishing of gypsum board, including the importance of following the manufacturer's installation instructions. Read the board data for the specific product before setting the frame spacing.
Map drywall screws for curved soffits along the radius
| Position | Fastening role | Curve question |
|---|---|---|
| Centre of the bend | Hold the first contact point of the wrap | Does the board sit against the frame without force? |
| Mid-radius | Carry the bend toward the ends | Is the face free of a flat spot or a crease? |
| Curve-to-straight transition | Control the change of shape | Does the joint line stay smooth across the transition? |
| End fixing | Close the run at the backing and edge | Does the edge stay supported and aligned? |
Mark the transition points on the frame before boarding. The crew should know where the board is expected to bend and where it is expected to lie flat.
Build the backing for the curve, not for the straight run
A curved soffit needs continuous support along the bend. Check the frame spacing, the stud or channel orientation, and the blocking at the transitions before the first sheet goes up. The ASTM C1002 steel framing reference is a useful baseline for the framing side of the assembly.
If the frame is built on a straight grid, the board may bridge between supports and pull a flat spot into the curve. Fix the backing before blaming the screw.
Fasten from the centre outward in stages
- Start near the centre of the bend and work toward both ends.
- Seat the board against the frame before driving the next screw.
- Keep the driver square to the face as the surface angle changes.
- Pause and sight along the curve before the final pass.
- Record the screw spacing and the order used for the trial panel.
For drywall screws for curved soffits, the sequence is part of the result. Driving the ends first can lock the board into a flat section that no later screw can remove.
Understand how thickness and radius interact
Thinner board bends more easily but may need closer support, while thicker board can resist a tight radius. Use the product data and a physical bend test to find the combination that suits the design. Do not force a board beyond its stated bending limit just because the frame is ready.
Record the board orientation, moisture condition, and handling method. A board that was stored flat and dry behaves differently from one that has been standing on edge.
Inspect the curve after each fastening pass
| Stage | What to inspect | What to record |
|---|---|---|
| After dry bend | Face condition, edge stress, and spring-back | Board data and bend direction |
| After tacking | Contact with the frame and curve shape | Screw spacing and sequence |
| After final fixing | Dimples, broken paper, and flat spots | Tool setting and driver depth |
| After finishing | Joint line, shadow, and surface texture | Finish system and light direction |
Look along the curve from both ends and from below. A soffit can look correct from the middle of the room and still show a wave at eye level.
Keep the finish and joint system in scope
The screw spacing, joint treatment, and finish system work together. Confirm that the specified joint compound and tape are compatible with the curved geometry and the board product. A joint that is fine on a flat wall can telegraph across a tight radius.
Internal links for the buyer: ProAirNails can help compare drywall screws, review related screws and pneumatic nails, and receive a soffit brief through Contact Us.
Send a radius RFQ with a mock-up
Build a short mock-up with the actual board, frame spacing, and screw pattern. Keep it next to the finished soffit photographs so a future order can compare geometry, not just part numbers.
At reorder, compare screw type, length, thread, head, coating, spacing, count, carton label, and lot identity. The approval for drywall screws for curved soffits should state the radius, board, frame, and finish system it covers. ProAirNails keeps that scope with the retained mock-up.
FAQ
Why is a curved soffit different from a flat ceiling?
The board is bent, so the fastening sequence, frame support, and screw spacing all change with the radius.
Should drywall screws for curved soffits be driven from the ends first?
No. Centre-out fastening usually controls the bend better and reduces flat spots.
How close should the frame spacing be?
Follow the board manufacturer's instructions and the design radius; a tighter curve often needs closer support.
Can a thicker board make a tighter curve?
Not automatically. Check the product data and bend a sample before committing the run.
What causes a wave in the finished curve?
Insufficient backing, the wrong bend direction, uneven screw sequence, or overdriving can all create a wave.
What should the mock-up include?
Include the board, frame section, screw pattern, joint treatment, and a photograph of the finished sample.
What changes trigger a new mock-up?
Review changes to the radius, board, frame, screw, spacing, tool, or finish system.
How should the screws be seated?
Seat the head below the surface without breaking the paper face, using the tool and depth control approved for the board.
What should a curved soffit RFQ include?
Send the radius, board type, frame layout, screw requirement, spacing, quantity, and delivery schedule.
What is the final curve question?
Ask whether the soffit follows the radius smoothly and the finished surface stays free of flat spots and joint shadows.





