

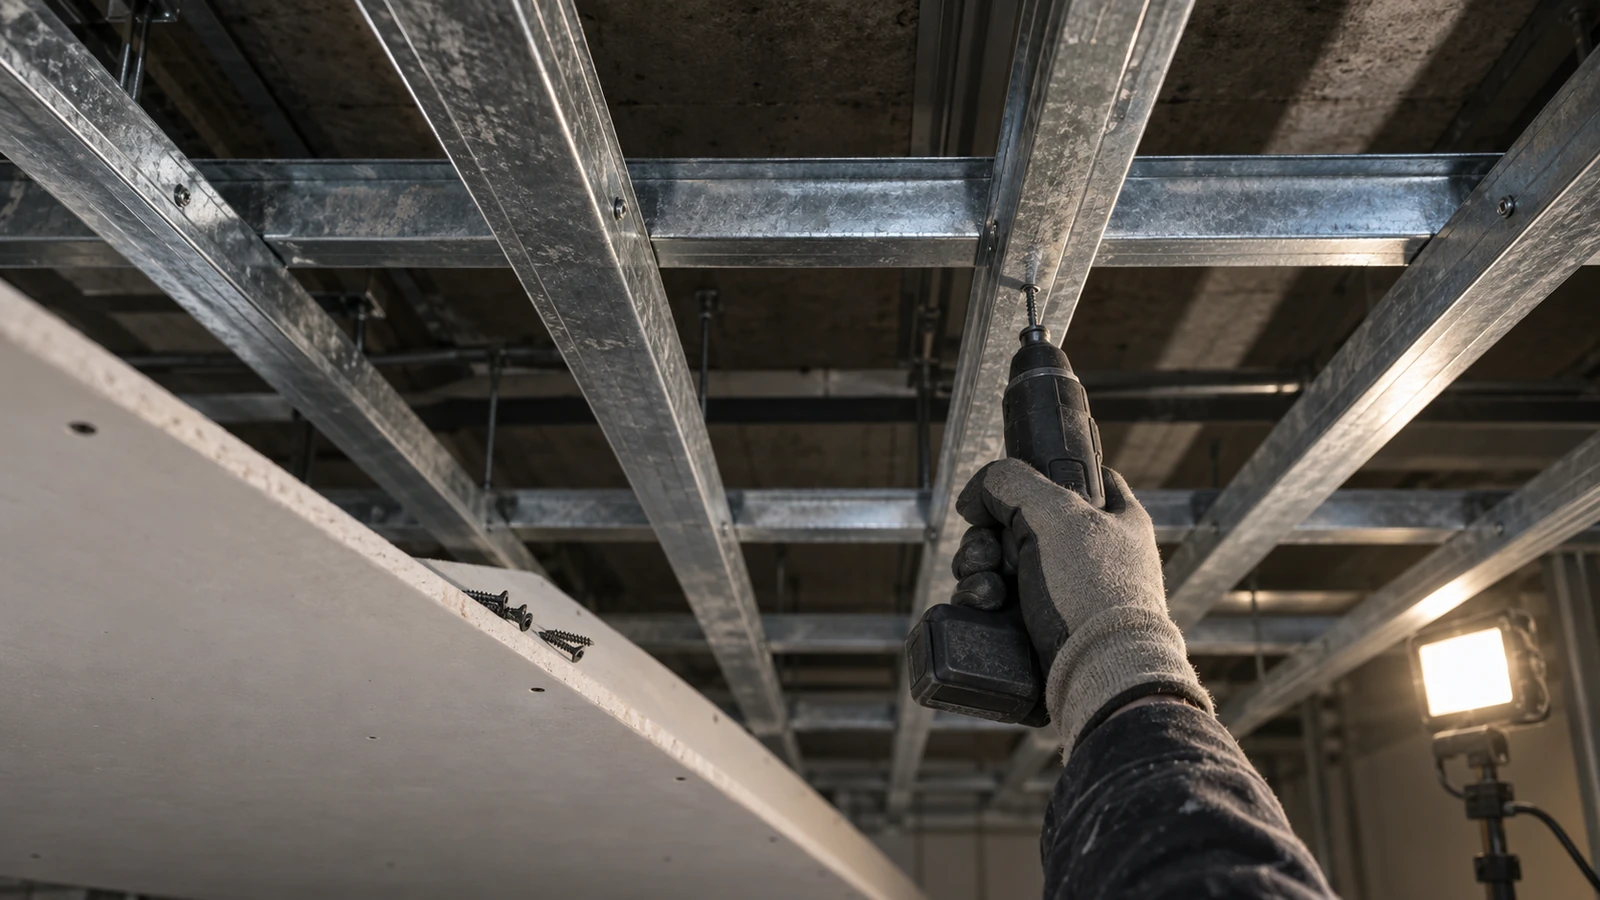
A hat channel ceiling hides its mistakes until the boards are up, and by then every one of them is above your head. The screw that is too short cannot be corrected from below, and the line that ripples will still ripple under two coats of joint compound.
Choosing among drywall screws for hat channel ceilings is mostly an exercise in counting. Count the layers of board, count what the screw has to pass through to reach the metal, and count the fixing pattern against the span. Everything else follows from those three numbers, and all three are easier to settle on paper than on a scaffold.
The ceiling you are screwing into is a stack, not a surface
From below, a finished ceiling looks like one continuous plane. In section it is a stack: board, possibly a second board, resilient or furring channel, and the carriers or hangers that hold the whole assembly to the structure above. A screw has to pass through the layers that belong to the board and stop with enough thread engaged in the metal that carries the load.
Reading the stack in section also exposes the assumption that catches most crews. A screw sized for a single layer is exactly the wrong length once a second layer is added, and a screw that worked on a timber ceiling is not automatically the right shank for a thin steel channel.
Count the layers before choosing drywall screws for hat channel ceilings
The count starts with the specified board build-up and ends with the channel. On a fire-rated or acoustic ceiling the two figures may be linked, because the layer count is often what produces the rating. Changing one without telling the other is how a compliant detail becomes an assumption.
Write the stack on the wall before the first board goes up: board thickness, number of layers, channel gauge and depth, and the carrier spacing. That single line of information answers most questions the crew will raise during the day.
Fine thread, coarse thread and who is holding the board
The shank is decided by what the screw finally bites into, and that question alone narrows most shortlists of drywall screws for hat channel ceilings to a single family. Metal channel wants a fine thread with a sharp point and a small head profile that countersinks cleanly into paper-faced board. Timber wants a coarser thread with more material between the threads to resist pull-out.
| What the screw ends in | Shank that suits it | What to watch |
|---|---|---|
| Thin steel furring channel | Fine thread, sharp point | Thread engagement; a short screw spins without holding |
| Heavier carrier or steel stud | Fine thread, self-drilling point | Driving torque, and whether the point walks off the web |
| Timber batten | Coarse thread | Embedment depth and the risk of splitting near an end |
| Resilient channel | Screw suited to the channel plus a keeper | Whether the channel is allowed to flex as designed |
Length is arithmetic, not a guess
Screw length is the sum of the board build-up plus the metal engagement the channel requires, with a small allowance for the countersink that forms as the head beds into the paper. Estimating it on the scaffold is how ceilings acquire the small dimples that appear after painting.
| Build-up above the channel | Length to start from | Then check |
|---|---|---|
| Single 12.5 mm board | Short fine thread screw | Head beds without tearing the paper face |
| Two layers of 12.5 mm board | Medium fine thread screw | Thread reaches the channel on the first attempt, not the third |
| Board plus a resilient clip assembly | Length set by the clip, not the board | The assembly can still deflect as designed |
| Board over a deep batten | Longer screw with a defined shank | No shank bearing on the board edges |
These rows are starting points for a trial, not a schedule. The build-up on the drawing and the build-up on site diverge more often than anyone expects, and the trial board is what settles which of the drywall screws for hat channel ceilings you actually order for the job.
Spacing, and why the line ripples
Fixing spacing decides whether a ceiling reads as flat, and it is the variable a crew can change most easily on the day. Too wide, and the board sags between fixings as it takes up moisture and load. Too tight, and the board is crushed along a line, which shows up under raking light as a ridge rather than a ripple.
The pattern matters as much as the spacing. Staggering joints, keeping fixings back from board edges by a consistent margin, and working outward from the centre all reduce the chance that a single over-driven screw lifts a neighbouring one. On a long run, it also keeps the drywall screws for hat channel ceilings from being concentrated into one line of the board.
Acoustic and resilient ceilings change the answer
Once a ceiling has an acoustic or resilient function, the fixing stops being a connection and becomes part of a system. A screw driven hard against a resilient channel can bridge the isolation the channel was installed to provide, and the ceiling will perform like a rigid one whatever the specification said.
On these assemblies, confirm which layer is allowed to move, keep fixings clear of the clip positions, and record the pattern actually used. The ASTM guidance for the application and finishing of gypsum board is the usual reference when a project needs a shared language for the sequence and the tolerances.
Openings, fittings and the fixings nobody plans
Ceilings acquire their extra weight after the board is up. A light fitting, a service hatch or a sprinkler drop is added by someone who was not at the fixing conversation, and the load ends up on the board rather than on the structure.
- Mark the position of every opening before the boards are cut, so framing can be added behind it and the drywall screws for hat channel ceilings stay in the field of the board.
- Keep heavy fittings off the channel and take them back to the structure above.
- Photograph the ceiling before it closes, with a tape measure visible, so the framing can be found later.
- Record the fixing pattern and the screw type used, because the next trade will ask.
- Plan for access: a hatch cut after the ceiling is finished is a repair, not an opening.
What to check before the ceiling closes
An inspection done from below, once the boards are fixed, can only find surface problems. The checks that matter happen while the assembly is still open: channel gauge and spacing, hanger positions, screw length against the actual build-up, and the pattern against the drawing. ProAirNails supplies fittings into fit-out work, but a supply list cannot prove that an assembly is compliant, and it should not be presented as if it could.
Where the work is carried out at height, the OSHA fall protection requirements for construction set the baseline that the sequence has to respect, and they often decide the order of work as much as the fixing pattern does.
FAQ
How long should drywall screws for hat channel ceilings be?
Long enough to pass through every board layer and still engage the channel properly. Work it out from the measured build-up, then confirm on a trial board.
Fine thread or coarse thread for metal channel?
Fine thread. The closer thread pitch engages the thin steel, while a coarse thread is intended for timber.
What happens if the screw is too short?
It spins or strips without holding, and the board is effectively unfixed at that point no matter how it looks.
How far apart should fixings be?
Close enough that the board cannot sag between them. The exact figure comes from the project specification and the board thickness.
Why does a ceiling ripple along a fixing line?
Usually over-driving, uneven spacing, or a joint that was fixed hard while a neighbouring fixing was still loose.
Can I reuse the screws from a timber ceiling?
Not for metal channel. The shank is wrong for the substrate, and the difference shows up as stripped fixings.
Do I need a second layer of board before the ceiling closes?
Only where the design calls for it, but if it does, the screw length has to be chosen for the finished stack, not the first layer.
What changes on a resilient ceiling?
The channel is meant to move, so fixings must not bridge the isolation or clamp the clip against the structure.
Should fixings go into the channel web or the flange?
Into the part of the section that the manufacturer's detail shows, which is why the channel section belongs in the trial.
What record should a ceiling job leave?
The build-up as constructed, the screw type and length, the fixing pattern and photographs taken before the boards closed.
Sequence: the order that avoids rework
Measure the stack, choose the shank, calculate the length, set the pattern, then fix from the centre outward and inspect from above before the last board goes on. ProAirNails supplies drywall screws, pneumatic nails and staple pins into interior fit-out work, and a build-up sketch with the layer count on it is enough to quote from; that sketch is the fastest way to reach the right ProAirNails screw rather than a plausible one. Send it through Contact Us.





