

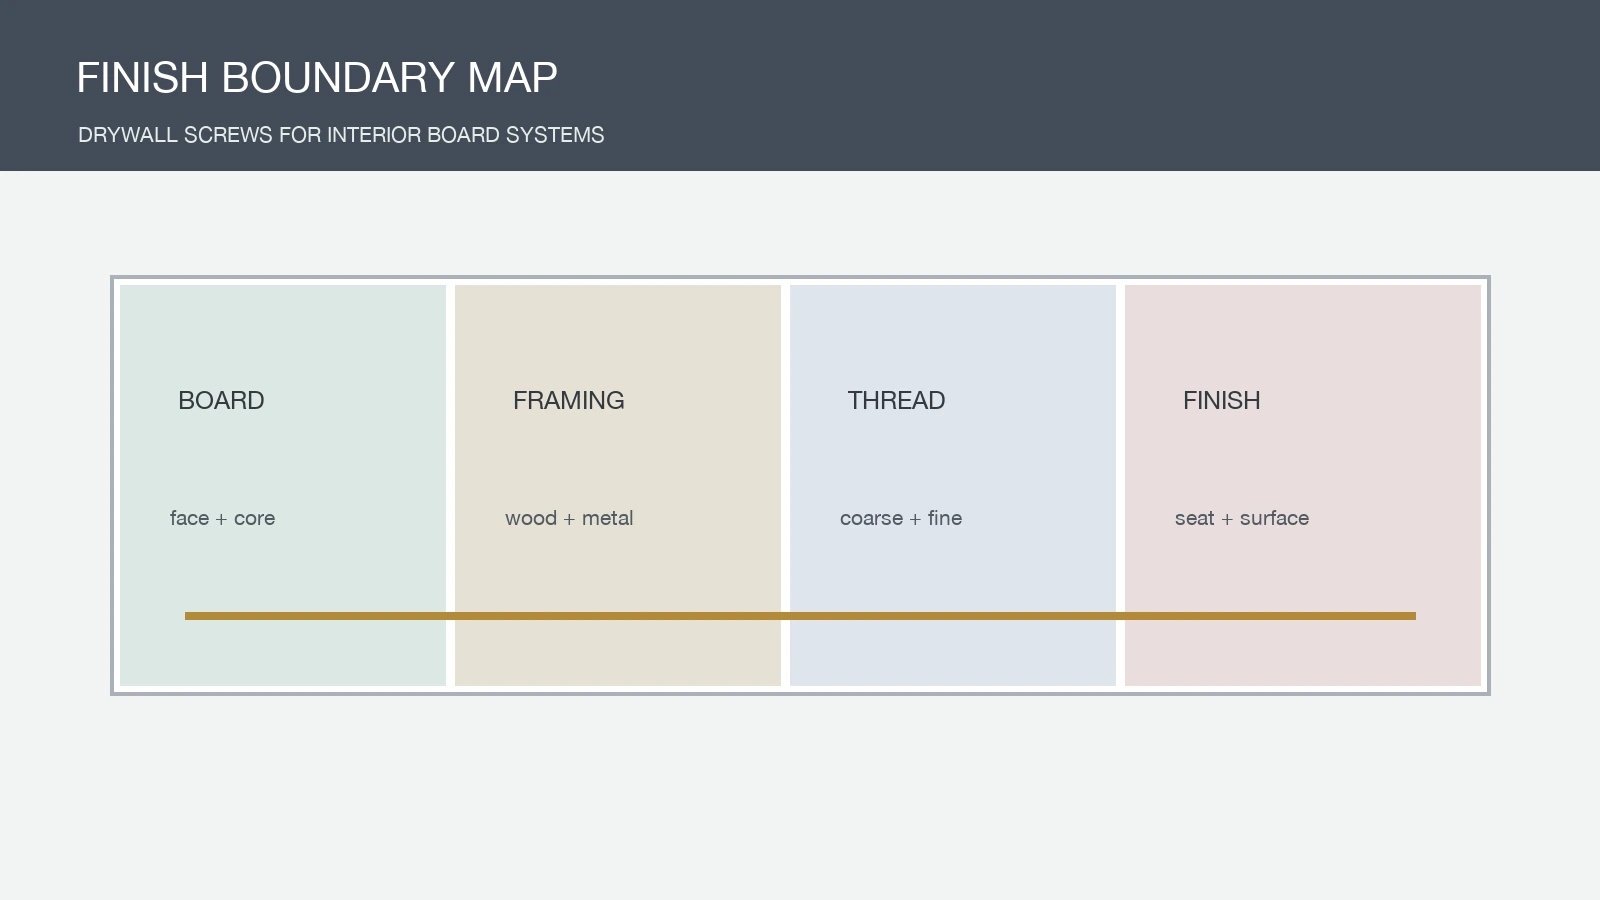
Interior board systems need a screw that disappears into the finish without losing the joint behind it. That balance depends on board type, framing, screw thread, point, head, driver, spacing, and the finish sequence. This boundary map helps a buyer review drywall screws for interior board systems without treating “drywall screw” as a complete specification.
The map is useful for a contractor, distributor, or importer comparing products for gypsum board, cement board, or a mixed interior range. It identifies where a fastener is likely to work, where the boundary changes, and which checks should be repeated when the board or framing changes.
Map the board and framing first
Write down board thickness, facing or surface, framing material, gauge, and whether the screw is driven into wood or metal. A coarse thread drywall screw can bite differently in wood framing than a fine thread drywall screw in a metal stud. The point and length also need to suit the entry condition. If the same project uses several boards, create a separate line on the map for each board-framing pair.
Note the visible-face requirement. A screw head that is too shallow leaves a bump; one that is too deep can break the face paper or crush the core. The finish team may repair a limited number of defects, but a repeated seating problem becomes a labor and crack risk.
Use the boundary table during specification review
| Boundary variable | What changes | Evidence to keep |
|---|---|---|
| Board | Face paper, core density, thickness, edge behavior | Board code and sample panel |
| Framing | Wood bite, metal penetration, strip risk | Framing gauge or species and drive result |
| Thread | Engagement and driving behavior | Coarse or fine thread code, length, point |
| Finish | Head visibility, paper break, joint shadow | Depth window and finished-face inspection |
For drywall screws for interior board systems, a buyer should record the boundary rather than simply selecting the most common thread. A product can be suitable for one board-framing combination and unsuitable for another without either product being defective.
Set a seating window instead of one depth
Depth should be controlled within a practical window. The Gypsum Association explains that screw heads should sit slightly below the panel surface without breaking the face paper or fracturing the core; see its fasteners and adhesives guidance. The check is a finish boundary, not permission to bury every head as deeply as possible.
Mark a small panel with shallow, target, and overdriven examples. Ask the installer and finisher to identify the acceptable zone under normal lighting. Record driver bit, clutch or depth setting, pressure, and operator method. This visual panel becomes more useful than a vague statement such as “drive flush.”
- Check the first panel after the tool is loaded.
- Recheck after a bit change or a framing transition.
- Inspect both the screw head and the surrounding face paper.
- Hold the panel when the head breaks the paper or the core fractures.
Choose coarse or fine thread at the framing boundary
Coarse thread drywall screws are commonly considered where the screw must engage wood framing. Fine thread drywall screws are considered for metal framing, where a different thread interaction and point may be appropriate. These are starting points, not automatic approvals. Framing thickness, board stack, screw length, and tool behavior still need a sample panel.
Ask the supplier to identify point type, head profile, coating, length, and the intended framing range. A coating selected for interior board work should not be presented as universal corrosion protection for wet or exterior exposure. Keep the use boundary in the purchase specification.
Review finish risk with the whole crew
| Observed result | Likely boundary | Next check |
|---|---|---|
| Head proud | Bit, driver, length, or tool depth | Repeat on a marked panel and inspect under finish light |
| Paper torn | Overdrive, head, board face, or excess pressure | Reset the depth window and verify the board |
| Core cracked | Depth, point, edge distance, or board condition | Move the shot and compare a retained sample |
| Rust mark | Coating, storage, finish exposure, or unsuitable environment | Review use boundary and coating evidence |
ASTM F1667/F1667M provides a common reference for driven fastener terminology; see the ASTM specification page. A supplier's quality records can be discussed against the ISO 9001 requirements. The finished panel remains the decisive evidence because it shows how the screw, board, tool, and finisher interact.
Keep drywall screws for interior board systems tied to the room
Interior board systems can include partitions, ceilings, linings, and repair work. Record the room or system type, board assembly, framing, expected movement, and finish level. Do not let one indoor sample silently become a recommendation for a humid service area or a different tested assembly. When a project specification or board manufacturer calls for a particular fastener, keep that requirement visible.
The map for drywall screws for interior board systems is not a substitute for the tested assembly or the board manufacturer's installation instructions. Use it to keep procurement and site checks aligned with that boundary.
ProAirNails helps buyers compare drywall screws, review chipboard screws, connect related pneumatic nails, and request an application sample through Contact Us. A room-specific map gives drywall screws for interior board systems a clear and honest scope.
Close with a change-control note
Record changes to board, framing, screw thread, head, coating, driver, bit, or finish. A change that seems minor can move the seating window or expose a coating to a different environment. Recheck the marked panel and update the installation note before the crew repeats the new combination.
The best result is not the deepest head or the cheapest carton. It is a defined assembly in which the fastener seats consistently, the board remains intact, the finisher can close the surface, and the reorder record still points to the same product.
FAQ
What are drywall screws for interior board systems selected against?
Select them against board, framing, thickness, thread, point, head, coating, tool, seating window, and finish requirements.
When are coarse thread drywall screws considered?
They are commonly considered for wood framing, but the actual board stack, length, point, and tool trial still define the approval.
When are fine thread drywall screws considered?
They are commonly considered for metal framing. Confirm framing gauge, point, length, and drive behavior on the real assembly.
How deep should a drywall screw be driven?
Set a practical window slightly below the panel surface without breaking the face paper, fracturing the core, or stripping the framing.
Why is a marked panel useful?
It gives installers and finishers a shared visual reference for shallow, acceptable, and overdriven heads under the actual inspection light.
What can cause a rust mark through finish?
Possible causes include unsuitable coating, storage moisture, service exposure, finish interaction, or a fastener used outside its stated environment.
Can one screw cover partitions and ceilings?
Only when the board, framing, assembly, finish, and project requirements are equivalent and the evidence covers both uses.
What should change control include?
Include board, framing, screw dimensions, thread, head, point, coating, driver, bit, depth setting, and finish changes.
Should the finisher be part of fastener approval?
Yes. The finished surface can reveal paper breaks, shadows, filler problems, or cracks that an installation-only check misses.
Can ProAirNails support an interior board RFQ?
ProAirNails can organize dimensions, coating, packing, sample panels, tool questions, and the room-specific application boundary for a B2B order.





