

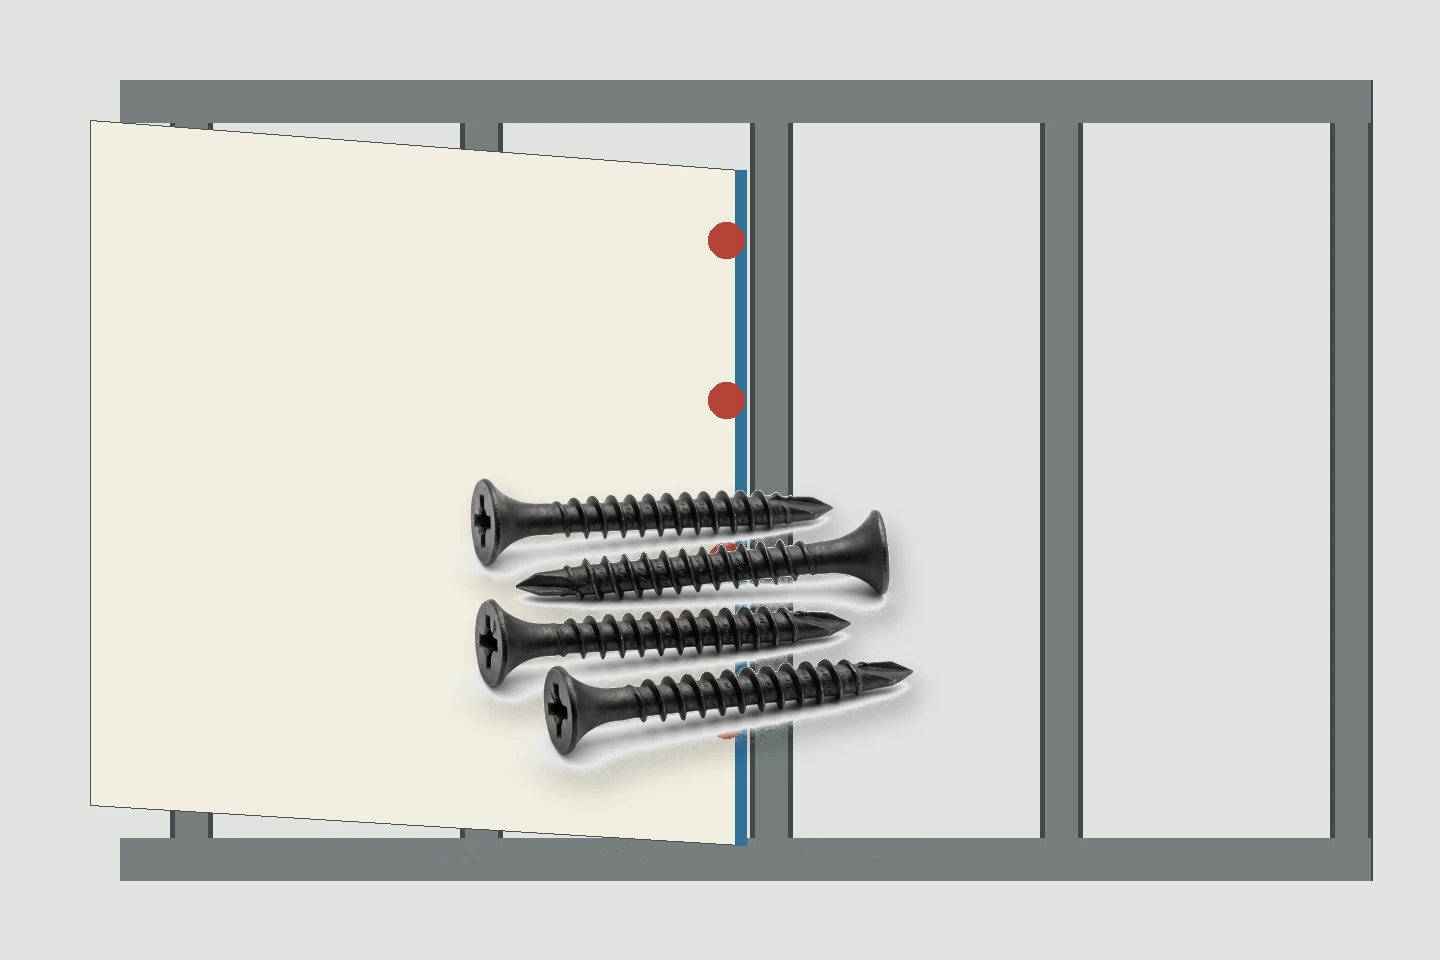
Evaluate drywall screws for partition walls as board-attachment components, not as a cure for framing drift or a substitute for the approved partition design. A wavy face, open joint, cracked finish, or loose board can begin with layout, framing, services, board condition, screw choice, driving, or finishing.
ProAirNails recommends a cause-separation pilot that preserves the full wall build-up, rated-system details where applicable, board layout, framing, tools, finish sequence, and inspection points.
Define the complete partition system
Record wall type, height, framing material and thickness, stud spacing, tracks, bracing, deflection details, board type and thickness, layers, orientation, joints, backing, insulation, services, openings, fire or acoustic requirements, finish level, screw schedule, and governing documents.
Separate drift from attachment defects
| Observed condition | Possible source | Evidence to collect |
|---|---|---|
| Wavy wall face | Framing alignment or board seating | Straightedge before and after boarding |
| Open board joint | Layout, edge support, damage | Joint and framing map |
| Popped or visible head | Depth, movement, substrate | Drive and post-finish record |
| Cracked finish | Movement, joint detail, finishing | Sequence and location history |
Match the screw to the actual substrate
Confirm whether the receiving member is wood, light steel within an applicable screw range, heavier steel requiring a different approved screw, gypsum backing, or another substrate. Record thread type, diameter, length, point, head, coating, and compatibility with the named driver.
Build the attachment matrix
| Input | Trial condition | Release question |
|---|---|---|
| Board stack | Single or multiple layers | Correct approved length? |
| Framing | Wood or specified steel range | Reliable penetration? |
| Location | Field, edge, end, opening | No paper or core damage? |
| Finish | Joint and decoration sequence | Head remains concealed? |
Use the current approved wall schedule for spacing and layout. Do not infer a universal pattern from one sample, package label, or unrelated partition.
Control depth at the board face
Define the accepted head position with the board and finishing system. Record proud heads, torn face paper, crushed core, spin-out, stripped steel, incomplete penetration, wobble, and adjacent surface damage. Inspect before finishing makes the original condition harder to diagnose.
Protect joints, edges, and openings
Map factory edges, cut ends, butt joints, control joints, corners, doors, service openings, and backing. Confirm support before driving. Repeated extra screws near a damaged edge can enlarge the weak area rather than restore the approved assembly.
- Check framing alignment before boarding.
- Keep board and screw lots traceable.
- Record removed and replacement screws.
- Photograph defects before compound.
- Define stop conditions for hidden services.
Preserve rated-system details
For fire, smoke, acoustic, impact, or other rated partitions, use the listed or approved system and current project documents. The ASTM C1002 page describes applicable steel self-piercing tapping screws, while the Gypsum Association technical resources provide broader industry context. Neither source approves every substrate or wall assembly.
Run the driver and operator pilot
Test each named driver, bit, depth control, extension, power setting, operator group, access position, and production pace. Count dropped screws, cam-out, spin-out, stripped framing, proud heads, torn paper, incomplete seating, bit wear, and rework. Follow tool and site safety procedures.
Scale the sample across wall conditions
Include board and framing lots, wall heights, layers, joints, openings, service zones, tools, operators, and normal settings. State which wrong substrate, schedule conflict, torn face, stripped connection, missing support, unsafe service condition, or repeated defect blocks release.
The plan for drywall screws for partition walls should define sample counts, hold areas, repairs, retests, and release authority.
Control cartons and lot identity
Specify thread, diameter, length, point, head, material, coating, bits, carton quantity, inner packing, labels, lots, and route. Sample ordinary screws from multiple cartons and pallet positions. Repeat penetration, seating, and finish checks after transport.
Measure cost per accepted wall area
Compare usable screws, driver time, bit use, spin-outs, stripped connections, removed screws, damaged board, patching, inspection, finishing repair, packing, shortages, and callbacks. Keep drywall screws for partition walls tied to accepted wall area rather than unit price.
Release one cause-separated wall
Choose a representative wall with joints, an opening, service coordination, typical height, and normal access. Inspect framing before boarding, attachment before finishing, and the completed surface under agreed lighting. Record which defects came from framing, board, screw, driving, or finishing.
Reopen only the affected evidence
A board supplier change may reopen face and core response; a framing thickness change may reopen penetration; a new driver may reopen seating; a wall-system revision may reopen the entire route. Record the reason, affected scope, owner, due date, retest, and authorization.
State the evidence boundary
The pilot cannot prove every partition height, rated design, structural movement, service conflict, material lot, installer, environment, or service life. It is not a substitute for engineering, code requirements, listed systems, manufacturer instructions, or qualified inspection. Preserve drawings, samples, photographs, results, repairs, lots, and deviations.
Request a ProAirNails partition-wall trial
Review ProAirNails drywall screws, related chipboard screws, and available product families. Send wall schedules, board, framing, tools, annual volume, packing, and criteria through the inquiry page.
Reliable drywall screws for partition walls make attachment evidence visible without confusing it with framing, board, or finishing defects.
FAQ
Do drywall screws correct crooked framing?
No. Framing alignment, support, deflection details, and wall design must be correct before board attachment.
Why separate causes before changing screws?
Wall defects can begin in framing, layout, board condition, services, driving, or finishing; changing one product may hide the source.
Can one screw type fit every framing member?
No. Confirm the actual wood or steel substrate, thickness range, approved screw type, length, and wall system.
What depth defects should be recorded?
Track proud heads, torn paper, crushed core, spin-out, stripped framing, incomplete penetration, wobble, and surface damage.
When should attachment be inspected?
Inspect framing before boarding and screw placement before compound or finishes conceal the original condition.
How are rated partitions handled?
Follow the exact listed or approved system, project documents, manufacturer instructions, and required inspection.
What should stop installation?
Stop for unknown substrate, missing support, schedule conflict, hidden-service risk, unsafe access, or repeated attachment defects.
What changes reopen approval?
Review wall design, board, framing, layers, screw, coating, driver, bit, operator, finish, or service changes.
How should receiving checks work?
Verify labels, dimensions, thread, coating, quantity, and lots across cartons, then repeat penetration and seating trials.
What supports a quotation?
Send wall schedules, board and framing data, required screws, tools, volume, destination, packing, and acceptance criteria.





