

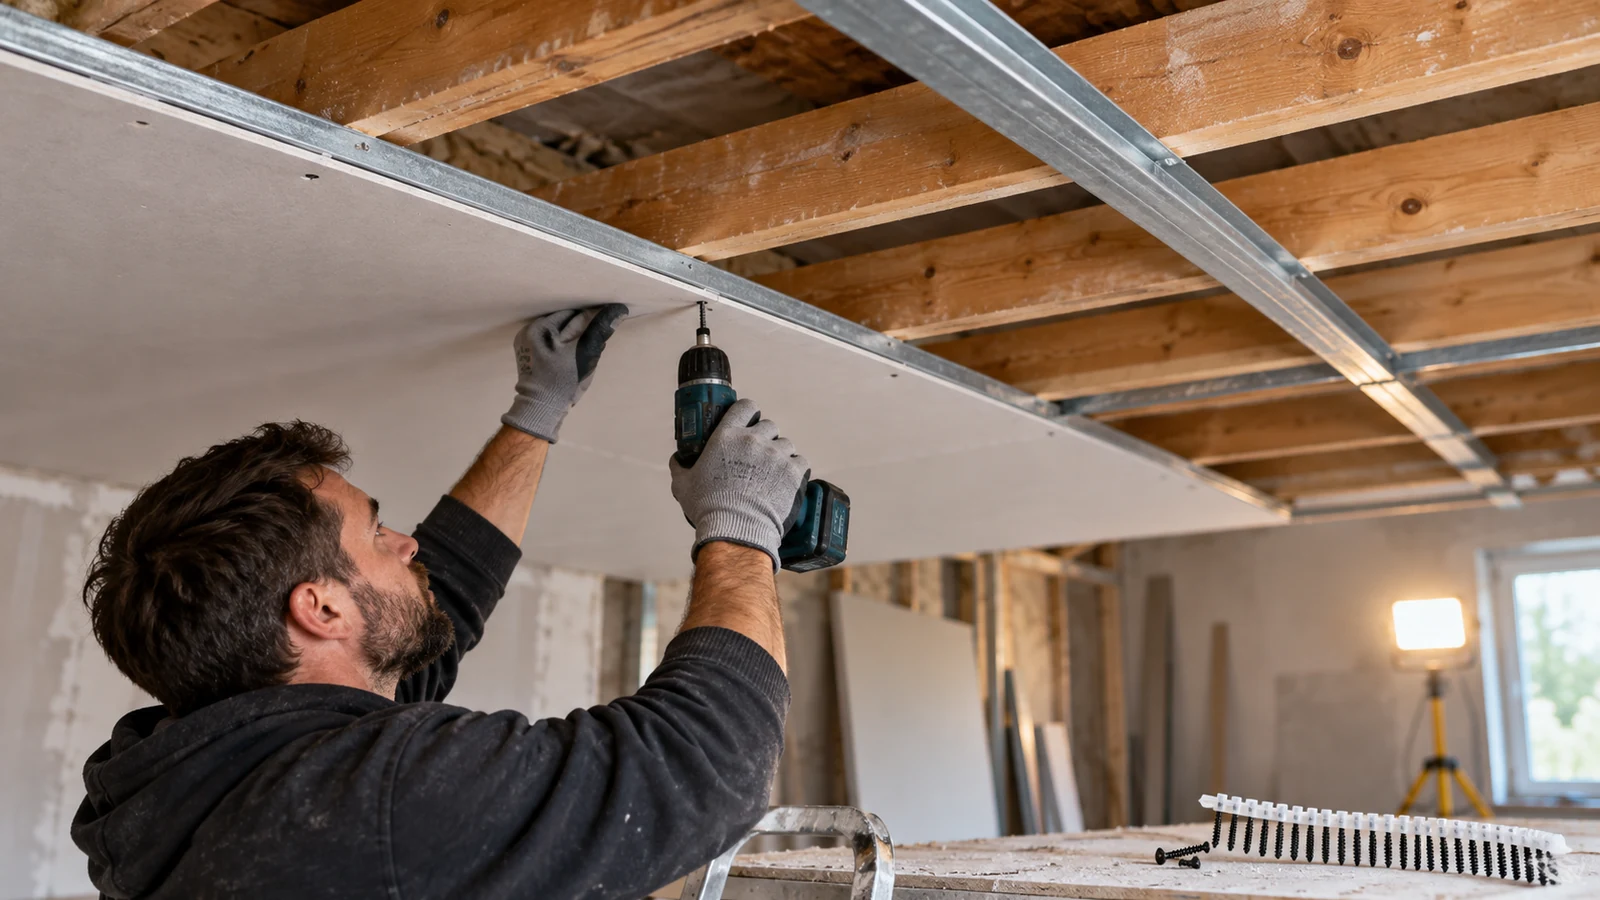
Drywall screws for resilient channel are chosen by what they are not allowed to touch. The channel holds the board a small distance away from the framing so vibration cannot travel straight through. A screw that is a fraction too long crosses that gap, and the wall becomes an ordinary wall that cost more.
ProAirNails supplies drywall screws to contractors and distributors, and the acoustic question reaches us as a screw-length question more often than as a design question. The answer lives in a subtraction that has to be done before the first box is opened on site.
What drywall screws for resilient channel must never touch
Resilient channel works by interrupting a direct path. The board is fixed to the channel, the channel is fixed to the framing, and the two fixings are kept apart by the depth of the channel section. As long as no screw connects the board to the framing directly, the assembly stays decoupled.
A single screw that reaches the framing creates a short circuit. Sound and impact energy travel through that point, and because the assembly is still flexible everywhere else, the failure is not obvious by eye. One bridging screw in a large room can undo the intent of the whole ceiling.
Screw length is a subtraction problem
The usable drywall screws for resilient channel are the sum of the board thickness and the bite into the channel, with nothing left over. Every millimetre beyond that is a risk of contact with whatever is behind the channel.
| Term in the sum | Where the number comes from | Why it is easy to get wrong |
|---|---|---|
| Board thickness | The actual board on site, including any second layer | Specification changes after the screws are ordered |
| Channel bite | Enough thread engagement to hold, measured on the section used | Channel sections differ between suppliers and models |
| Clearance to framing | Remaining distance from the screw tip to the framing face | Not visible once the board is closed up |
| Drive tolerance | How far a setting changes the effective depth | A tool set for another job changes the result |
Do the sum on the section that is actually on site, with the board that is actually being fixed, and write the result on the drawing. Lengths that were correct on a previous job are not transferable, because the channel depth and the board build-up both move.
Channel first: orientation, attachment, and splices
Most bridging failures start before the board arrives. If the channel is installed the wrong way round, the fastening flange sits where the board screw needs to land, and the crew has no choice but to drive through it. No selection of drywall screws for resilient channel can recover a channel that was reversed on the framing.
| Installation point | What to confirm | What to record |
|---|---|---|
| Channel orientation | The attachment flange faces the side that keeps the board bearing on the web | Photograph before boarding |
| Channel spacing | Matches the schedule for the board thickness and the board direction | Spacing used and the drawing revision |
| Attachment to framing | Fixed with the specified fastener, not over-driven or under-driven | Fastener type and tool setting |
| Splices and ends | Joints do not create a stiff point where the board can be pulled into contact | Location of every splice |
| Openings and penetrations | Nothing rigid bridges the board to the framing around the opening | Detail sketch of the treatment |
Photograph the framing before the board goes on. Once the ceiling is closed, the only evidence of how the channel was installed is the paperwork and those photographs.
Drive depth and setting the nose
A drywall screw should seat the board without crushing the core or breaking the paper. On resilient channel there is a second reason to control depth: an over-driven screw distorts the channel web and can pull the board closer to the framing, which reduces the clearance the design relied on. This is why drywall screws for resilient channel are usually run at a shallower setting than the same screw on direct-fixed board.
Set the tool on a scrap assembly made from the real board and the real channel, and keep that scrap with the tool. A setting copied from a job with a different board is a setting for a different wall.
How a bridged screw shows up
There is no tool-free field test that proves a wall is decoupled. What can be done is a set of controls that make bridging unlikely and detectable when it happens, and every one of them is easier to apply before the drywall screws for resilient channel are covered by a finish.
- Compare the screw length issued to the crew against the sum on the drawing.
- Look for a rigid spot or a slight dip along a channel line before finishing.
- Check the underside of the board for a fastener that has pulled the surface down.
- Confirm no second-layer screw was driven long "to be safe".
- Keep one screw from each box with the project record so a dispute can be settled later.
Treat a suspected bridge as a defect to be opened and inspected rather than a judgement call. A repair that removes one screw and re-fixes with the correct length is cheap; a failed acoustic test is not.
Perimeter, track, and the flanking paths
Decoupling a field of channel does not decouple the room. The perimeter detail, the track, and any structural penetration can carry vibration around the treated area, and those paths are usually fastened with different screws again.
Walk the perimeter against the detail drawing before ordering, and check that the fastener chosen for the perimeter does not defeat the isolation at the edge. Buyers often discover the edge condition after the field screws are already on site.
What to record for the next floor
Standards help here as long as their limits are respected. The AWI architectural wood casework scope is a useful example of how a written expectation and a physical sample are meant to support each other, and the NIOSH nail-gun safety guidance covers the tool side of the work. Neither one tells you whether a wall is decoupled.
| Record | Why it saves money later |
|---|---|
| Board build-up and channel section | Reproduces the length calculation without a site visit |
| Screw series, length, and thread | Lets a second floor be ordered from a specification |
| Tool setting used for the approved seat | Prevents a depth drift on a new crew |
| Framing photographs before boarding | Shows channel orientation and every splice |
| Supplier and lot identity | Keeps a later complaint traceable |
The ASTM F1667 driven-fastener specification gives a shared vocabulary for screw dimensions, materials, and finishes so a delivery can be checked against the sample. It says nothing about acoustic performance, which is a property of the assembly rather than of the screw.
FAQ
How long should drywall screws for resilient channel be?
Long enough to fix the board to the channel and short enough that the tip never reaches the framing. Work the number out on the actual board and channel.
Can a screw that touches the framing really matter?
Yes. One rigid connection gives vibration a direct path, and the rest of the assembly cannot compensate for it.
Does screw thread type affect the result?
Thread form affects seating and holding in the channel. It does not remove the need for the length calculation.
Why do some crews use longer screws anyway?
Usually because a screw pulled out of the channel on an earlier job. The fix is the correct length and setting, not a longer screw.
How can bridging be checked after the wall is finished?
It is difficult and expensive. The practical controls are material control, a trial assembly, and photographs before boarding.
Should the channel be photographed before boarding?
Yes. Orientation, spacing, and splice locations are invisible afterwards and are the most common causes of a failed assembly.
What about a second layer of board?
Recalculate. A second layer changes the sum, so the screw that suited the first layer will be wrong for the assembly.
Does the perimeter need the same screw?
Not necessarily. The perimeter detail is a different condition, so confirm what the drawing requires at each edge and opening.
What should be kept from the delivery?
One screw from each box, the box label, the lot identity, and the length printed on the carton.
What should a resilient channel enquiry include?
The board build-up, channel section and depth, screw type currently used, tool model, quantity, and the delivery schedule.
Send the build-up, not the screw size
ProAirNails supplies drywall screws for resilient channel and works with contractors and distributors on drywall screws, pneumatic nails, brad nails, and coil nails across interior and structural work. A request that states the board build-up, channel section, and tool model can be answered with a screw length and a seating setting instead of a guess.
Send it through Contact Us with the framing photograph from the last floor. ProAirNails keeps the approved build-up with the order record so the next phase is ordered against the assembly that was actually installed.





