

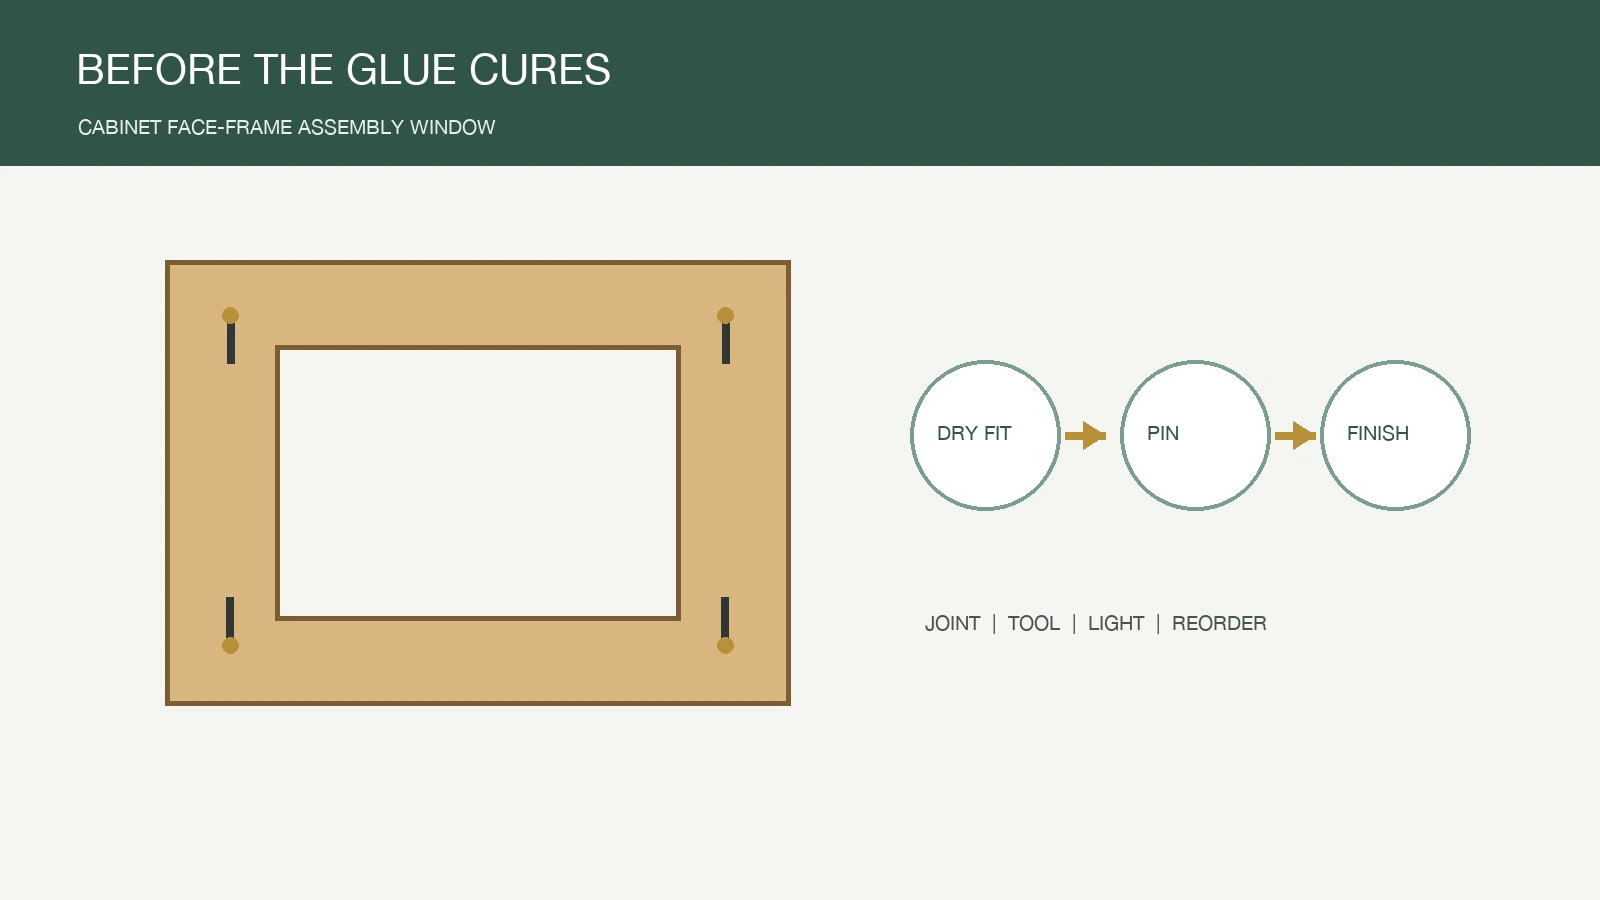
16 gauge brad nails for cabinet face frames should be approved across the whole assembly window, not from one clean shot into scrap wood. The joint is dry-fitted, glued, aligned, clamped or held, pinned, cleaned, and later viewed under a finish. A fastener can help during one stage and create trouble at the next.
ProAirNails recommends recording the trial in the order the cabinet team actually works. That makes the result useful to the assembler, finisher, quality inspector, and buyer. It also reveals whether the brad is acting as temporary location support, part of the finished joint, or both.
Work backward from clamp release
Begin with the moment the face frame can safely leave the assembly station. What must remain square? Which rails or stiles can still creep? Where will a proud head block sanding, and which edge will be visible after installation? These questions set the acceptance conditions before anyone adjusts the nailer.
Write a short timeline beside the sample: dry fit, adhesive application, locating shots, clamp time, cleanup, sanding, coating, and final inspection. Do not invent a universal cure time. Use the adhesive maker's instructions and the factory's validated process, then note exactly when the brads were driven.
Map 16 gauge brad nails for cabinet face frames to each joint
| Joint or zone | What the brad must do | What can go wrong |
|---|---|---|
| Rail-to-stile alignment | Hold position while the assembly is controlled | Edge split, joint drift, or visible entry mark |
| Frame-to-carcass edge | Keep the reveal while backing supports the fastener | Side exit, overdrive, or a pulled reveal |
| Wide finished rail | Limit movement without creating a finish shadow | Filler shrinkage or a dent around the head |
| Corner near routed detail | Avoid the thin section and preserve the profile | Breakout into the moulded edge |
The map prevents one sample from standing in for every location. If the frame contains a narrow routed stile and a broad square rail, test both. Mark shot direction and edge distance on the workpiece so the approved route can be repeated at another station.
Run the dry fit before opening the adhesive
A dry run isolates geometry from glue and time pressure. Assemble the same material stack, support the frame as production will, and confirm where the tool nose can sit flat. Use the intended gauge and length in a controlled scrap joint before moving to a saleable component.
- Confirm the nailer model, magazine range, driver condition, and pressure setting.
- Mark rail, stile, grain direction, shot angle, and backing thickness.
- Drive a small pattern at the planned operator position, not only on a bench.
- Inspect both faces and every edge before changing a setting.
- Retain one strip and the carton label with the sample record.
For 16 gauge brad nails for cabinet face frames, the nearby alternative is useful too. Comparing two approved lengths can show whether the process has a practical window or whether a few millimetres of change creates side exit or poor engagement.
Do not let glue hide the fastener decision
Adhesive can make a trial joint feel strong even when the brad path is poor. Inspect entry marks, splits, proud heads, and alignment before the adhesive masks movement. A brad test is not a substitute for validating the adhesive, clamp pressure, joint preparation, or cure schedule.
This is also the main limitation of a workshop pull check. The result belongs to the tested wood or panel, joint geometry, moisture condition, adhesive state, fastener, tool, and test direction. It should not be converted into a universal load claim for all cabinets.
Inspect four sightlines after finishing
| Inspection moment | Look from | Record | Action if it misses |
|---|---|---|---|
| After driving | Face and both adjacent edges | Head position, split, side exit | Review length, angle, pressure, or support |
| After sanding | Low raking light | Dent, raised fibre, filler boundary | Change seating or repair method |
| After coating | Normal cabinet viewing angle | Shadow, sink, colour change | Repeat with the production finish |
| After handling | Reveal and corner alignment | Joint movement or opening | Recheck joint design and process |
Photographs should include the untouched reference area, not only a close-up of the filled hole. A pass means the face and the joint meet the drawing and finish standard together.
Connect the sample to recognized boundaries
The ASTM F1667/F1667M specification provides common terminology and requirements for driven fasteners, but the application team still has to approve collation, tool fit, and the real joint. The AWI architectural wood casework standard is a useful reference for defining the casework scope and the project's workmanship requirements.
Neither reference selects a production setting for a specific cabinet. Use the project drawing, material supplier guidance, tool manual, adhesive instructions, and approved finish sample as the controlling documents.
Carry the proof into packing and reorder control
ProAirNails can help buyers compare brad nails, review related pneumatic nails, confirm the business background at About Us, and submit a face-frame sample brief through Contact Us. The brief should name the wood or panel, joint sketch, tool, intended length, finish, packing quantity, destination, and required ship window.
At reorder, compare product code, gauge, length, head, point, finish, strip format, carton count, label, and lot identity with the retained approval. A change to wire, tooling, adhesive collation, coating, packaging, or inspection should reopen the relevant part of the trial.
Release the assembly, not an isolated fastener
A good approval for 16 gauge brad nails for cabinet face frames states which frame material, joint, tool, length, finish, and assembly timing passed. It also states what was not tested. That narrow release is more useful than a broad promise because purchasing can recognize when a future order has moved outside the evidence.
ProAirNails uses the finished cabinet sample as the final conversation piece: the buyer can point to the reveal, the repaired entry mark, and the retained strip instead of relying on a generic gauge description.
FAQ
What should be defined before testing 16 gauge brad nails for cabinet face frames?
Define the frame material, joint, backing, length, tool, shot direction, adhesive sequence, visible surfaces, finish, and acceptance owner.
Can the brad replace cabinet joinery or adhesive?
Do not assume so. The joint design and adhesive process need their own validation; the brad's role should be stated explicitly.
Why run a dry fit first?
A dry fit exposes access, support, edge distance, shot angle, and alignment problems before adhesive and cure timing complicate the result.
Should two brad lengths be compared?
A nearby alternative can reveal a practical process window, but each length still needs to fit the nailer and remain inside the joint.
Why inspect after coating?
Filler, sanding, primer, topcoat, sheen, and lighting can reveal a mark that was not obvious on raw material.
What belongs in the retained sample file?
Keep the approved strip, carton label, product code, tool setting, joint sketch, photos, finish result, lot identity, and release note.
Can one sample cover every rail and stile?
Only when material, profile, backing, edge distance, direction, and visible-face requirements are equivalent and included in the trial.
What changes should trigger a review?
Review changes to wire, dimensions, head, point, finish, collation, tool, adhesive, material, joint geometry, packing, or inspection.
How should a buyer describe a face-frame RFQ?
Send a joint sketch, material stack, tool model, candidate size, finish expectation, order quantity, pack format, destination, and schedule.
What is the final release question?
Ask whether the complete frame remains square, clean, finish-ready, and traceable under the exact conditions recorded in the approval.





