

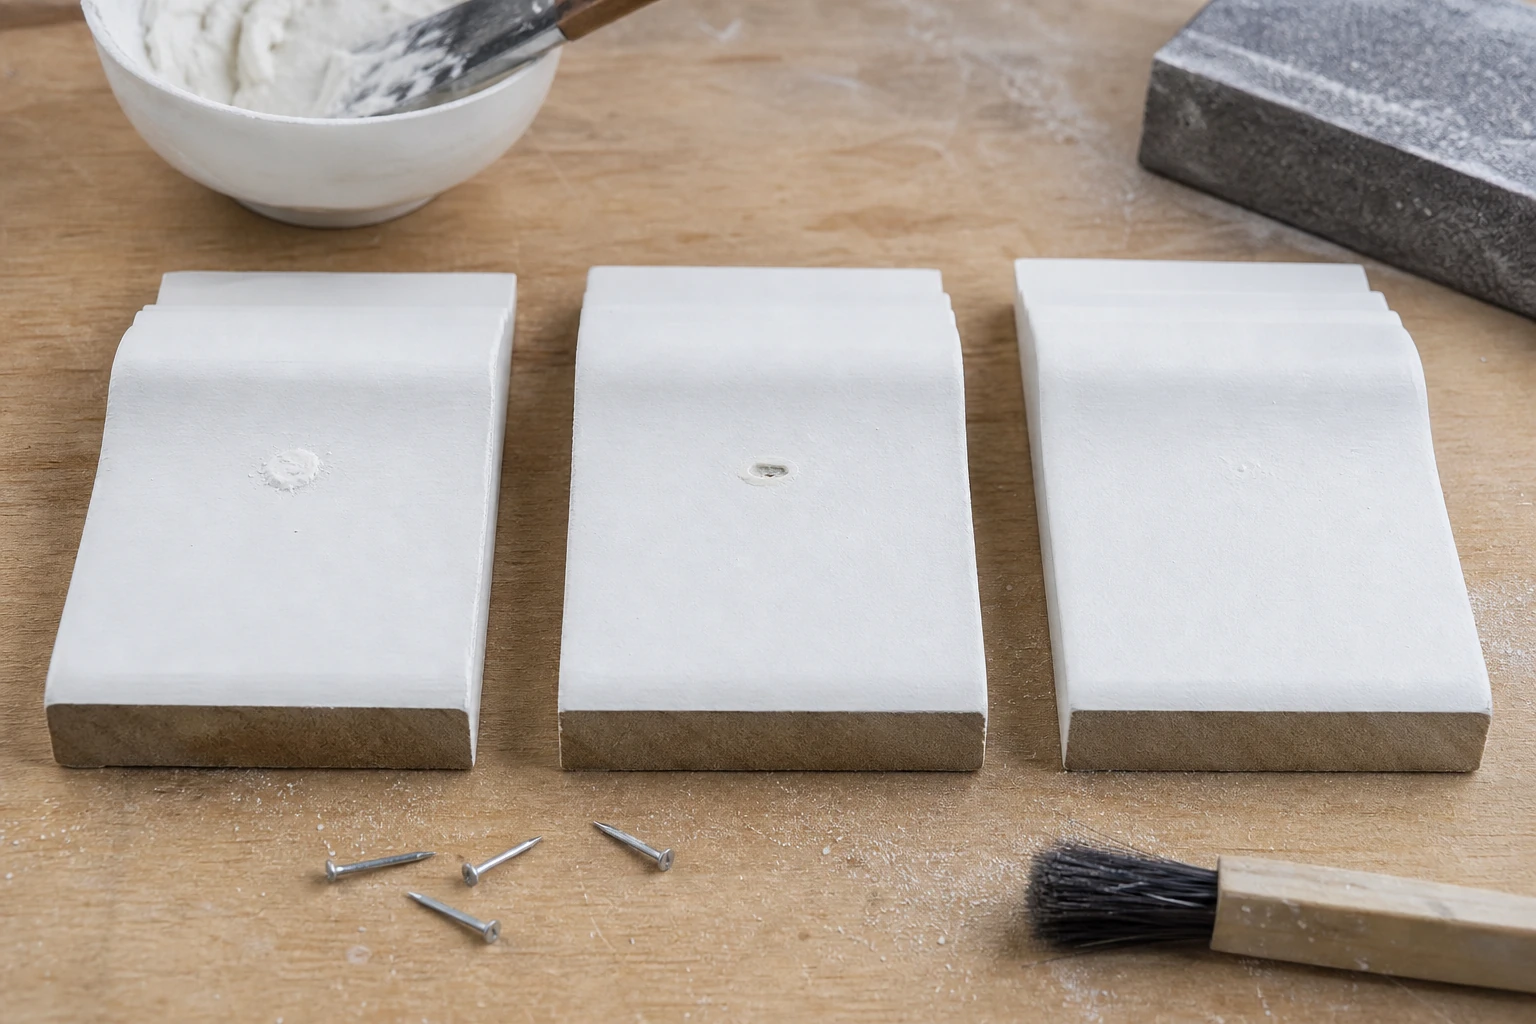
Brad nail filler shrinkage after painting is a time-dependent appearance change: a patch that began level later sits below the surrounding trim or reveals a visible edge through the finish. The first useful question is not which material to blame, but when the surface changed. A wet-fill photograph cannot distinguish filler contraction from sanding depression, paint sheen, substrate movement, or a brad that was never set deeply enough.
ProAirNails recommends preserving one sample at every finishing stage and marking every repaired hole. A simple timeline turns a returned patch into traceable evidence and keeps the corrective action tied to the stage where the change began.
Begin at the moment the cavity is formed
Record brad gauge, head style, finish, drive depth, tool setting, substrate, and hole condition before filler is applied. Include correctly driven samples plus shallow and deep boundary samples. A proud head under a thin smear can resemble shrinkage later, while an overdriven cavity may hold an unusually thick mass of filler.
Photograph six fixed checkpoints
| Checkpoint | Record | What a change can suggest |
|---|---|---|
| Initial fill | Overfill, voids, application count | Incomplete cavity packing |
| Declared cure | Center level and edge condition | Early volume loss or slow cure |
| After sanding | Profile under raking light | Abrasive-created depression |
| After primer | Absorption, ring, stain | Porosity or sealing difference |
| After topcoat | Color, gloss, normal-view visibility | Sheen flashing rather than depth |
| After conditioning | Depth and edge movement | Delayed contraction or substrate movement |
Make the timeline comparable
Use the same camera position, raking-light direction, normal viewing distance, temperature range, and measurement points at every checkpoint. Record actual elapsed time rather than writing “dry.” Keep filler batch, mixing method, application tool, abrasive grade, primer, topcoat, and coat intervals fixed unless that variable is the purpose of the panel.
- Number holes before driving.
- Retain an unfilled driven-brad control.
- Add a filler-only patch without a hole.
- Keep one cured sample unsanded.
- Store an accepted reference beside the test set.
Separate a depression from a visual halo
Use a straightedge, controlled profile reading, or consistent tactile comparison to determine whether the center is physically low. If the surface is level but visible only at a certain angle, investigate porosity, primer coverage, gloss, and sanding scratches. If a dark point emerges, examine moisture, residue, coating bleed, and brad finish before assigning the cause to lost filler volume.
Read when the defect first appears
| First observed stage | Leading investigation | Useful control | Possible response |
|---|---|---|---|
| Before sanding | Fill depth, cure, formulation | Staged versus one-pass fill | Adjust fill and cure route |
| Immediately after sanding | Pressure, backing, abrasive | Unsanded cured sample | Control sanding profile |
| After primer | Absorption or sealing | Filler-only primer patch | Review compatible sealer |
| After topcoat | Gloss or coat build | Full-panel versus spot coat | Change finish application |
| After conditioning | Delayed cure or movement | Unconditioned reference | Extend validation interval |
Reproduce the failure before changing the recipe
Run the current process as a control, then change one factor per panel: cavity cleaning, application passes, cure interval, sanding route, primer, or topcoat. Brad nail filler shrinkage after painting should recur in the control before a new method is credited with solving it. Otherwise normal panel variation can be mistaken for improvement.
Use fastener standards for fastener questions
The official ASTM F1667/F1667M-21a page covers driven fastener requirements and terminology. It does not approve a filler, paint, cure schedule, or cosmetic acceptance level. Those conditions must be documented in the finish-system trial.
Turn an appearance rule into a sampling rule
The ISO 2859-1:2026 page describes lot-by-lot attribute sampling indexed by AQL. It may support a declared production inspection plan after “visible patch” is defined, but it does not create that definition or establish a universal acceptable defect level.
Choose corrective action from the stage evidence
Do not automatically add more paint over a low patch. A true depression may need removal and a controlled refill; a sheen halo may need a finish-system correction; a proud brad requires safe resetting before repair; and movement may require a substrate or environment review. Confirm the chosen response on a representative panel before release.
Send ProAirNails a complete finish record
Provide brad specification, lot, tool and depth setting, trim material, filler identity, application passes, cure times, sanding, primer, paint, conditioning, stage photographs, and acceptance view. ProAirNails can discuss brad nails, related pneumatic nails, the broader product range, and sample planning through the inquiry page.
Keep the conclusion inside the evidence boundary
A panel that resolves brad nail filler shrinkage after painting does not prove every wood species, MDF batch, filler, color, gloss, installer, climate, or service interval will behave the same way. It is not a substitute for the filler and coating manufacturers’ instructions or project approval. ProAirNails can support identified fastener evidence; the buyer controls the complete decorative system.
Retain accepted and failed panels with the timeline. Repeat the brad nail filler shrinkage after painting review after a change to brad depth, substrate, filler, cure, abrasive, primer, paint, or environmental exposure.
FAQ
Can a visible patch be level rather than sunken?
Yes. Different porosity, color, or gloss can create a halo even when the repaired surface remains level.
When should filler depth first be checked?
Check after the declared cure and before sanding, then repeat after each finish stage.
Why keep an unsanded control?
It shows whether the depression developed during cure or was created by sanding pressure and abrasive action.
Does a second filler pass always prevent shrinkage?
No. It may help a deep cavity, but compatibility, cure, preparation, and final coating still need validation.
Can a shallow brad cause the same appearance?
Yes. A proud or nearly proud head leaves inadequate repair depth and can print through the coating.
Should inspection use only close-up light?
No. Use close-up light for diagnosis and the agreed normal viewing condition for acceptance.
What does a dark point indicate?
It can suggest staining, moisture, contamination, or exposed fastener rather than simple filler contraction.
How long should conditioning last?
Choose a declared interval that represents the project decision and report it without claiming universal service life.
What process changes require a new panel?
Review changes in fastener depth, substrate, filler, cure, sanding, primer, topcoat, or environment.
What evidence should accompany a complaint?
Send product identity, process times, stage photographs, viewing rule, affected rate, controls, and retained samples.





