

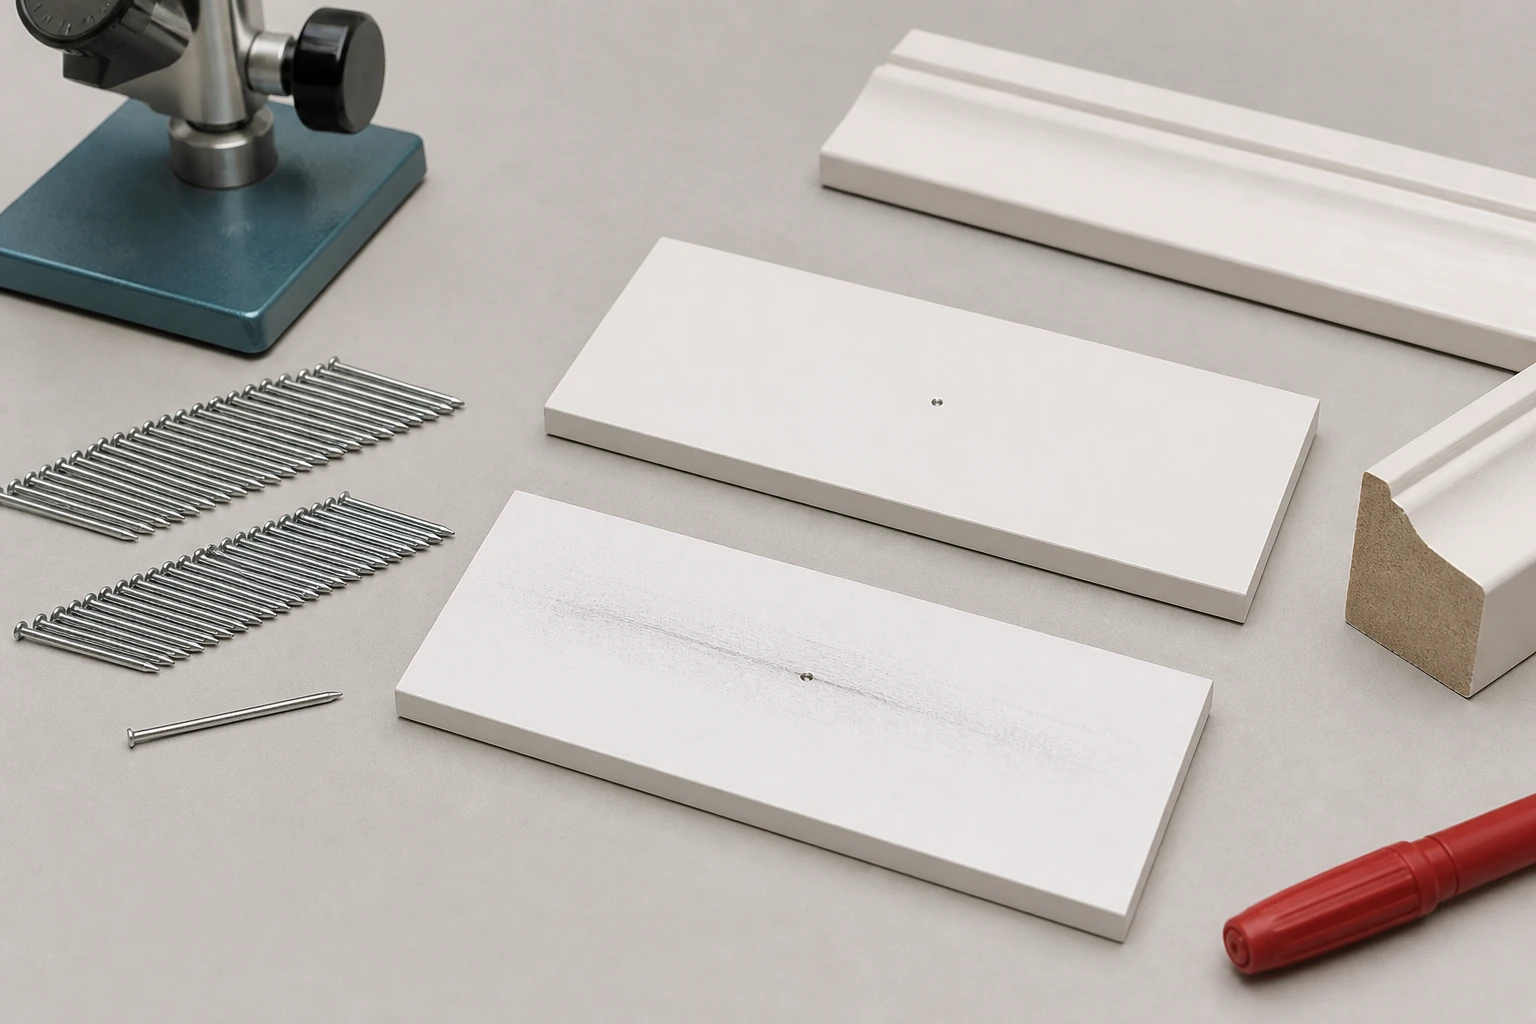
A brad nail finish transfer test should compare driven and undriven surfaces under the same light, handling, and cleaning conditions so a buyer can distinguish transferred residue from a dent, shadow, or damaged topcoat. A dark mark beside a nearly invisible brad head is not automatically proof that the fastener finish migrated. The driver, nosepiece, glove, pencil, packaging dust, and cured paint can all create a similar-looking trace.
ProAirNails recommends treating the mark as evidence to classify, not a conclusion to guess. Start with paired coupons, preserve an untouched control, record the drive conditions, and examine the mark before and after a defined dry wipe. That sequence produces a useful answer without promising that one bench trial represents every coating or jobsite.
Begin with the visible trace
Describe location, color, shape, gloss, direction, and whether the trace sits on the brad head, around the entry point, or along the tool contact area. A narrow line aligned with the driver may have a different cause from a circular nosepiece scuff. Photograph the surface square-on and under low-angle light before touching it. Include a scale and the coupon identity.
Build a paired-coupon control
Prepare coupons from the same substrate and finishing batch. Keep one untouched, press the tool nose against another without firing, drive an uncoated reference fastener where appropriate, and drive the subject brad into the remaining coupons. Handle every coupon with the same clean gloves and rest time. This arrangement helps separate pre-existing variation, tool contact, and fastener-related evidence.
| Coupon | Action | Question answered |
|---|---|---|
| A | No contact | Was the surface already marked? |
| B | Tool contact, no drive | Can the nosepiece create the trace? |
| C | Reference brad and fixed settings | Does another finish behave differently? |
| D | Subject brad and fixed settings | Does the observed pattern repeat? |
| E | Subject brad after tool cleaning | Was residue already in the tool? |
Lock the drive variables
Record brad gauge, length, finish, lot, tool model, driver and nosepiece condition, air pressure, depth adjustment, contact angle, substrate, topcoat system, cure time, temperature, and operator. Use a clean backing fixture and a repeatable drive direction. If pressure or depth changes during the run, label the change instead of combining all results.
- Clean and photograph the tool contact area before the run.
- Use a separate cloth for each coupon group.
- Keep the same light and camera position.
- Record every firing order and rejected event.
- Retain representative marked and unmarked coupons.
Observe before you wipe
First inspect the dry surface without rubbing. Then use a declared wipe material, direction, stroke count, and pressure. If a trace lifts onto the cloth, photograph both cloth and coupon. If it remains, examine whether the topcoat is indented, polished, cut, or missing. Solvent should be a separate approved stage because it can attack the coating and create a false interpretation.
Classify the mark by behavior
| Observation | Possible explanation | Next comparison |
|---|---|---|
| Loose material on dry cloth | Transfer, dust, or tool residue | Clean-tool coupon and material identification |
| Gloss change with no residue | Pressure polishing or nosepiece contact | No-fire contact coupon |
| Topcoat missing at entry | Coating fracture or substrate movement | Cure-time and coating controls |
| Trace follows driver path | Driver contamination or drag | Driver inspection and cleaning |
| Mark appears after humidity exposure | Corrosion product or coating interaction | Controlled exposure and retained baseline |
Do not confuse corrosion with immediate transfer
An immediate surface trace and a mark that develops after moisture exposure are different events. The official ISO 9227:2022 page describes salt spray corrosion tests. Such testing can compare specified corrosion systems, but it is not a universal predictor of service life and does not identify the source of an immediate installation mark. Preserve the time-zero coupon before any accelerated exposure.
Connect the result to the intended trim
Repeat the controlled comparison on the actual paint, lacquer, veneer, or wrapped molding system when appearance is critical. Include accepted and worst-case cure windows. A result on raw pine cannot prove behavior on white factory-finished MDF. ProAirNails recommends agreeing on viewing distance, lighting, cleaning allowance, and cosmetic acceptance before the purchase order.
Document the brad nail finish transfer test as an appearance comparison tied to that named surface system, not as a universal material certificate.
Use fastener standards within their scope
The active ASTM F1667/F1667M page provides requirements and terminology for driven fasteners. It does not set a universal cosmetic transfer limit for every decorative coating. Put the buyer's coupon preparation, drive settings, observation method, and acceptance examples into the approved product record.
Write an inquiry that can be reproduced
Send brad dimensions, finish, tool and nosepiece, pressure, substrate, coating system, cure time, photographs, wipe method, sample size, and acceptance examples. ProAirNails can discuss brad nails, related pneumatic nails, the wider product range, and controlled samples through the inquiry page.
Keep the claim narrower than the evidence
A brad nail finish transfer test cannot prove that no mark will occur on every substrate, after every storage condition, or with every tool. It does not replace coating compatibility work or jobsite approval. The buyer controls the final surface, tool maintenance, installation settings, cosmetic standard, and release decision.
Use repeated patterns rather than one dramatic coupon. If the mark occurs only before tool cleaning, investigate the tool. If it follows one finish across cleaned tools and paired surfaces, retain the fasteners and residue for further review. ProAirNails can compare those samples with the lot record.
For repeat orders, retain one accepted coupon, its brad lot, and its photo setup. Run the same brad nail finish transfer test after a finish, topcoat, tool, or substrate change. The retained comparison makes a later appearance discussion specific instead of subjective.
When the result affects visible trim, record who judged the coupons and at what distance. A close macro image is useful for investigation but can exaggerate what a customer sees. Pair it with the agreed normal-view photograph.
Use the brad nail finish transfer test to decide what made the mark, what condition repeats it, and which control should change.
FAQ
Is every dark ring caused by the brad finish?
No. Tool residue, a nosepiece scuff, substrate dust, and topcoat damage can look similar.
Why keep an untouched coupon?
It shows the original surface variation and protects against attributing a pre-existing mark to installation.
Should the mark be wiped immediately?
Photograph and inspect it first; wiping can remove evidence or spread residue.
Can solvent be used?
Only as a separate, approved step because solvent may change the decorative coating.
How many drive settings should be compared?
Use the approved setting and defined boundary settings, changing one variable at a time.
Does a salt spray result predict trim appearance?
No. It addresses specified corrosion exposure and does not explain an immediate cosmetic trace.
What lighting is suitable?
Use repeatable diffuse and low-angle lighting, plus the buyer's normal viewing condition.
What samples should be retained?
Keep accepted, marked, clean-tool, no-fire contact, and untouched controls with their identities.
When should the test be repeated?
Repeat it after changes to finish, coating, cure, substrate, tool, nosepiece, pressure, or cleaning route.
What belongs in the acceptance record?
Include images, viewing rule, coupon preparation, drive settings, wipe method, sample count, and disposition.





