

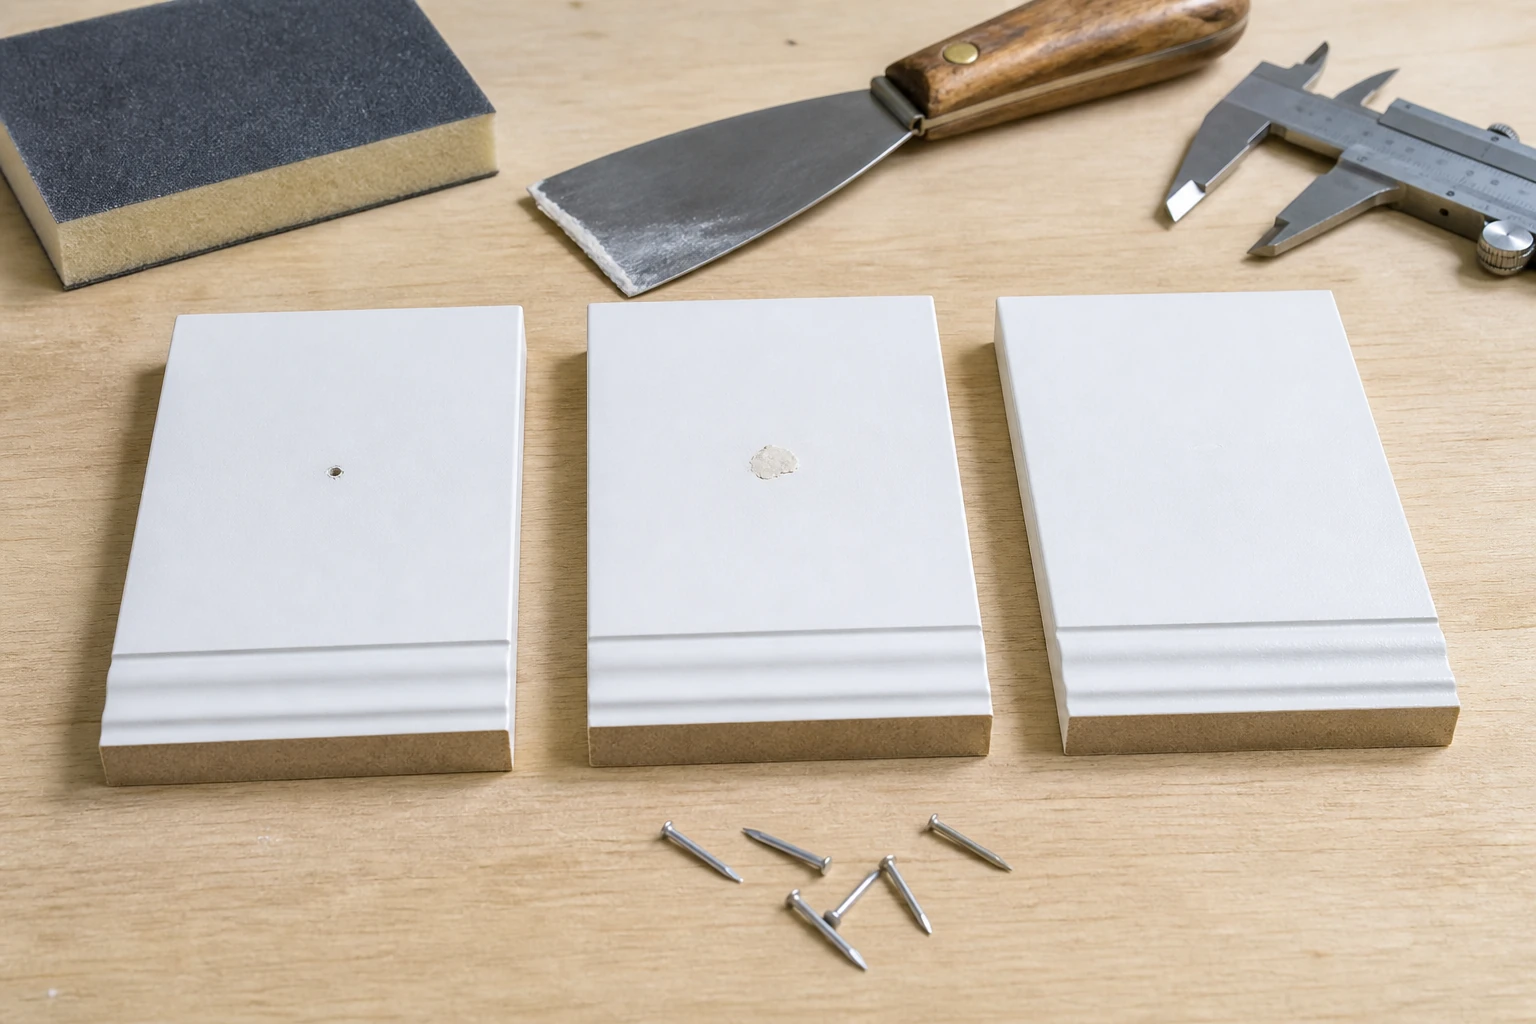
A brad nail hole filler compatibility test should evaluate the complete finish system—installed brad, substrate, filler, cure interval, sanding method, primer, topcoat, and viewing condition—rather than judge filler from a smooth wet patch. A repair can look level on day one and later shrink, flash through paint, crack at the edge, stain, or release when the molding moves.
ProAirNails recommends building a small panel map before approving visible trim. Keep unfilled and undriven controls, change one finish variable at a time, and inspect the same locations after each defined stage. The goal is a reproducible appearance decision, not a claim that one filler works on every surface.
Define the finished appearance first
State the normal viewing distance, light direction, gloss level, color, touch-up route, and acceptable visibility. A patch that passes under diffuse shop light may flash under low-angle daylight. Photograph macro detail for diagnosis and a normal-distance view for the customer-facing decision. Neither image should replace the agreed visual rule.
Map the finish system
| Layer or action | Record | Potential interaction |
|---|---|---|
| Substrate | Wood, MDF, veneer, or wrapped trim | Absorption and edge movement |
| Brad | Gauge, head, finish, depth, lot | Hole geometry and possible staining |
| Filler | Type, batch, mixing, application | Shrinkage, adhesion, and sanding |
| Primer | System, coat weight, dry interval | Sealing and color uniformity |
| Topcoat | Type, color, gloss, cure | Flashing, bleed, and final visibility |
Build a panel that isolates causes
Use trim coupons from the same material and finish batch. Include an untouched control, a filler-only patch without a nail hole, correctly driven brads, deliberately shallow or deep boundary samples, and the proposed repair system. If two fillers are compared, keep every other step fixed and randomize their panel positions.
- Number every hole before filling.
- Record drive pressure and final head position.
- Use clean tools for each filler system.
- Retain material batch and application times.
- Keep one panel uncoated for later diagnosis.
Control application instead of “using a little”
Declare whether the hole is cleaned, primed, overfilled, applied in one or more passes, and sanded flush. Record applicator, ambient condition, elapsed time, and abrasive grade. A thin smear over a proud brad is not the same specimen as a properly set brad with filler placed into the cavity.
Inspect along a time sequence
Observe after application, after the declared filler cure, after sanding, after primer, after each topcoat, and after a defined conditioning interval. Use the same lighting and marked observation locations. Time-series photographs show whether a defect began as filler shrinkage, sanding damage, primer absorption, or later finish movement.
Separate appearance modes
| Observed mode | Possible focus | Useful comparison |
|---|---|---|
| Center sinks below surface | Filler shrinkage or cavity preparation | One-pass versus staged fill |
| Ring appears around patch | Edge adhesion or sanding profile | Filler-only and primer controls |
| Different sheen | Porosity or topcoat build | Sealer and full-panel coating |
| Dark point develops | Brad, moisture, residue, or bleed | Undriven filler patch and retained brad |
| Patch releases | Surface preparation or movement | Cleaned substrate and conditioning review |
Use conditioning that matches the decision
Temperature and humidity changes can reveal movement or shrinkage, but an accelerated cycle must be declared and tied to the application. Do not translate a few laboratory cycles into an unsupported service-life promise. Keep an unconditioned reference beside conditioned panels so the exposure effect remains visible.
Place fastener standards in the right role
The active ASTM F1667/F1667M-21a page provides requirements and terminology for driven fasteners. It does not approve a particular filler, primer, paint, cure interval, or cosmetic acceptance rule. Those belong in the buyer's controlled finish specification.
Sample a defined trim population
The official ISO 2859-1:2026 page describes lot-by-lot attribute sampling indexed by AQL. It can support a declared inspection plan, but it does not select the viewing rule or decide whether a slight patch is acceptable. Define defect classes and reaction before production.
Send a finish-ready inquiry
Provide brad gauge, length, finish and head, tool and depth setting, substrate, filler data, primer, topcoat, cure sequence, sanding method, lighting, sample count, defects, and acceptance panels. ProAirNails can discuss brad nails, related pneumatic nails, the broader product range, and sample requests through the inquiry page.
Keep the conclusion tied to the panel
A brad nail hole filler compatibility test cannot prove every installer, climate, substrate batch, color, gloss, or service condition. It does not replace the filler and coating manufacturers' instructions or the project finish approval. ProAirNails can support identified brad evidence; the buyer controls the full decorative system.
Retain an accepted panel with its process sheet and normal-view photograph. Repeat the brad nail hole filler compatibility test after changes to the brad, depth, substrate, filler, abrasive, primer, topcoat, cure, or application route.
If a defect appears only after the final coat, do not reopen every earlier variable at once. Compare the time-series images and the filler-only controls, then change one suspected layer. That discipline turns a cosmetic complaint into a traceable finish investigation.
Use the brad nail hole filler compatibility test to approve what the completed trim looks like after the fastener has disappeared from view.
FAQ
Why is a wet filler patch not enough?
Shrinkage, sanding, primer absorption, sheen differences, and staining may appear only after later stages.
Should undriven controls be included?
Yes. They separate filler and coating behavior from the installed brad hole.
How should viewing conditions be defined?
State distance, direction, light, gloss, color, and whether macro images are diagnostic only.
Does every hole need the same fill route?
For comparison, keep preparation, amount, passes, cure, sanding, and coating consistent.
What does a sunken center suggest?
It may indicate shrinkage, incomplete cavity filling, or an unsuitable application sequence.
Why keep a filler-only patch?
It shows whether a ring, flash, or color change can occur without a brad.
Can accelerated conditioning prove service life?
No. It provides evidence for the declared cycle and needs application-specific correlation.
When should the panel be photographed?
Photograph before filling and after cure, sanding, primer, each topcoat, and conditioning.
What changes require reapproval?
Reapprove changes to substrate, brad, depth, filler, abrasive, primer, topcoat, cure, or installer route.
What should be retained?
Keep accepted and failed panels, product identities, process sheet, images, viewing rule, and disposition.





