

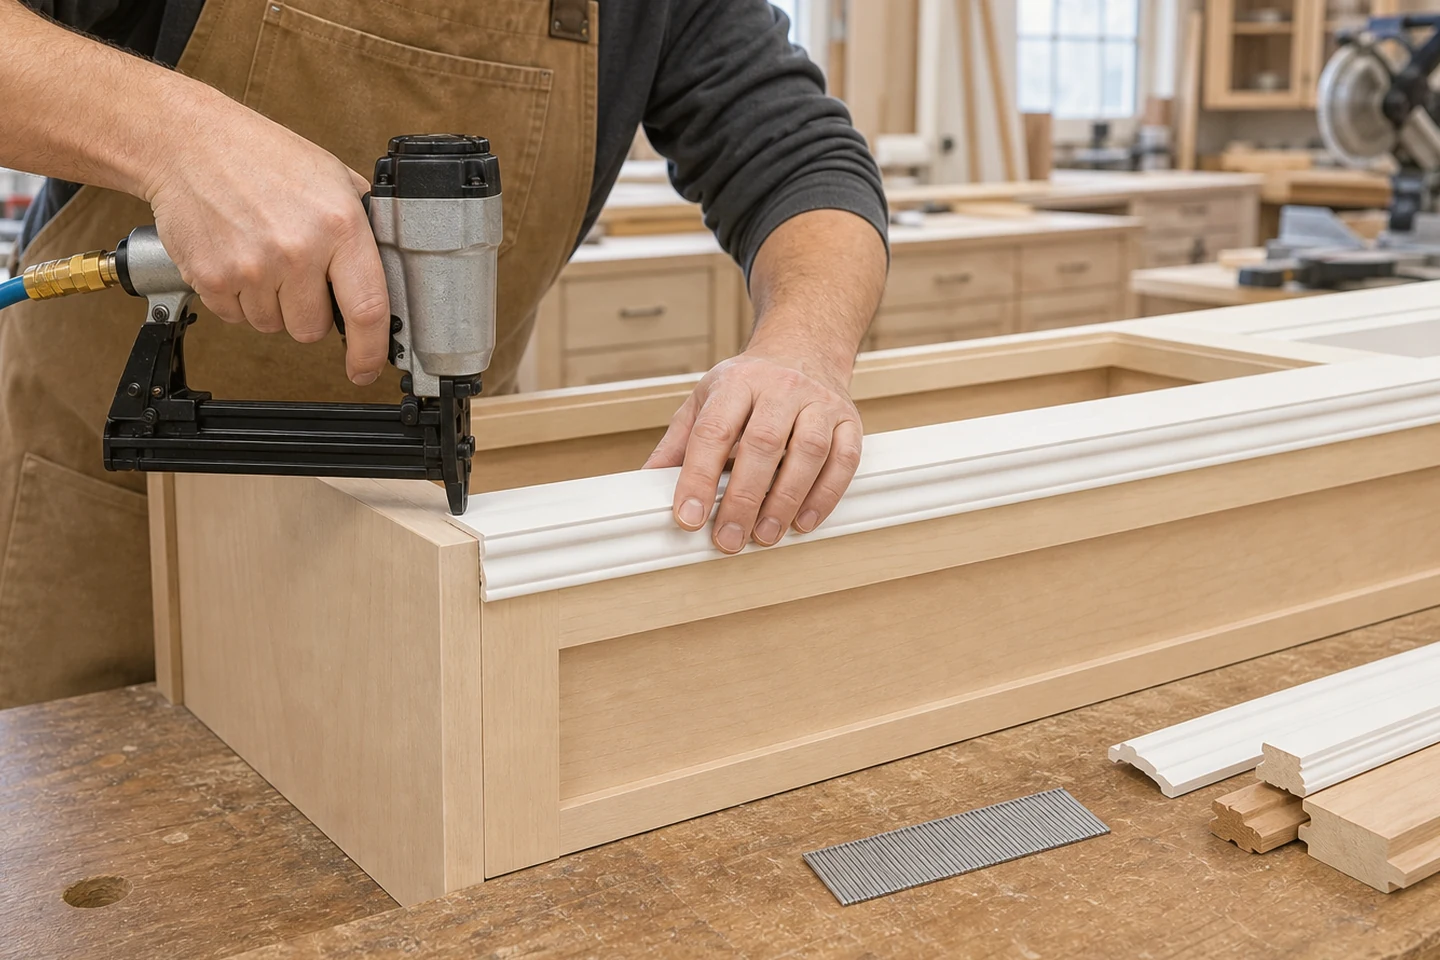
The visible trim thickness is only the first number in a brad nail length decision. Add any adhesive gap or backing layer, then consider how much nail can enter sound substrate without emerging, reaching a hidden service, splitting an edge, or exceeding the nailer's approved range.
For that reason, there is no single formula for brad nail length for trim thickness. A better method is to sketch the joint in section, mark the layers, identify the receiving material, and test the shortest candidate that produces the required assembly result.
Scenario one: thin decorative molding on a stable wood frame
The molding may be light, but its profile can leave only a narrow flat area for the nailer nose. Place candidate fasteners through the thicker body of the profile rather than a fragile edge. Check whether the nail follows grain, deflects, or creates a visible side breakout.
If adhesive is part of the assembly, the brad may mainly position the trim while the adhesive cures. That changes the performance question. The nail still needs secure placement, but choosing unnecessary length only because the trim is decorative can add hidden risk.
Scenario two: cabinet face trim over mixed layers
A cabinet edge can include molding, a thin gap, veneer, a face frame, and a nearby panel. Measure the actual stack at the fastening line. Do not use the overall cabinet-wall thickness as a substitute for the material directly behind the brad.
Drive trial pieces at the same angle and distance from the edge planned for production. Inspect both sides and, where possible, cut one sample across the fastening line. The cutaway shows whether the brad remained in the receiving member or turned along a glue line.
Scenario three: trim over sheet material or uncertain backing
When trim crosses sheet goods, hollow spaces, or intermittently located framing, length alone cannot create support. Mark backing positions and separate attachment to a solid member from attachment only to a thin panel. A longer brad that enters empty space offers no useful extra engagement and may create a hidden hazard.
Where concealed wiring, pipes, finished faces, glass, or hardware may be present, verify clearance before fastening. The joint drawing should include what must not be reached, not only what the nail should enter.
Ask six questions before loading the nailer
- What is the trim thickness at the exact driving point?
- Are there adhesive, veneer, backing, or air-gap layers?
- What receiving material will the brad actually enter?
- What lies behind or beside that receiving material?
- How close is the drive line to an edge, end grain, profile step, or finished face?
- Which brad gauge and length range does the nailer manufacturer approve?
These questions turn “use a longer nail” into a checkable selection decision. Browse the Brad Nails range and related pneumatic fasteners while confirming the exact tool reference.
Make one cutaway sample before production
Build the actual layer stack from offcuts. Drive the candidate brad using the intended nailer position and setup. Inspect the entry mark, trim movement, edge condition, reverse side, and exposed clearance. Then cut or separate one sample so the path can be seen.
Repeat at the most difficult position, not only the easiest center location. A successful flat sample may not predict an angled drive into a narrow molding return. Follow the tool manual and local rules; OSHA publishes general pneumatic-tool safety guidance for additional background.
State the limits of the selection
A brad can locate trim and contribute to an assembly, but this article does not establish structural capacity, code compliance, long-term adhesive performance, or suitability around concealed services. Material species, density, moisture, profile shape, gauge, point, angle, tool condition, and operator technique all affect the result.
Recheck brad nail length for trim thickness whenever any layer, backing material, drive angle, or tool reference changes.
Record the approved brad, tool, material stack, drive line, and sample photographs. For product matching, send the cutaway sketch, current strip, nailer model, and application through the ProAirNails inquiry page. That evidence is more useful than trim thickness alone.
FAQ
Should a brad nail be twice the trim thickness?
That shortcut can ignore backing layers, substrate type, reverse-side clearance, tool limits, and edge risk. Use the actual joint section and a representative sample instead of a universal ratio.
Is the longest brad that fits the nailer the safest choice?
No. Extra length can increase the chance of breakthrough, hidden contact, deflection, or edge problems without improving a poorly supported joint.
What should be recorded after a brad nail test?
Record trim and substrate materials, layer thicknesses, fastener and tool references, drive position, visible result, reverse-side clearance, and a cutaway photograph where practical.
The best brad nail length for trim thickness is the tested length that suits the complete joint, not the trim measurement in isolation.





