

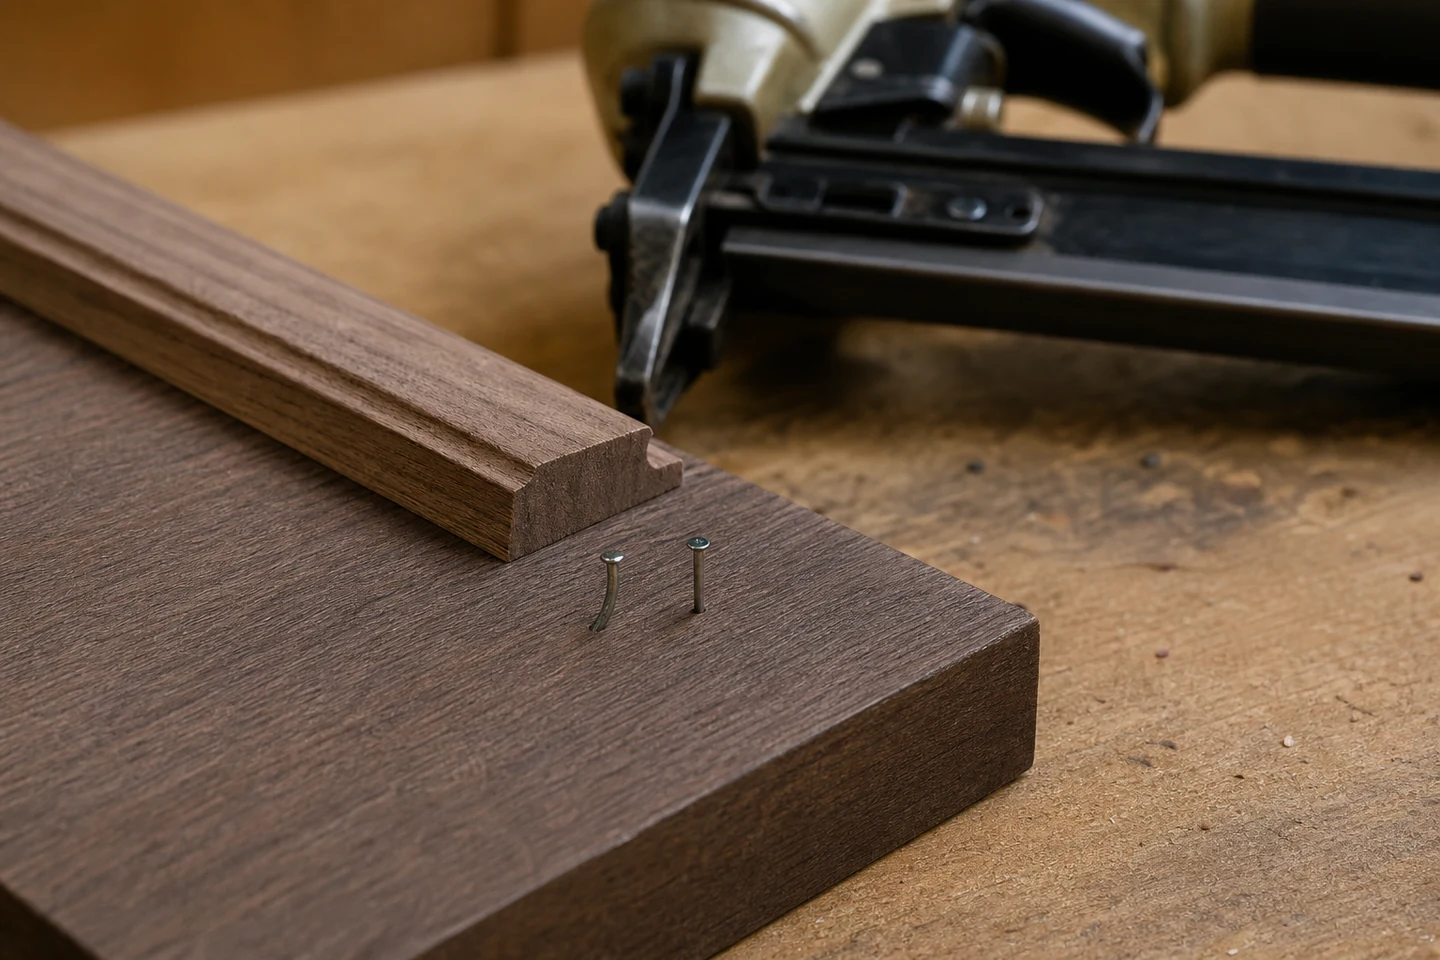
Brad nails bending in hardwood often leave more evidence at the exit path than at the entry point. A small head can look correctly seated while the shank follows grain, turns toward an edge, folds inside the joint, or emerges from a visible face. The diagnosis therefore needs the entry surface, hidden side, grain direction, and a cut sample.
Begin by stopping the repeated pattern. Continuing to fire into finished trim can turn a setup question into damaged components and a safety hazard.
Classify where the brad went
Use four result categories: straight and contained, curved but contained, side exit, or folded near entry. Mark the original tool direction and the nearest board edge on each rejected piece. Do not pull the brad out before photographing it, because extraction can straighten or distort the shank.
A side exit that follows visible grain suggests a different path from a brad that folds immediately below the surface. The first may involve grain runout, entry position, length, or material variation. The second may involve alignment, a hard inclusion, damaged fastener, driver behavior, or an unsuitable combination.
Read the wood before reading the tool
Inspect growth-ring direction, sloping grain, knots, end-grain proximity, laminated boundaries, and abrupt density changes. A clear face can still contain grain that angles toward the edge. Compare rejected positions with successful positions from the same component.
| Clue in the workpiece | Likely next check | Sample question |
|---|---|---|
| Brad exits toward one edge repeatedly | Grain direction, entry position, tool angle | Does rotating the sample change the exit direction? |
| Failure occurs near knots or dense streaks | Local material structure and pilot strategy if approved | Do clear-grain controls remain straight? |
| Brad folds close to the head | Driver alignment, nose contact, fastener condition, hard obstruction | Is the fold reproduced in a clear supported block? |
| Only longer brads fail | Slenderness, engagement path, stack thickness | Can the required joint be achieved with an approved shorter format? |
Run a rotated-block comparison
Prepare clear offcuts from the current material. Mark the grain direction and four orientations. Keep the brad, tool, setting, entry distance, and support unchanged, then drive a small group in each orientation. The result can reveal whether bending follows the material or remains fixed relative to the tool.
After the first run, change only one factor. A practical sequence is: confirm a new correct fastener strip; check the tool nose and driver according to its manual; correct the entry angle; compare an approved brad length; then compare a different clear material area. Record every change.
Open rejected samples instead of guessing inside them
Cut selected samples away from the fastener using a safe workshop method so the shank path becomes visible. Photograph the curve and measure its relationship to grain and edges. This can show whether the brad gradually followed grain or buckled early.
Do not use a cut sample as proof of production performance without considering the real joint. Clamping, component thickness, adhesive, unsupported cavities, and entry access can change the result. The sample is a diagnostic model, not a product certification.
Use a yes-or-no release tree
- Is the brad format confirmed for the nailer? If no, stop.
- Is the nose square to a fully supported clear sample? If no, correct the setup.
- Does bending follow grain after the block is rotated? If yes, review material position and fastening strategy.
- Does bending stay fixed relative to the tool? If yes, inspect the tool and fastener feed path.
- Does the approved candidate pass the hardest permitted position? If no, escalate the joint design or fastening method.
The limitation is explicit: a successful brad in a test block does not establish structural capacity or suitability for every hardwood species, density range, edge distance, or finished component.
Keep the cut section as a shop reference
Label accepted and rejected cut samples with wood reference, moisture condition if controlled, brad series and length, tool, entry orientation, and result. A physical section often explains the problem faster than a pressure number or a description such as “the nail turned.”
Review available formats in the Brad Nails category and related pneumatic fasteners. Send the tool model, brad reference, hardwood type, component section, grain photographs, and cut sample result through the inquiry page when investigating brad nails bending in hardwood.
FAQ
Will higher air pressure stop brad nails from bending?
Not necessarily. More drive energy can increase damage without correcting grain deflection, entry angle, tool condition, fastener compatibility, or an unsuitable length. Change one variable in a controlled sample.
Why does a brad exit from the side of hardwood trim?
The shank may follow sloping grain, meet a dense feature, enter at an angle, or bend because the combination is unstable. Preserve the part and compare the hidden path with clear-grain controls.
Are shorter brads always less likely to bend?
A shorter brad may have a shorter unsupported path, but it must still provide the engagement required by the joint and remain approved for the tool. Length cannot be reduced without evaluating the complete assembly.
A grain-aware sample makes brad nails bending in hardwood a traceable workshop problem rather than an unpredictable surprise.





