

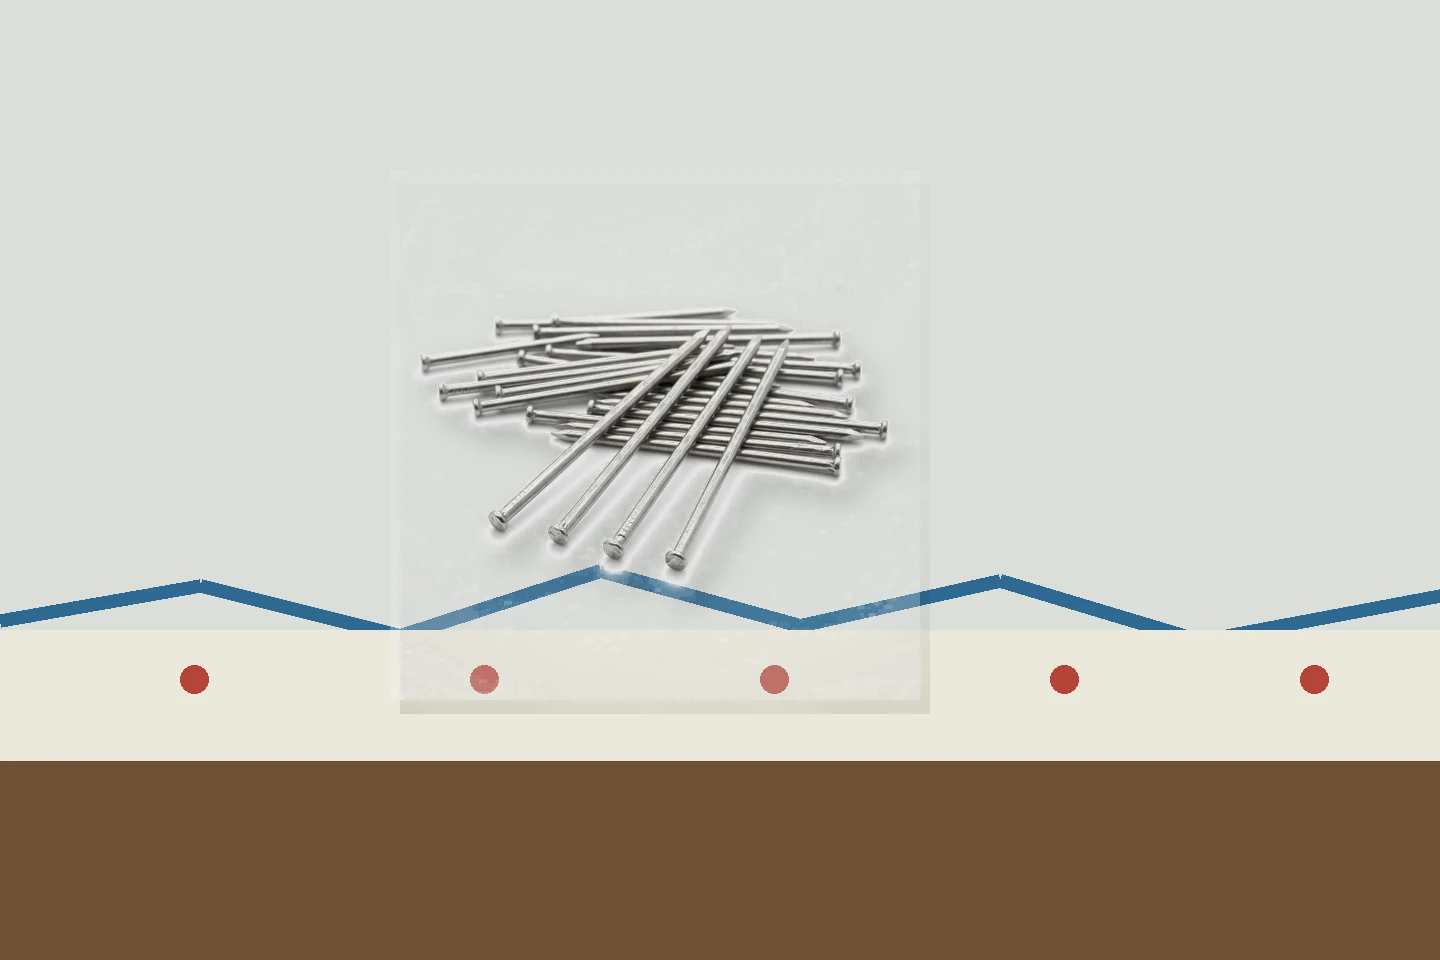
Select brad nails for baseboard trim only after reading the wall, locating reliable substrate, and defining the profile's visible and hidden limits. A larger or longer brad cannot correct every wall wave, framing gap, bowed molding, weak substrate, or poor joint preparation.
ProAirNails recommends recording the fit before fastening so product evidence stays separate from building-condition evidence.
Capture the wall before the baseboard
Use an appropriate method to mark high points, low points, corners, openings, transitions, substrate locations, and uncertain zones. Record wall finish, substrate, trim material, profile, thickness, coating stage, adhesive or caulk plan, and installation sequence.
Sort gaps by cause
| Gap signal | Check first | Fastener decision |
|---|---|---|
| Long shallow wave | Wall plane and molding flexibility | Pattern and support |
| Local deep gap | Substrate and obstruction | Do not chase blindly |
| Corner opening | Cut, angle, fit, wall corner | Joint-specific plan |
| Proud profile | Bowed trim or debris | Correct fit before drive |
Do not overdrive a head to pull an unsuitable profile into place. This can crush the surface, telegraph after painting, or leave the joint under stress.
Map every approved substrate route
Identify wood framing, blocking, sheathing, masonry-related systems, or other construction approved by the project design. Confirm utilities and hidden hazards under applicable procedures before driving. The article does not replace drawings, codes, or qualified installation judgment.
Compare length with the real stack
| Stack element | Record | Risk controlled |
|---|---|---|
| Baseboard | Material and thickness | Head and splitting response |
| Wall layer | Type and thickness | Non-holding distance |
| Gap | Normal and challenge condition | Reduced engagement |
| Substrate | Identity and location | Actual fastening path |
Compare relevant candidates in representative assemblies and inspect depth, bending, breakout, splitting, movement, and margins to visible or hidden hazards.
Trial corners, scarf joints, and returns
Include inside corners, outside corners, scarf joints, door-casing transitions, and short returns. Record joint fit before and after fastening, then after adhesive, filler, sanding, caulk, primer, and final coating as applicable.
- Fix the intended nail angle and position.
- Use normal tool access and fixtures.
- Photograph accepted and failed joints.
- Track touch-up and rejected trim.
- Retain samples by fastener lot.
Separate tool contact from brad marks
Record nose dents, scuffs, driver marks, proud heads, excessive recess, skips, doubles, jams, and incomplete drives. Follow tool instructions and consult the NIOSH nail gun safety guide for broader context.
Run a realistic installation pilot
Cover straight walls, waves, corners, openings, multiple operators, named tools, normal settings, profile lots, and finish conditions. Report events per defined length of accepted installation rather than isolated anecdotes.
The pilot for brad nails for baseboard trim should state which gaps require correction, shimming, adhesive, alternate fastening, or design review rather than more drives.
Control bulk configuration and packing
Specify gauge, length, head, shank, point, material, finish, collation, strip count, packing support, labels, and lots. Inspect received strips after transport and repeat high-risk joint checks.
The ASTM F1667 page may support applicable fastener discussions but does not establish suitability for every wall system.
Compare installed cost at reorder
Review usable strips, feed interruptions, unseated heads, damaged molding, filler, sanding, caulk, repainting, installation pace, and callbacks. This makes brad nails for baseboard trim a production decision rather than a box-price comparison.
Set the pilot size from installation risk
Cover enough wall length to include easy straight runs, major waves, inside and outside corners, openings, transitions, multiple profile lots, tools, and qualified installers. Sample strips from several normal boxes. State whether a single exposed point, damaged finished face, or uncertain substrate blocks release regardless of the average result.
Record total installed length, accepted length, drives, repairs, replacement pieces, and time. This lets the buyer compare candidate fasteners on the same output basis.
Separate receiving release from site release
Receiving can approve identity, dimensions, labels, count, finish, collation, and packing condition. The installation owner must still confirm tool feed, drive result, wall stack, substrate, fit, and finish on the project. Neither decision substitutes for the other.
Keep the approved sample and current specification beside first-order results so brad nails for baseboard trim do not drift through informal substitutions.
State the method's boundary
A pilot cannot prove every building, hidden condition, profile, or future lot. Stop and escalate when the substrate or hazard is uncertain; reopen approval after relevant changes. Preserve the approved assembly, specification, tool and setting record, installation photographs, defects, and exceptions. Compare the next project or reorder against this baseline instead of relying on installer memory. Record who reviewed the comparison and which conditions remain outside approval. Date and authorize the final release record.
Plan a ProAirNails baseboard trial
Review ProAirNails brad nails, lighter pin nails, and the pneumatic range. Send profile, wall stack, tools, volume, packing, and defects through the inquiry page.
Reliable brad nails for baseboard trim support a clearly defined fit plan without hiding wall or substrate problems.
FAQ
Why inspect the wall first?
Wall plane, substrate, gaps, hazards, and molding flexibility determine whether a fastening plan is appropriate.
Can longer brads close every gap?
No. Length cannot correct poor fit, missing substrate, hidden hazards, excessive waves, debris, or unsuitable profile geometry.
Which baseboard joints need trials?
Include straight runs, inside and outside corners, scarf joints, openings, casing transitions, and short returns.
What should the real stack include?
Include trim, wall layer, normal gap, substrate, finish, adhesive or caulk, tool access, and intended entry route.
How should appearance be assessed?
Record head depth, entry mark, tool contact, splitting, joint fit, filler, sanding, caulk, coating, and final viewing result.
What belongs in a pilot?
Cover wall conditions, profiles, tools, settings, operators, joints, lots, pace, defects, repairs, and release rules.
Why repeat tests after shipping?
Transport can bend strips, break collation, mix sizes, remove identity, or change feed behavior.
When should installation stop?
Stop when substrate, utilities, hidden hazards, wall construction, design requirements, or safe access are uncertain.
What triggers reapproval?
Review changes to profile, wall stack, fastener, collation, process, site, tool, setting, finish, pack, or criteria.
What information supports a quotation?
Provide profile, wall and substrate stack, joints, finish, tools, volumes, packs, destination, current defects, and acceptance rules.





