

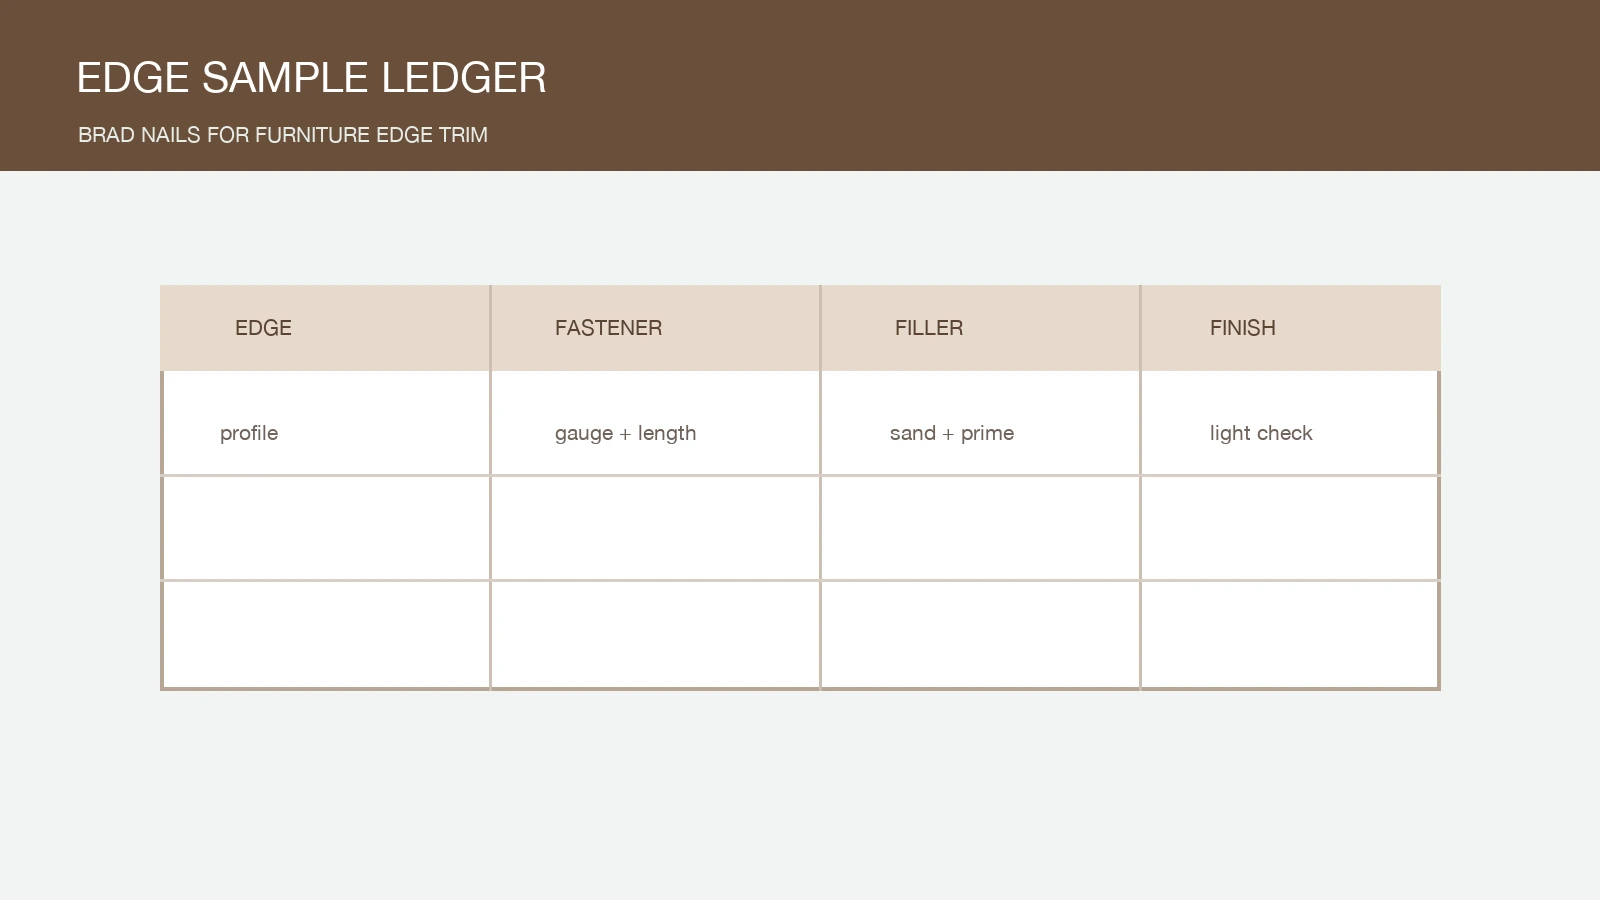
Furniture edge trim turns a small fastener decision into a visible quality decision. A brad can feed perfectly and still leave a dark mark, split a narrow edge, or telegraph through filler after paint. The ledger in this guide is meant for teams testing brad nails for furniture edge trim across the material and finish schedule they actually sell.
Use one page per sample family. Write down the wood, edge distance, trim thickness, nail length, tool, pressure, filler, sanding sequence, and finish. The purpose is not to create paperwork for its own sake. It is to stop a good result on one board from becoming an unexamined approval for every cabinet door or decorative panel.
Open the ledger with the edge profile
Sketch the edge and identify the narrowest section. Note whether the trim is solid wood, veneer, MDF, plywood, or a painted composite. Grain direction and density can change the entry mark. So can a cut edge that has been softened, routed, or left sharp. A buyer should also note whether the fastener is driven straight, at a slight angle, or through a trim gun nose that limits access.
Before comparing suppliers, define the visible-face tolerance. “Small hole” means different things on an unfinished sample and on a high-gloss painted door. If the finish team will fill, sand, prime, and topcoat, photograph the surface at the inspection light used in production.
Use the ledger fields in this order
| Ledger field | Example entry | Decision it supports |
|---|---|---|
| Material | Paint-grade poplar, MDF edge, oak veneer | Shows whether density and grain change the result |
| Geometry | Trim thickness, edge distance, joint angle | Sets a realistic length and placement window |
| Fastener | Gauge, length, point, head, coating, collation | Creates a traceable sample instead of a generic box |
| Finish | Filler, sanding, primer, topcoat, inspection light | Connects the drive mark to the sold appearance |
For brad nails for furniture edge trim, keep the exact sample strip or box label with the ledger. The same gauge can hide differences in length, diameter tolerance, point geometry, adhesive, and magazine fit. A physical reference makes a future reorder comparison much faster.
Compare length and gauge as a pair
Gauge affects hole size and stiffness, while length controls engagement and the chance of an exit. Do not choose one and assume the other follows. Test the planned length and a nearby alternative in the narrowest edge section. Look for side exits, raised fibers, proud heads, overdrive craters, and movement after the trim is handled.
18 gauge brad nails may suit a smaller entry mark in many trim tasks, while 16 gauge brad nails can offer a different balance of stiffness and holding. The correct decision belongs to the joint and the finish, not to a general rule about furniture. Record the reason for the choice so a purchasing change does not remove the logic from the approval.
Run the finish sequence without shortcuts
- Drive a marked pattern at the production pressure and tool nose.
- Wait for the same filler open time used on the line.
- Sand with the normal grit sequence and do not spot-repair only the best holes.
- Apply primer and topcoat, then inspect under the production light.
- Save close photographs beside the untouched reference area.
A ledger is valuable because it records the failures too. If a hole disappears on raw wood but reappears after primer, write that down. If a trim edge splits only when the operator changes direction, record the direction. These notes lead to a better tool setting or a narrower approval boundary.
Score the edge, not just the drive
| Observation | Pass condition | Action when it misses |
|---|---|---|
| Entry mark | Hole accepts the planned filler and does not shadow after coating | Compare diameter, point, depth, and filler |
| Edge integrity | No split or lifted veneer at the approved edge distance | Move the shot, change length, or review material |
| Head seating | Head is flush without a crater or proud rim | Check driver, pressure, and tool nose |
| Reorder match | Carton and strip can be linked to the ledger | Hold the order until the code is clarified |
ASTM F1667/F1667M is a useful terminology reference for driven fasteners; see the ASTM fastener specification page. For supplier records and corrective action, buyers can also review the ISO 9001 quality-management requirements. These references help define a conversation, while the painted edge remains the acceptance evidence.
Keep brad nails for furniture edge trim visible to purchasing
The nailer model, magazine, driver condition, nose, and pressure belong in the approval file. A replacement tool can change seating even when the fastener is unchanged. When production has several stations, test the sample on each tool family or state the exact station covered by the approval.
The approval for brad nails for furniture edge trim does not automatically cover a different trim profile, board density, or finish schedule. Keep those boundaries visible beside the purchasing code.
ProAirNails helps teams compare brad nails, review pneumatic nails, evaluate staples, and request a matched sample through Contact Us. A complete ledger gives the buyer a useful answer when a quote says only “finish nail.”
Set a finish-change boundary
Do not carry an approval from a matte paint to a high-gloss lacquer without a visual recheck. Filler color, sanding dust, primer build, and lighting can all change the result. The same boundary applies when the supplier changes coating, wire, point, head, collation, or packing. Keep the approved finish sample with the fastener record.
The practical goal for brad nails for furniture edge trim is a repeatable face, a stable edge, and a reorder trail. The ledger makes those three outcomes visible to design, production, quality, and purchasing.
FAQ
What are brad nails for furniture edge trim judged on?
Judge the entry mark, edge integrity, holding in the joint, head seating, filler response, finished appearance, and reorder traceability.
Should I test both 16 and 18 gauge brads?
Test the gauges that fit the joint and tool. Comparing nearby options can show whether appearance or stiffness is the limiting requirement.
Why inspect the edge after painting?
Primer, topcoat, gloss, and production lighting can reveal a hole or shadow that was not visible on raw wood.
What wood information belongs in the ledger?
Record species or board type, density impression, grain direction, moisture condition when relevant, and whether the edge is routed or cut.
Can a brad nail be approved for every trim thickness?
No. Length, edge distance, backing, and exit risk can change as the profile changes.
How do I reduce edge splitting?
Review edge distance, point and length, drive angle, pressure, tool nose, and the material itself. Move one variable at a time during the trial.
What should purchasing retain after approval?
Keep the sample strip or carton, dimensions, tool setting, finish photos, ledger verdict, and the supplier lot or product code.
Does a smaller gauge always create a better finish?
No. A smaller hole can be helpful, but bending, seating, joint load, and tool compatibility still matter.
When does a finish change require a new sample?
When filler, sanding, primer, topcoat, gloss, or inspection light changes enough to affect the visible face, repeat the finish check.
Can ProAirNails supply furniture trim brads?
ProAirNails can help buyers align gauge, length, finish, collation, tool fit, packaging, and sample notes for a B2B order.





