

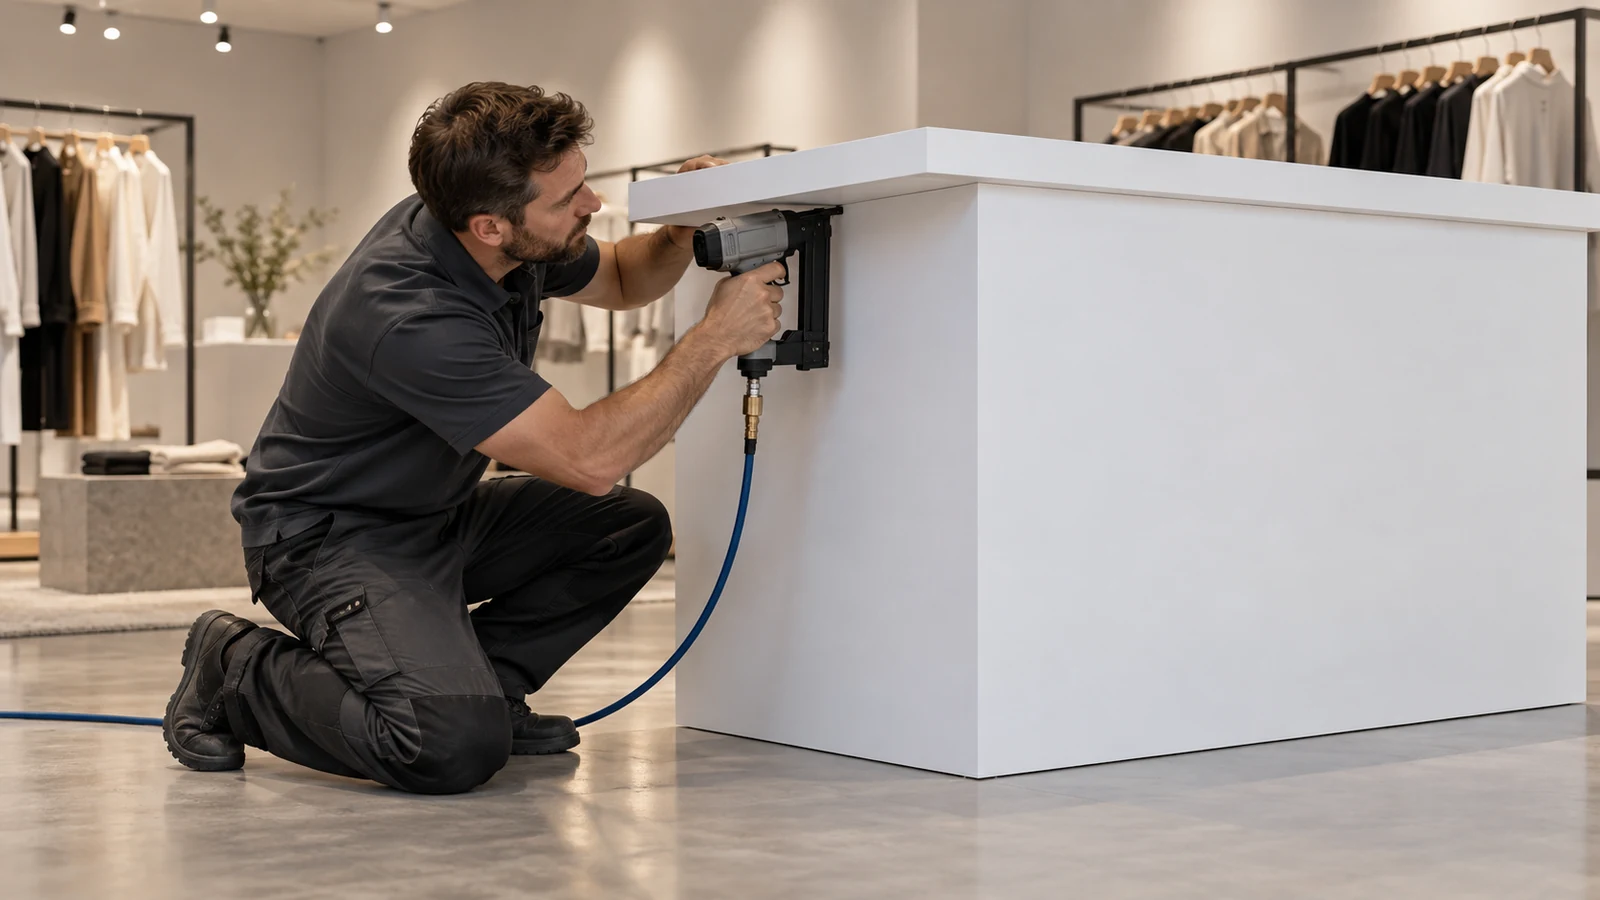
Brad nails for retail display plinths are specified for what they must not show. A plinth carries a display unit, sits at knee height on a shop floor, and is inspected by customers at close range under lighting chosen to flatter merchandise. Any fastener that registers on that face has failed, however well it holds.
ProAirNails supplies brads and fine fasteners into shop-fitting and display work, where the argument is rarely about holding power alone. It is about the zone of the panel where a fastener is allowed to exist at all.
What brad nails for retail display plinths are asked to do
Three requirements arrive together on a plinth job. The face has to stay flat, the joint has to close while the adhesive sets, and the finished surface has to survive inspection at a distance of half a metre. Brads serve the first two and can spoil the third.
Write those three requirements down separately. When a plinth fails, the report usually says the fasteners did not hold, and the actual complaint is a witness mark or a shadow that appears after the paint cures.
Map the hidden zone before the first shot
Brad nails for retail display plinths are only acceptable inside the zones that will never be seen, and those zones have to be defined on the drawing rather than decided on the bench.
- Under the display base, where the fixing is covered by the unit standing on it.
- Behind a removable panel or a service access.
- Inside a corner where two returns meet and the joint is filled.
- Along a rear edge that faces a wall on every installation.
Anything outside those zones needs either a concealed method or a filler and finishing step that has been proven on the actual material. Marking the zones takes ten minutes; discovering them after coating takes a new panel.
Who carries the load
A plinth holds a display unit, which means the load arrives as compression and as a sideways shove when staff move the unit during a reset. Fasteners are usually not the load path, and the specification should say so plainly.
| Element | Typical role | Question for the drawing |
|---|---|---|
| Plinth face | Covers the base and presents the finish | Does the face carry load, or only close the box? |
| Internal rails | Carry the display unit and transfer load to the floor | Are the rails mechanically fixed independently of the brads? |
| Brads | Hold the face while adhesive cures | Are the brads a permanent fixing or an assembly aid? |
| Adhesive | Provides the long-term connection where used | Can the joint be clamped or held while it sets? |
When the answer to the third row is "assembly aid", the specification should still name the brad, because the shop has to know how long the part has to hold. An aid that fails in the first hour is a defect; the same part that fails in year three is a different conversation. Buyers who specify brad nails for retail display plinths without answering that row usually end up arguing about holding power when the real problem is a surface defect.
Filler, sheen, and the light the store will use
Filling a brad hole is a surface operation, and it is judged by the coating that goes over it. The sequence for brad nails for retail display plinths therefore has two halves: the fixing work and the finishing work, and a sample that proves only the first is not an approval. Filler that sands differently from the surrounding material, or that absorbs the topcoat at a different rate, will print through a gloss finish even when the hole is invisible on the raw panel.
| Stage | What to inspect | What to record |
|---|---|---|
| After driving | Dimple depth, proud heads, raised grain at the entry point | Tool setting and brad position |
| After filling | Filler edge, colour match, sanding scratch pattern | Filler product and sanding sequence |
| After priming | Sink marks, flashing, edge build | Primer type and number of coats |
| Under final light | Sheen difference and shadow lines | Light type, angle, and viewing distance |
Inspect under the lighting the store will actually use. A plinth that passes under a work lamp can show a row of small shadows under a wall wash, and by then the crate is already on a truck.
Handling damage on site and the repair decision
Most plinth damage arrives after the workshop has finished. Units are stacked in a van, dragged across a threshold, and re-fixed by staff who did not build them, which is why handling belongs in the specification for brad nails for retail display plinths. The repair standard should recognise that some damage is a surface repair and some is a structural one.
Split at a brad line is a structural signal, because it means the board has given way at the point where the fastener entered. A scuff or a chipped edge is a finishing problem. Sending both to the same repair process wastes time on one and hides a weakness in the other.
Approve a sample plinth, not a sample block
A block in a vice proves that a brad can enter a material. It cannot prove that a plinth joint closes, stays closed, takes filler, and disappears under coating. Build the sample as a short run of the real assembly, including one corner where two returns meet.
Record the material, adhesive, brad length, tool setting, filler, and coating, and keep photographs of the finished face under the intended light. That record is what a reorder is compared against.
Where a brad is the wrong fastener
Brads are the wrong choice when the plinth face has to resist a pull that the rail cannot take, when the material is a brittle or laminated panel that will break out around the entry point, or when the finished surface cannot accept a filled hole at all.
At that point the conversation moves to a concealed fixing system, a screw behind a removable panel, or a redesign that puts the joint where it can be seen and finished deliberately. Changing family is a design decision, and the reason should be written next to it so the next order does not drift back by habit.
Packing and re-fixing after transport
Plinths travel as finished goods, so the package becomes part of the specification. Contact points are where a finish gets marked, and a fixed brad pattern gives no warning that a panel has taken an impact. The AWI architectural wood casework scope is a useful reference for the drawing and aesthetic expectations that sit around a shop-fitting order.
None of that replaces a physical sample. Documents describe intent, and the ASTM F1667 driven-fastener specification describes the fastener, but neither one shows whether the finished plinth stays invisible under the light where it will stand. Hand tools and powered drivers carry their own risk, which the NIOSH nail-gun safety guidance addresses for the people doing the work.
FAQ
Which brad suits a display plinth?
Usually a fine-gauge brad matched to the panel thickness, chosen after the hidden zones and the finish schedule are fixed. Specify brad nails for retail display plinths last, not first.
Can brads be the only fixing on a plinth?
Only if the design says so. Where a display unit stands on the plinth, the rails normally carry the load and the brads hold the face.
Why does a filled brad hole appear after painting?
Because the filler sands or absorbs differently from the surrounding panel, so the surface reads differently under a gloss or a wall wash.
Does the brad length change the surface result?
Yes. A leg that is too long for the section can break out behind the face and lift the surface ahead of the entry point.
How should a plinth sample be built?
As a short run of the real assembly with a real corner, the real adhesive, and the real coating, photographed under the intended light.
What if the panel is laminated?
Check the entry point on the actual laminate. Some surfaces will not accept a filled hole, and the fixing has to move or change.
How do we judge handling damage?
By whether the panel has split at a fastener line or simply been marked. The first is structural, and the second is a finishing repair.
What should the shop record for repeat orders?
Material, adhesive, brad series and length, tool setting, filler, coating, hidden zone map, and the approved sample photographs.
When should the filler step be timed?
After the joint is closed and the panel has settled, and before any finish that would seal the surface around the hole.
What belongs in a plinth enquiry?
The panel material, thickness, joint detail, hidden zone map, tool model, brad series you intend to trial, quantity, and finish schedule.
Send the panel, the tool, and the light
ProAirNails supplies brad nails for retail display plinths and works with shop-fitters on brad nails, air staple pins, air staplers, and other pneumatic nails for display and joinery work. A request that names the panel, the joint, the tool, and the lighting condition can be answered with a fastener and a finishing sequence.
Send it through Contact Us with a photograph of the approved face under the final light. ProAirNails keeps that photograph with the order record so the next run is compared against the plinth that was released.





