

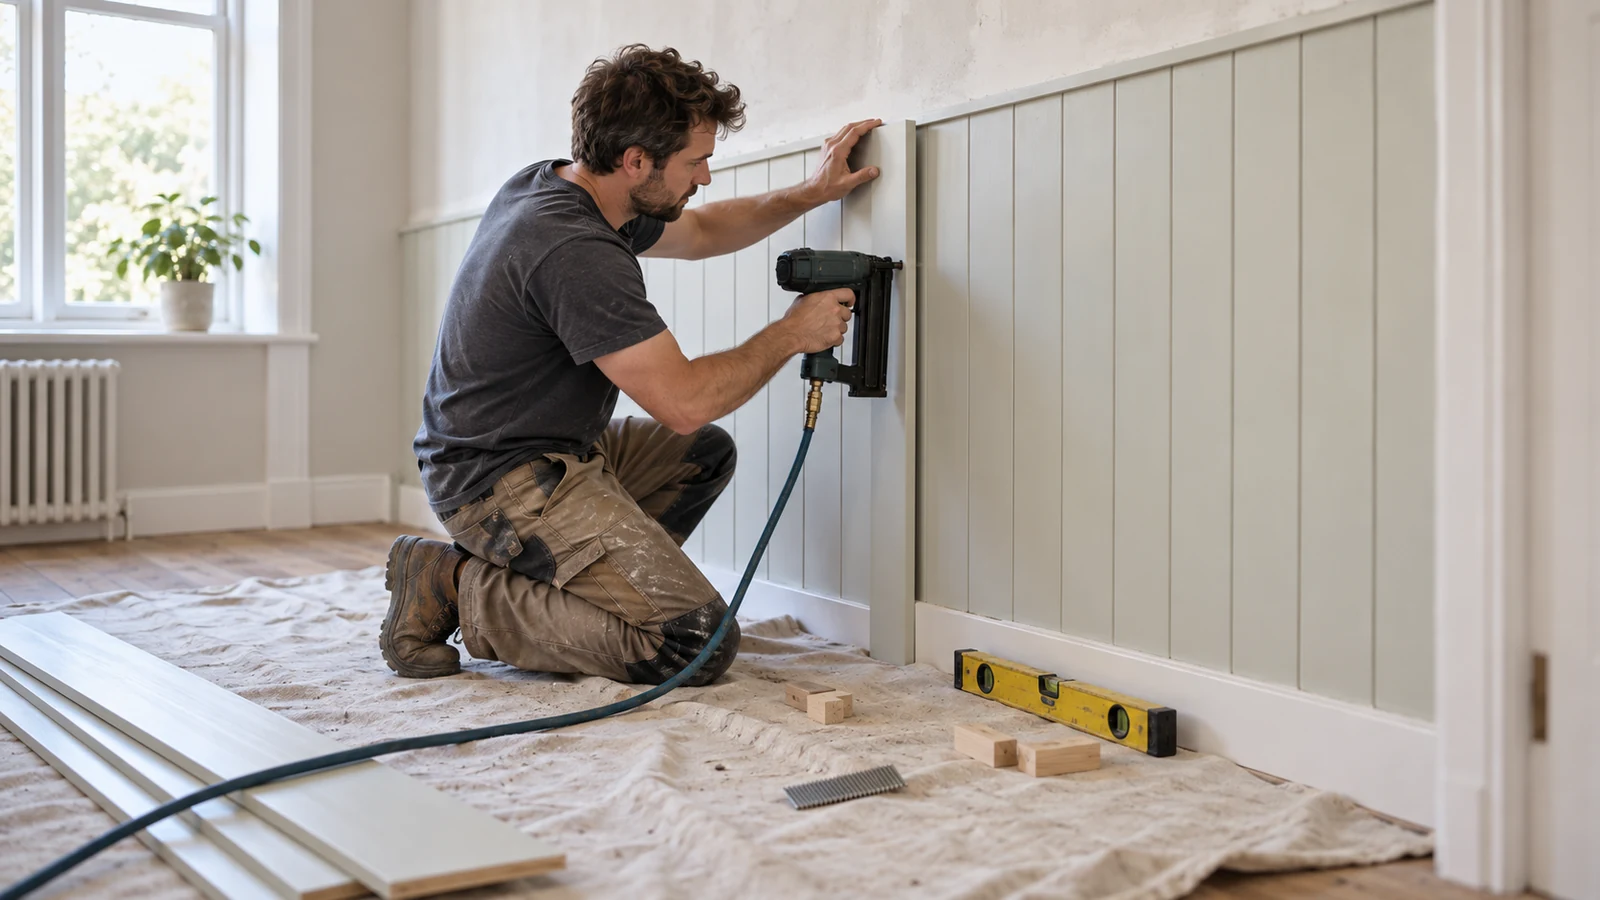
Brad nails for wainscot panels should be approved after the layout, not before it. A wainscot run has to balance around a visible centre, meet the floor and chair rail cleanly, and leave each panel room to move. A brad that holds a loose test block can still pinch a panel against its neighbour or force a joint that the finish cannot hide.
ProAirNails recommends a layout card that records wall length, panel widths, datum line, material, joint type, rail height, and the zones where the tool can reach the face squarely. The card gives the shop and the installer one shared reference instead of a single workshop impression.
Set the datum line before the first panel
Walk the wall and find the high point of the floor, then mark a level line that keeps the bottom rail consistent. Check the chair rail height against the drawing, the door and window trim, and any electrical box that will interrupt the run. Measure the wall in several places; a wainscot that looks level in the middle can sit proud at one end.
The AWI architectural wood casework scope is a useful reference for drawing, aesthetic, and hardware expectations. It does not choose a brad for a particular panel, so the wall survey and the physical run still control the release.
Divide brad nails for wainscot panels by fastening zone
| Zone | Fastening role | Acceptance question |
|---|---|---|
| Top rail | Hold the rail to the substrate while the joint closes | Does the rail stay straight after the panel is seated? |
| Field panel | Keep the face flat without crushing the core | Does the brad sit below the surface without a dimple? |
| Bottom rail | Resist handling and base movement | Does the rail stay tight without pinching the panel? |
| Panel edge | Close the joint without breakout | Does the point stay inside the approved edge distance? |
Mark exposed and concealed zones on the same drawing. The installer should know which brad positions will be filled and which ones can be left as a witness mark behind the rail.
Check the rail and substrate before nailing
Lay the rail against the wall and look for gaps, twist, and humps. Shim or plane where the drawing allows, and confirm that any adhesive line can be clamped or held while it cures. A straight rail helps the panel sit flat; a brad cannot pull a bowed substrate into line without leaving a witness somewhere else.
- Confirm the substrate type, thickness, and fixing method.
- Check the moisture condition of the wall and the panel material.
- Mark the datum line and the panel centre on the wall, not only on the bench.
- Keep the tool nose square to the face where the reveal is visible.
- Retain one offcut of the actual panel and rail for the sample file.
For brad nails for wainscot panels, the useful sample is a short run with a real joint, a real rail, and the actual finish. A single block in a vice cannot show panel balance or movement.
Work the layout from a fixed centre
Start at the centre of the wall and work outward so the two end panels match. If the run cannot be symmetrical, decide which end will carry the cut and record that decision on the drawing. Do not let the last panel become the place where the tolerance disappears.
Dry-fit the first two panels before driving the final pattern. Check the joint width, the rail reveal, and the distance to the next opening. If the run includes an outside corner, plan the return so the fastener path stays inside the concealed zone.
Handle expansion and material movement
Solid wood, plywood, MDF, and laminated panels move differently. Record the material and the expected service environment, then leave the joint and edge clearance that the material supplier recommends. Tight-butting every panel can look neat on installation day and open a crack after a heating season.
A brad should hold the panel to the rail or substrate without becoming the only thing resisting movement. If the design calls for adhesive, the brad may be an assembly aid rather than the finished connection. Write that role down before the run is released.
Inspect the face through filler and finish
| Stage | What to inspect | What to record |
|---|---|---|
| After driving | Proud head, dimple, split, and panel movement | Tool setting and brad position |
| After filling | Filler edge, colour change, and raised fibre | Filler type and sanding step |
| After coating | Sheen difference, shadow, and joint line | Coating system and light direction |
| After installation | Rail reveal, panel balance, and end cuts | Final run photographs and release date |
Look at the run from the normal standing distance and in the light the room will use. A face that passes under a work light can still show a shadow under a wall wash.
Keep the tool and the safety procedure in view
Pneumatic brad nailers can cause serious injury when they are used without training or a safe procedure. The NIOSH nail-gun safety guidance emphasizes training, protective equipment, and controlled trigger practice. Follow the tool manual and the site safety plan during sampling and production.
The ASTM F1667 driven-fastener specification provides common language for nail dimensions, materials, and finishes. It does not approve a wainscot joint, so keep the specification and the physical run linked.
Reorder from the approved panel sample
ProAirNails can help buyers compare brad nails, review related pneumatic nails and air staple pins, and submit a wall brief through Contact Us. Include the wall survey, panel material, joint type, rail detail, tool model, candidate length, finish, quantity, and delivery schedule.
At reorder, compare gauge, length, head, point, finish, strip format, count, carton label, and lot identity. The approval for brad nails for wainscot panels should name the exact panel, rail, and finish combination it covers. ProAirNails keeps that boundary attached to the retained run sample.
FAQ
What should be measured before buying brad nails for wainscot panels?
Measure the wall length, floor variation, rail height, panel widths, and the openings that interrupt the run.
Why set the datum line before the layout?
The datum keeps the bottom rail consistent and shows where the wall is out of level before the panels are cut.
Should every panel joint be tight?
No. Follow the material supplier's movement allowance and the approved joint detail instead of forcing every joint closed.
When is adhesive used with brads?
When the drawing or joint design calls for it. State whether the brad is a permanent fixing or an assembly aid.
Can one brad sample approve a whole run?
Only when the material, rail, substrate, joint, tool, and finish are equivalent to the tested run.
What should the run sample include?
Include a real joint, rail offcut, panel offcut, tool setting, fastener lot, and finish photographs.
Why inspect after coating?
Coating and sheen can reveal a dimple or shadow that was not visible on the raw panel.
What changes trigger a new sample?
Review changes to panel material, rail, substrate, joint, brad, tool, coating, or wall conditions.
What should a wainscot RFQ include?
Send the wall survey, panel drawing, material, joint detail, tool, candidate brad, quantity, and finish schedule.
What is the final release question?
Ask whether the run is balanced, the joints can move, the face is clean, and the sample can be traced to the order.





