

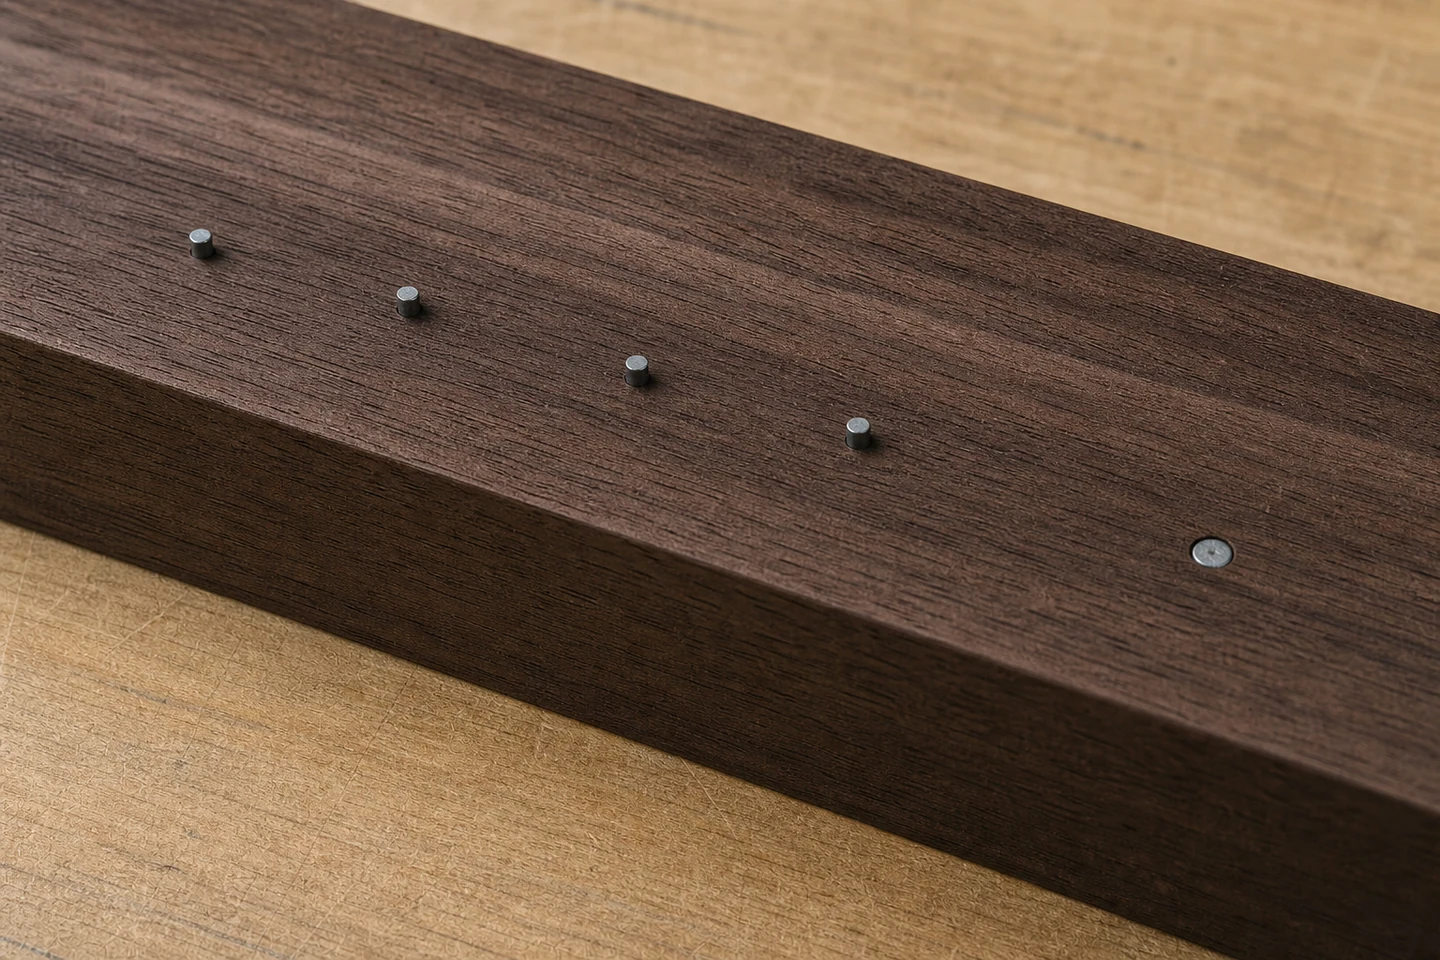
When brad nails not flush in hardwood leave their heads above the surface, preserve the depth pattern before setting the heads by hand. A proud head can follow dense latewood, angled tool contact, limited driver travel, supply recovery, an unsuitable brad-tool combination, or movement under the workpiece. Hammering the evidence flat makes those causes harder to separate.
ProAirNails recommends marking the shot order, board face, grain direction, tool orientation, support location, and operator. Include one accepted fastening point from the same setup so the review has a useful control.
Map proud height across the hardwood
Measure each head from the undamaged surface using one consistent shop method. Record whether the head is level, tilted, or accompanied by a compressed ring, torn fiber, skid mark, or bent shank. Photograph the row under low side light with a scale in the frame.
Keep edge positions, knots, grain reversals, profiles, and unsupported spans separate. Hardwood is not uniform, and an average depth can hide a strong location pattern.
Use the seating pattern to choose the next check
| Observed pattern | Possible direction | Controlled comparison |
|---|---|---|
| All heads stand equally proud | Depth setting, drive energy, driver travel | Confirmed setup on representative stock |
| Proud height increases during rapid work | Supply or tool recovery | Defined pause between shots |
| Only dense grain zones reject the head | Local material resistance | Matched clear-grain and dense-grain areas |
| One edge of each head is high | Tool angle or uneven nose contact | Square contact on full backing |
Do not increase pressure outside the tool specification. A pressure change cannot replace checks of depth control, seals, driver condition, fastener fit, work support, and safe operating procedure.
Inspect the tool contact and unused brads
Disconnect the energy source and follow the tool manufacturer's inspection procedure. Qualified personnel should check the nose, driver, depth mechanism, wear parts, debris path, and any mark that suggests incomplete contact. Record the actual supply condition at the tool rather than relying only on a remote regulator reading.
Retain unused brads from the same strip. Compare gauge, length, head geometry, straightness, collation, coating, package condition, and compatibility with the tool model. A mixed strip or damaged collation can change presentation before the driver reaches the fastener.
Run a supported one-variable trial
Use offcuts from the actual hardwood profile and backing. Keep tool, operator, brad reference, grain orientation, edge distance, support, and shot spacing fixed. Change only one approved variable, such as contact method or depth setting, and label every result.
ProAirNails can review a seating map, brad reference, tool model, material species, profile thickness, package identification, and close photographs when discussing compatible product options. The application owner still decides the required engagement, appearance, and acceptance method.
Define rework before production resumes
Set rules for a head that may be approved, reset, filled, removed, or cause component replacement. Inspect nearby finished work if the same pattern may have gone unnoticed. A proud brad can affect appearance and joint engagement, while an informal reset can split a profile or conceal a bent path.
Keep accepted and rejected samples in the same orientation. Note the number of shots since service, production pace, air-hose arrangement, and whether the board was clamped or allowed to move. These records help distinguish a local hard spot from a repeated system condition.
The limitation is important: a flush appearance does not establish joint capacity, brad-lot conformity, tool safety, or durability in every hardwood. Use the applicable design, testing, and quality requirements.
Explore the ProAirNails Brad Nails category and broader pneumatic fastener range. Send the tool model, brad reference, depth map, material details, and control photographs through the ProAirNails inquiry page when brad nails not flush in hardwood.
FAQ
Should I increase pressure when brad heads stand proud?
Not automatically. Stay within the tool specification and first check contact, depth setting, supply recovery, driver condition, brad fit, hardwood density, and support.
Can I hammer every proud brad flush?
Only under an approved rework rule. Hammering can bend the brad, mark the surface, split the profile, or hide evidence needed to correct the process.
Does hardwood require a different brad nail?
Material density can affect driving, but selection also depends on tool compatibility, profile thickness, receiving material, required engagement, coating, and joint performance.
A labeled ProAirNails seating map turns brad nails not flush in hardwood into a controlled depth investigation instead of repeated setting changes.





