

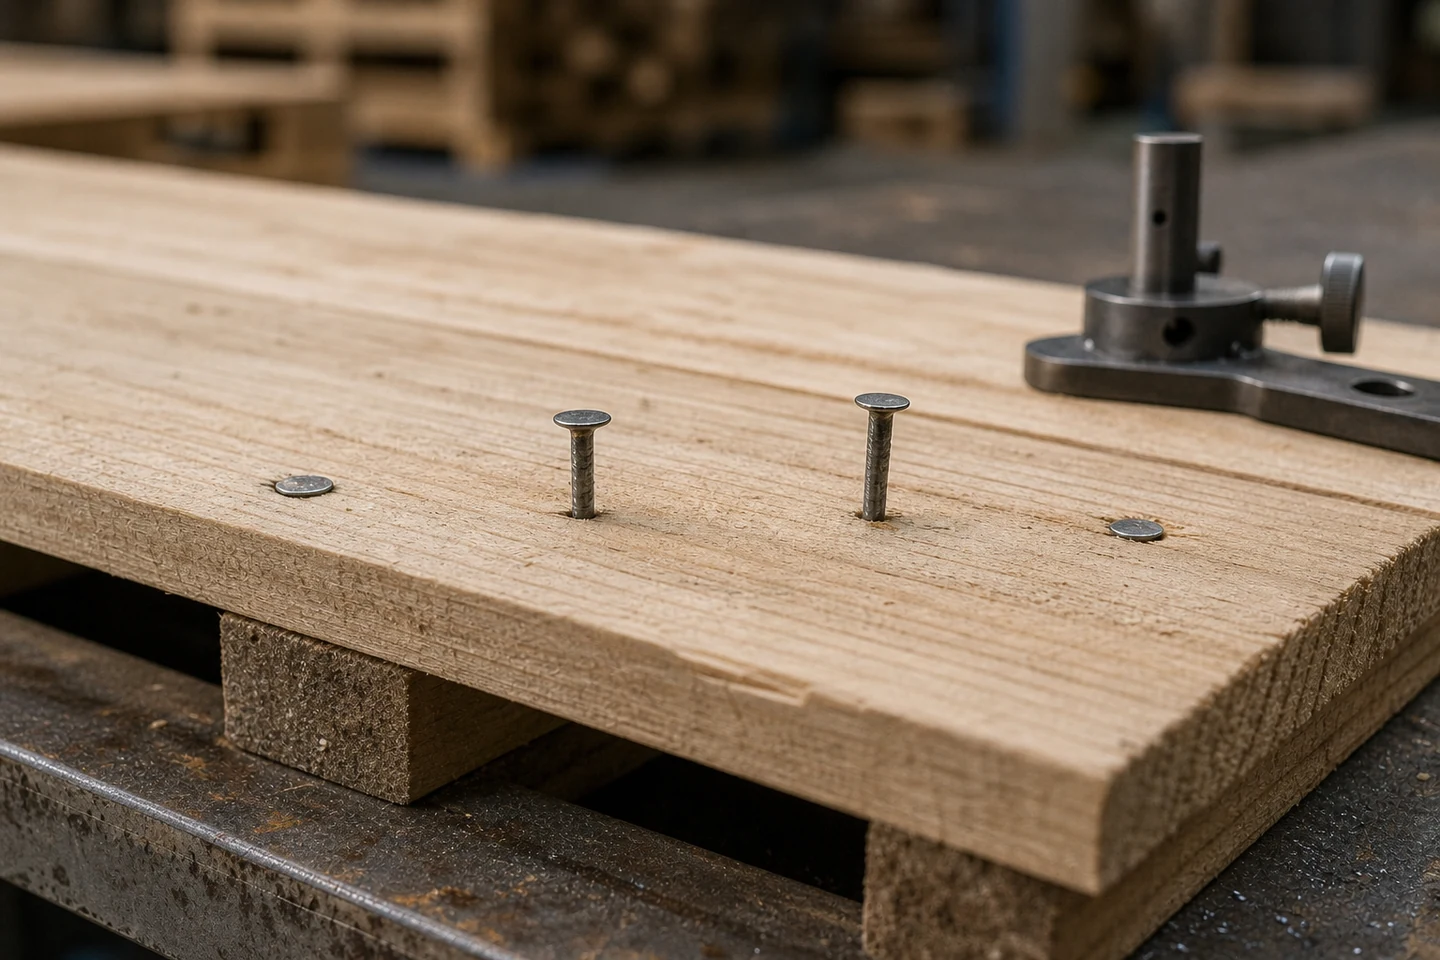
Coil nail heads not flush should be measured as a pattern, not described from the worst fastener alone. One proud head can follow a knot, bounce, angled contact, damaged nail, or incomplete cycle. A repeated high or low depth across a run may point toward pressure, air delivery, tool setup, support, nail compatibility, or wear.
Stop and isolate the tool according to its instructions if there is an abnormal sound, jam, damaged fastener, or unsafe operating condition. Depth troubleshooting should never bypass a safety feature.
Establish the reference surface first
Define what “flush” means for the application: level with the wood surface, within an approved proud range, or within a controlled embedment that does not crush fibers. Rough lumber makes a single point measurement misleading, so use an agreed reference method across the surrounding surface.
Record lumber species or grade, thickness, moisture condition, support, joint stack, nail reference, tool model, pressure range, hose arrangement, and production rate. These are part of the depth result.
Measure a short consecutive run
Mark 20 or another approved number of consecutive fastening positions. Measure each head relative to the local surface without selecting only visible failures. Note knots, edges, gaps, grain changes, operator stops, hose movement, and the position of each nail in the coil.
Plot the values in sequence. A cluster at one depth, a gradual drift, alternating high and low heads, and isolated outliers lead to different inspections.
Classify the shape of the distribution
| Observed pattern | Possible direction | Next controlled check |
|---|---|---|
| Nearly all heads proud | Setup, pressure, air delivery, hard stack, depth adjustment | Confirm specifications and a known setup |
| Random isolated proud heads | Material features, bounce, feed event, damaged nail | Map each outlier to local evidence |
| Depth drifts during the run | Air recovery, heat, supply restriction, changing technique | Record timing and dynamic pressure |
| Heads alternate or repeat cyclically | Coil geometry, feed, contact sequence, tool mechanism | Preserve nail and coil positions |
Cross-check material and tool without mixing variables
After qualified inspection, compare the same approved nail and setup on a consistent test block, then compare a confirmed compatible nail in the original material. Keep contact angle, support, pace, and supply arrangement fixed. Stop at the first abnormal feed or drive event.
If the result follows a knotty or unsupported board, investigate the material and joint stack. If it follows the tool across a stable block, inspect depth control, nose contact, driver, feed, seals, supply, and maintenance status under the manufacturer's procedure.
Check air delivery during the event
A static gauge reading does not show the full condition during rapid cycling. Confirm permitted operating pressure, hose diameter and length, couplings, regulator behavior, compressor recovery, and simultaneous tool demand. Record the production cadence because a tool may seat correctly at a slow test pace and drift during a real run.
Higher pressure is not a universal correction. It can overdrive easy positions, damage wood, increase tool stress, and conceal a restriction or maintenance issue.
Inspect the head, shank, and surrounding fibers
For each outlier, inspect whether the head is tilted, the shank bent, the wood crushed, the nail damaged, or the collation disturbed. Preserve unusual nails and the remaining coil. A proud but straight nail in dense material presents different evidence from a tilted head after a feed disturbance.
Turn the plot into a release rule
Define the accepted depth range, sample frequency, reaction to an outlier, and triggers for tool inspection or material containment. Keep the sequence plot with tool, nail, lumber, pressure, and operator records so recurring patterns can be compared.
The limitation is clear: a short depth run does not certify joint strength, long-term pallet performance, tool safety, or lot conformity. Those conclusions need the appropriate design, sampling, service, and quality criteria.
Review the Coil Nail category and the broader pneumatic fastener range. Send tool model, nail reference, lumber stack, depth plot, air-supply record, and outlier photographs through the inquiry page when troubleshooting coil nail heads not flush.
FAQ
Why are only some coil nail heads standing proud?
Isolated high heads may correspond to knots, unsupported gaps, angled contact, bounce, damaged nails, feed disturbances, or short air-delivery events. Map each outlier before changing the full setup.
Will increasing compressor pressure make every nail flush?
Not reliably. It may overdrive easier positions and does not correct incompatible nails, supply restrictions, worn components, poor support, or inconsistent contact. Stay within the tool specification.
Can proud coil nails simply be hammered down?
Follow the product and project repair procedure. Hammering can hide the original evidence, bend the fastener, damage the surface, or produce an unverified joint result.
A sequence plot makes coil nail heads not flush measurable and shows whether the problem is systematic, cyclic, or local.





