

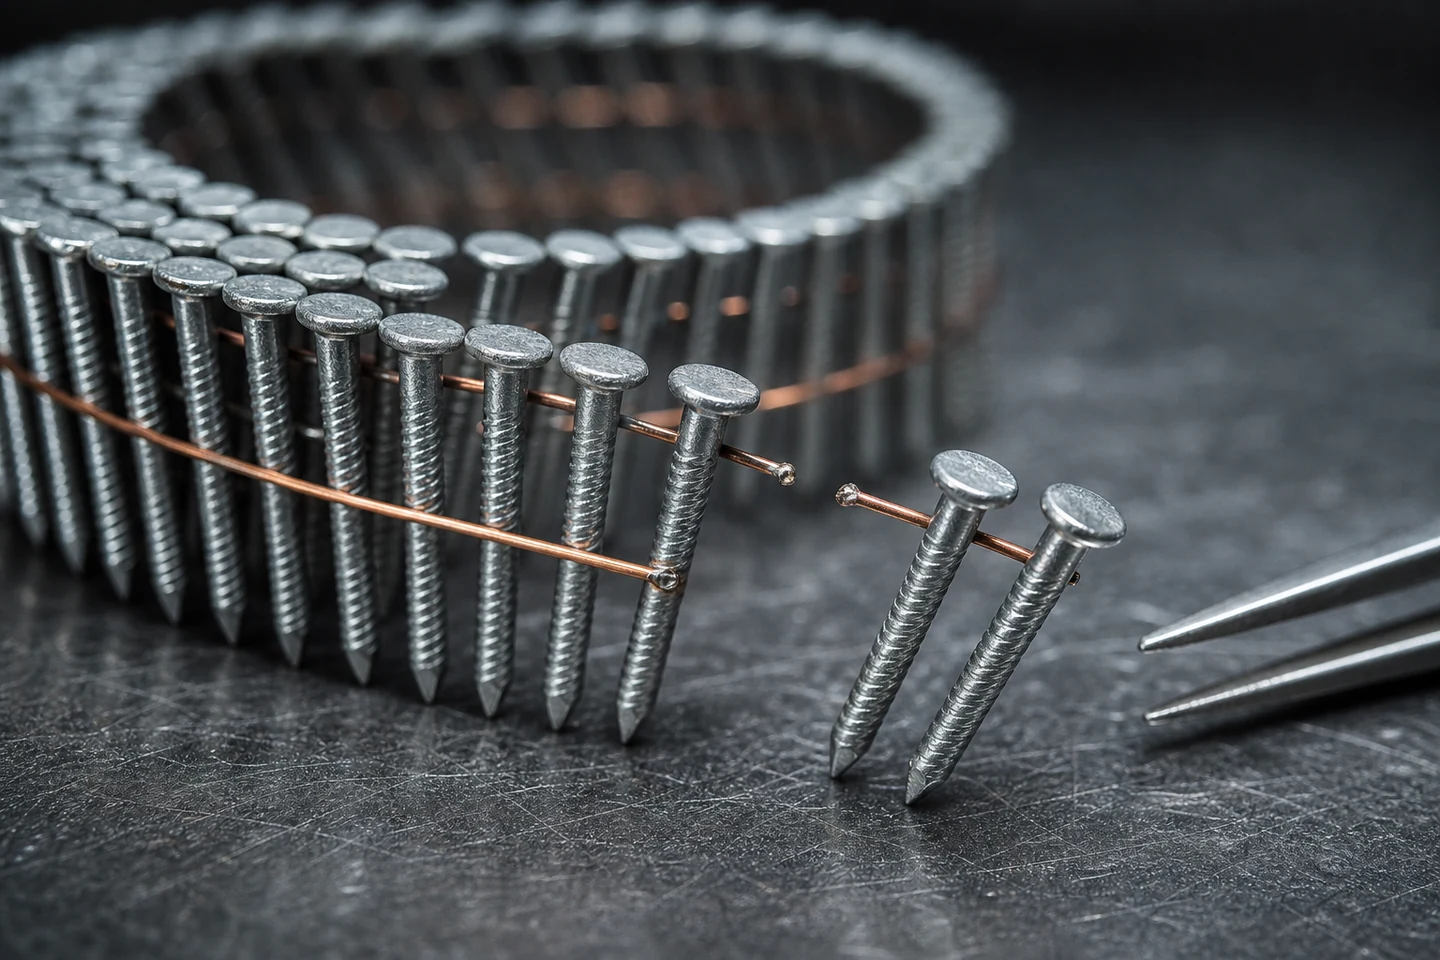
Coil nail wire weld failure should be investigated before the broken section is pulled apart or discarded. The location of the break, the shape of the wire ends, neighboring welds, coil deformation, carton condition, and the point in the feeding cycle can all help distinguish a product issue from damage introduced during storage, loading, or tool use.
The goal is not to judge a complete batch from one photograph. It is to preserve enough evidence to decide what should be sampled next.
Freeze the failure in its working position
Stop according to the tool manufacturer's clearing and isolation procedure. Do not reconnect the loose wires, straighten the coil for a better picture, or cycle the nailer again to reproduce the jam. Photograph the magazine, feed path, remaining coil, detached section, and carton reference before moving the parts.
Place the failed material in a labeled bag or tray. Record tool model, coil reference, operator, date, approximate number of fasteners already driven, loading orientation, and whether the failure occurred during loading, indexing, driving, or removal.
Locate the break on a simple coil map
Sketch the coil as an outer start, middle turns, and inner end. Mark whether one collation wire separated or both did, whether the break is at one nail or continues across several, and whether nearby nails are leaning, twisted, or displaced.
- Outer-turn damage can justify checking carton pressure, dropped coils, and loading handling.
- A repeated break at the same feed position can justify checking the tool path, pawl action, magazine fit, and coil dimensions.
- Several weak-looking connections in unused material justify wider product sampling while preserving batch identity.
- One separated point beside intact welds requires comparison; it is evidence, but not a batch conclusion.
Read four features at the separated connection
| Feature | Observation to record | Question it raises |
|---|---|---|
| Wire end shape | Clean separation, stretched end, flattened end, or bent wire | Did the connection separate directly or after mechanical deformation? |
| Nail position | Upright, leaning, rotated, missing, or pulled from the coil | Was the joint loaded by coil distortion or feed movement? |
| Adjacent welds | Uniform, offset, partly detached, or visibly damaged | Is the condition isolated or repeated locally? |
| Coil geometry | Round, flattened, telescoped, compressed, or loose | Could packaging, storage, or loading have changed the feed geometry? |
Use a low-angle photograph and a top view with a scale. Avoid forcing the connection under a microscope clamp or pliers before the initial condition is documented.
Compare untouched coils from three positions
If the receiving and quality procedures allow, select sealed or untouched samples from different carton positions: near the top, center, and lower layer. Compare coil diameter, flatness, wire alignment, nail spacing, loose connections, visible corrosion, and carton damage. Keep batch references linked to each sample.
Do not run the entire suspect carton simply to count failures. A controlled feed sample should use a confirmed compatible nailer, documented loading, and an approved safety procedure. If repeated separation occurs, stop and preserve the sequence rather than clearing every failure and continuing.
Separate four possible evidence paths
- Packaging or handling path: crushed cartons, flattened coils, or damage concentrated at outer turns.
- Storage path: moisture, loose collation, corrosion, softened cartons, or deformation after poor stacking.
- Tool path: breakage repeats at one magazine or feed position and changes when a confirmed tool is used.
- Product path: similar weld separation appears in untouched samples across the identified batch.
More than one path can be active. A deformed coil may place extra load on a marginal connection, for example. The evidence should remain open to combined causes.
Write a containment note that protects traceability
Identify affected carton and batch references, quantity placed on hold, sample locations, tools used, photographs, and the criteria for release or further review. Do not mix loose coils from different cartons during the investigation.
The main limitation is that visual examination cannot determine weld strength or product conformity by itself. Those questions need the applicable inspection method, sampling plan, equipment, and specification.
For product context, review the Coil Nail category and the broader pneumatic nail range. Send the batch reference, carton photographs, preserved failed section, tool model, and feed sequence through the inquiry page when discussing coil nail wire weld failure.
FAQ
Can a broken collation wire be repaired and used?
It should not be improvised back into service. Preserve the failed section and follow the supplier, tool manufacturer, and workplace procedure for damaged collated fasteners.
Why does wire breakage repeat at the same point in a nailer?
A repeated tool position can indicate feed-path contact, magazine fit, indexing behavior, or a geometry interaction. Compare with a confirmed compatible coil and inspected tool rather than assuming the wire alone is responsible.
Does one broken weld mean the whole batch is defective?
No. One failure justifies containment and representative comparison. A batch decision needs traceable sampling, agreed criteria, and the appropriate inspection method.
Preserving the break surface makes a coil nail wire weld failure investigation more useful than a loose photograph of discarded parts.





