

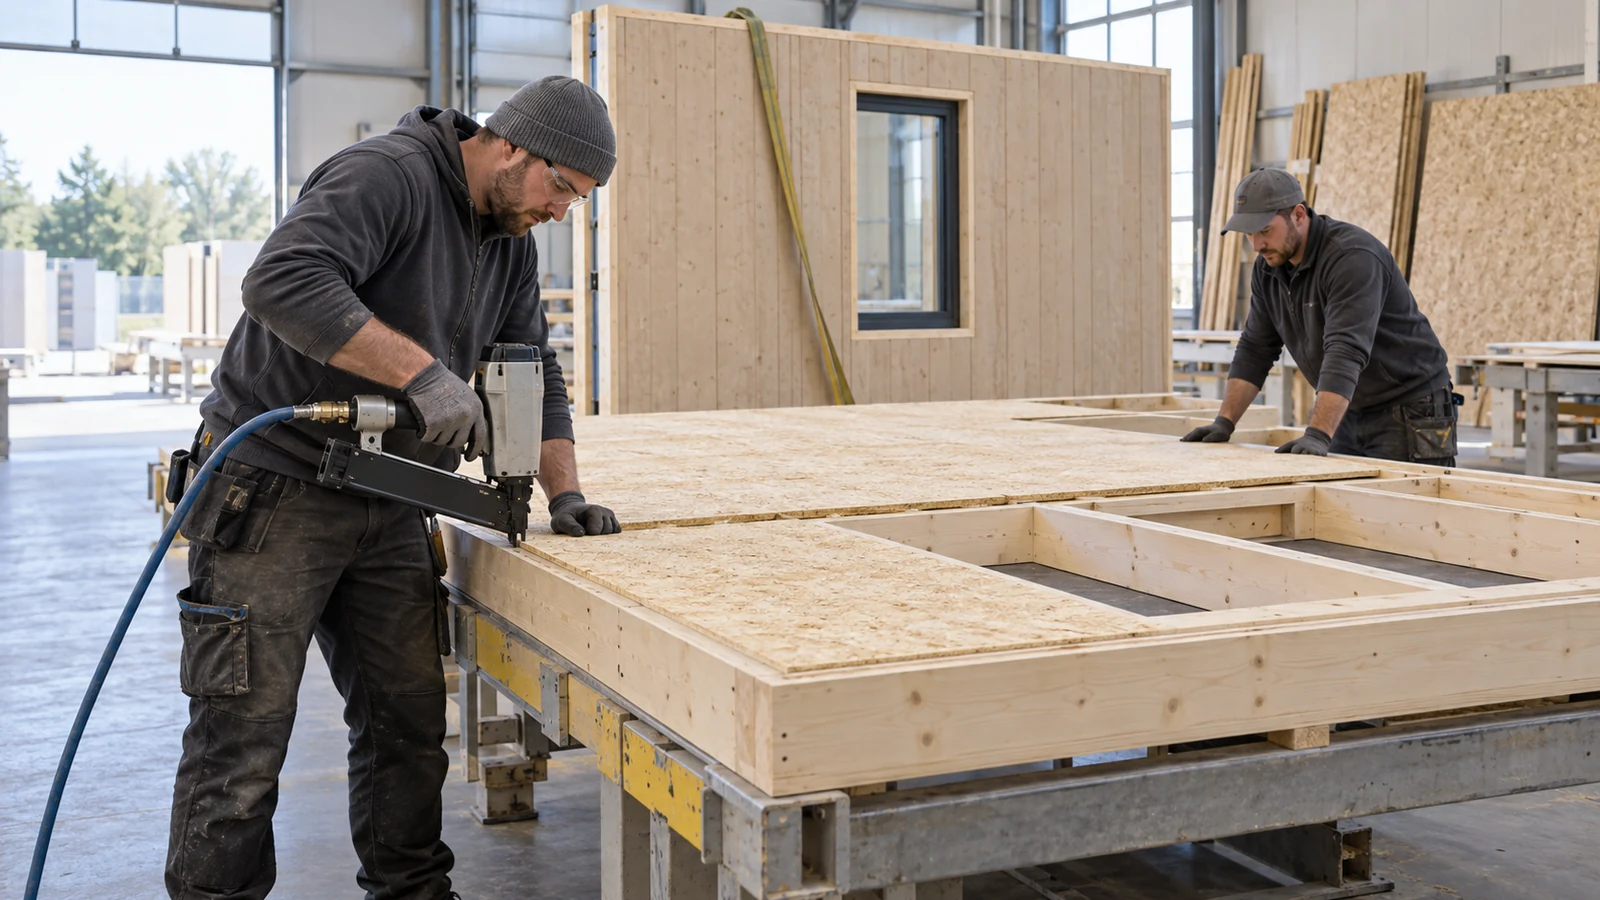
Fasteners for prefabricated wall panels are specified twice on most projects, and the second decision is the one that sticks. The first is made on the shop drawing. The second is made on the factory floor by whoever has the tool in their hand, against a panel that is already built.
ProAirNails supplies collated nails, staples and screw accessories into shops that build closed wall modules, and the question that comes back most often is which fastener belongs on a given joint. The answer is rarely about holding power alone. It is about the connection schedule, the tool that can reach the joint, and what the panel has to survive between the bench and its final position.
What fasteners for prefabricated wall panels actually carry
A panel connection is asked to do three different jobs, and they do not peak at the same time. In service it carries shear and wind load. During handling it carries the panel's own weight concentrated at a few lift points. In transit it carries racking and vibration against a stack of identical modules.
A fastener chosen for the service case can be the wrong one for the lift. A sheathing nail that holds a skin perfectly well in a finished wall may tear a lifting point out of the frame when a crane takes up the slack. Write the three cases down before choosing a part, because the release check has to answer all three.
Start with the connection schedule, not the fastener
The connection schedule is the document that says which joint takes which fastener, at what spacing, and at what edge distance. When it is missing, the shop defaults to whatever was in the tool. That default is consistent, which makes it feel correct, and consistency is not the same as design.
In practice, a specification for fasteners for prefabricated wall panels only becomes usable when it names the members being joined, the thickness of each, the fastener series and length, the spacing, the edge and end distances, and the tool setting. It should also say what is not allowed: through-fixing a face that will be visible, fastening into a cut edge of a panel, or adding a second row where a detail already carries the load.
Match the fastener to the panel build-up
Panel build-ups vary more than the finished wall suggests. The same module may combine a structural sheathing skin, a stud or rail frame, a service void and a lining. A fastener that is generous in the frame can be too long for the lining, and one that is comfortable in the skin may never reach enough frame material to hold.
| Build-up | What the fastener is doing | What to settle before release |
|---|---|---|
| Skin to frame | Carries shear across the panel face | Series, length, spacing and edge distance to the skin edge |
| Frame to frame | Holds the module geometry square | Whether the joint is structural or only for alignment |
| Service batten to frame | Positions a void, carries almost nothing | Whether a shorter fastener avoids the lining behind it |
| Lining to batten | Holds a finished face in place | How the head is hidden and how the face is inspected |
The table below sorts fasteners for prefabricated wall panels by the joint they are serving rather than by the part number. These rows are a starting point, not an approval. The length that works in one build-up does not transfer to a module with a different skin, species or moisture condition.
Tool access decides more joints than strength does
On a closed panel, the joint that matters is often the one the tool cannot reach squarely. A nailer held at an angle sets the fastener at an angle, and an angled fastener into a thin section is a different connection from the one on the schedule.
Tool access is the reason most specifications for fasteners for prefabricated wall panels get rewritten after the first module. Walk the panel before the run starts and mark the joints that need a shorter nose, a different collation angle or a hand tool. It is cheaper to change a batch of fasteners than to rebuild a module, and it is cheaper still to find the problem on a trial panel than on the first shipment.
Handling and lifting loads are not service loads
Lifting points are the least forgiving part of a prefabricated assembly, because the whole module weight arrives at a detail that was designed for a wall. A lifting insert, a spreader bar or a purpose-made lifting frame belongs in the schedule as its own item rather than as an afterthought added by the yard.
- Confirm what the crane or the vacuum lifter attaches to, and that the detail is rated for the module weight.
- Check that the lifting detail does not rely on the same fasteners that hold the finished skin.
- Photograph the lift points before and after the first lift, not only when something fails.
- Record the lifting method with the panel, so the next module is handled the same way.
Seven release checks before the module ships
Inspection works better as a short sequence than as a single sign-off at the end, because a panel can be spoiled before a fastener is driven.
| Stage | What to look at | What to record |
|---|---|---|
| Before fixing | Member thickness, joint fit, moisture | Member sizes and the trial that was approved |
| During fixing | Spacing, edge distance, tool angle, head depth | Series, length, tool setting and the operative's initials |
| After fixing | Skin marking, splits at ends, missed fixings | Photographs of both faces |
| Before the lift | Lifting detail, bracing, loose items | Lifting method and the weight of the module |
Moisture, storage and the first week on site
Panels that are fixed dry and then stored in the open behave differently from panels that were fixed wet. Timber shrinks across the grain as it dries, and a joint that was tight on the bench opens as the moisture content falls. The APA engineered wood guidance is a useful reference for how panel products are expected to be stored and protected before installation.
ProAirNails quotes into panel shops that store modules outdoors as well as indoors, and the storage method changes which joint is actually being approved. A schedule written for an indoor line is not automatically valid for a yard.
Protection between the factory and the final position is part of the fastener decision, not a separate topic. A module that arrives wet is inspected wet, and a wet inspection approves a joint that will change in the first week.
Hand tools, power tools and the safety rule
Powered fixers make panel work fast, and they make a mistake fast as well. The OSHA requirements for hand and power tools in construction set the baseline for guarding, inspection and training that a panel line should already be meeting before a collated tool is added to it. None of this chooses a fastener, but it decides whether the approved detail is the one that actually gets built.
What the module pack has to carry
Documentation is the difference between a one-off and a repeatable product. A module pack that leaves the factory with the connection schedule, the trial photographs and the fastener identity makes the next order a comparison rather than a new development. ProAirNails supplies fasteners for prefabricated wall panels alongside pneumatic nails, coil nails and drywall screws, and can quote against a schedule rather than a part name.
FAQ
Can one series of fasteners for prefabricated wall panels cover a whole range?
No. A series can cover a family of similar joints, but a change of member thickness or skin material is a new joint and needs its own trial.
How close to the panel edge can a fixing sit?
Far enough that the edge does not break out under load. The distance depends on the material and the fastener, so it has to come from a trial rather than a rule of thumb.
Is a longer fastener always stronger?
No. Past a point the extra length adds breakout risk in thin skins and can mark a visible face without adding hold.
Do lifting points need their own fasteners?
They need their own detail. A lifting insert or frame rated for the module weight is a different question from the fixings that hold the finished wall.
What changes force a new trial?
A change of member thickness, species, moisture content, joint detail, tool or fastener series.
How should a prefabricated module be stored?
Dry, supported and off the ground, so the joint that was approved is the joint that arrives.
What belongs on the connection schedule?
The members joined, their thicknesses, the fastener series and length, spacing, edge and end distances, tool setting and the exceptions.
Should the schedule be fixed before the first module?
Yes. A schedule written after the first modules are built is a description of what happened, not a specification.
How many fasteners should be recorded per joint?
Record the pattern, not the count: spacing, rows and edge distance describe the joint better than a total.
What should a panel enquiry include?
The build-up of each joint, member thicknesses, the tool being used, the handling method and the delivery schedule.
Put the connection schedule on the panel drawing
A schedule that lives only in a file is a schedule that gets replaced by habit. Put it on the drawing the bench actually uses, and keep the trial panel with the order record so the next delivery is compared against the joint that was released. Send the build-up and the lifting method through Contact Us and the reply can be a specification rather than a series name.





