

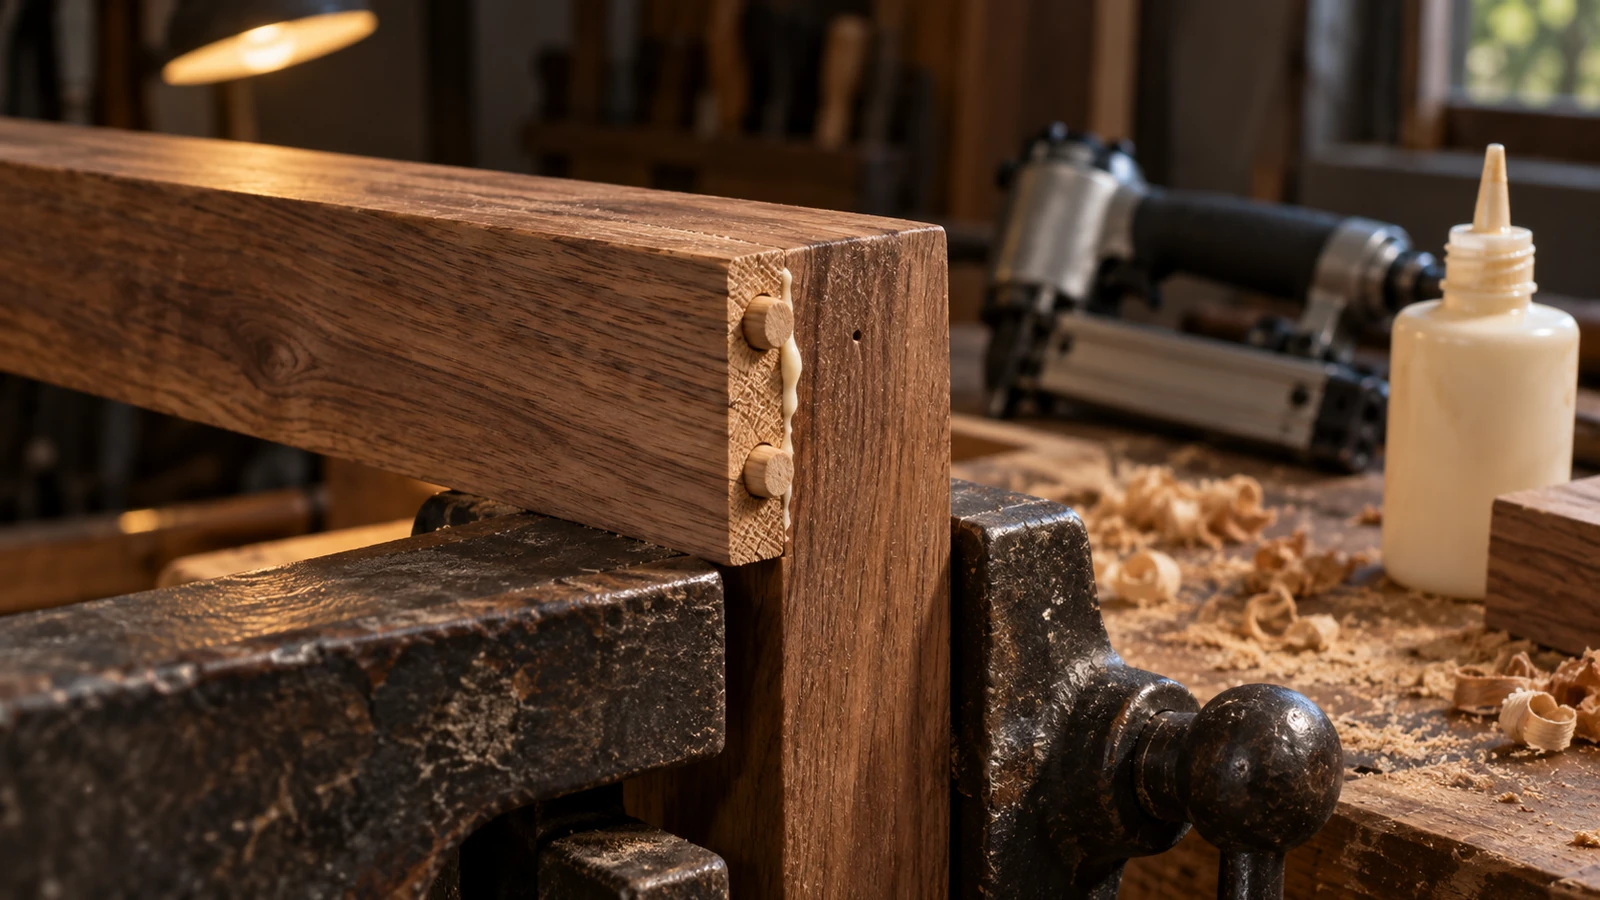
The pin is not there to hold the joint together; it is there to stop the joint moving while the glue decides the geometry. That distinction explains almost every rule about headless pins for dowel alignment, including why the pin should be small enough to vanish and why the joint should still be clamped.
ProAirNails supplies headless pins into joinery and cabinet shops, and the questions that come back are usually about tolerance rather than holding power. Two panels, two dowels and a smear of glue do not align themselves, and the pin is the cheapest way to hold a joint in register long enough for the adhesive to take over.
Two jobs, and only one of them is alignment
A dowelled joint is doing two things at once. The dowels transfer load and, where the joint is dry-fitted well, they also register the parts. Those are not the same function, and a joint that relies on the dowels to pull itself into alignment under clamp pressure is a joint that will end up slightly out of square.
The pin takes over the temporary part of that job. It stops one part sliding relative to the other while the joint is clamped and while the glue is still able to move, which is the window in which a good dry fit can still be spoiled.
What the pin has to do while the glue cures
During clamping, a joint can creep. The parts can slide along the joint line, rotate slightly around the dowels, or lift if the clamp pressure is applied off centre. All three show up as a step or a shadow line after finishing, and all three are hard to correct once the adhesive has grabbed, which is exactly the window where headless pins for dowel alignment earn their place.
A pin driven through the shoulder or across the joint line removes the sliding component and holds the parts in the position they were dry-fitted in. It is a positional aid, not a structural element, and its length should reflect that. ProAirNails treats headless pins for dowel alignment as an assembly aid on the same basis.
Headless pins for dowel alignment: hold, register, disappear
Three requirements, in that order of importance, and the third is what makes headless pins attractive in visible work. Because there is no head to fill, the pin can be set below the surface and the surface made good with a damp cloth or a light sand.
The same property is the risk. A pin that is set too deep contributes nothing to holding the parts against each other, and a pin driven into a visible face leaves a hole that no amount of care will fully hide in a clear finish.
The tolerance budget for a dowelled joint
Alignment is the sum of several small errors, and the pin only removes one of them. Writing the budget down makes the choice of pin almost automatic.
| Variable | What it contributes | What to check |
|---|---|---|
| Dowel hole position | Whether the parts register at all | Jig accuracy and the reference face used to set it |
| Dowel diameter fit | How much the joint can slide before the pin | Hole size against the dowel tolerance |
| Joint face squareness | Whether a step appears after clamping | Squareness of both mating faces, not just one |
| Pin placement | Whether the parts can slide while curing | Pin depth and its position relative to the clamp force |
Gauge, length and the risk of a visible mark
Gauge sets the hole, and the hole sets how much repair the surface will need. In visible joinery the smallest practical pin is usually the right one, provided it can hold the parts in register.
| Pin gauge | Where it suits the work | Risk to manage |
|---|---|---|
| Very fine gauge | Visible faces, veneered panels, small mouldings | Can bend on harder species if the tool is not set correctly |
| Mid gauge | Internal frames and joints that will be covered | Hole is visible under a clear finish if set too deep |
| Heavier pin | Assembly jigs and dry-fit trials | Risk of splitting thin sections near an edge |
Sequence and glue open time
Every minute spent finding a clamp is a minute taken off the open time of the adhesive, so the sequence is worth rehearsing before the first joint rather than during it. The pins are the part of that sequence that has to be within reach of a hand.
- Dry-fit the joint and mark the reference faces before any glue is applied.
- Lay out the clamps and the pin tool within reach, checked and loaded.
- Glue, assemble, apply the clamp pressure, then pin while the joint is still soft.
- Wipe the squeeze-out before it skins, and leave the clamp until the adhesive has fully cured.
- Record the adhesive, its open time and the room temperature, because that record explains a joint that moved.
Testing on an offcut
An offcut of the same species tells you more than a specification does, and it is the only way to judge headless pins for dowel alignment before a batch is set up. Drive a pin into the edge, into the face and across the joint line, then look at the surface under a raking light. You will see the hole the finish will have to deal with, and whether the tool pressure is marking the surrounding fibres.
Species matters here. Hardwoods with a dense grain can deflect a fine pin, while some softwoods compress around it and show a small dimple. The Forest Service wood handbook is a useful reference when the behaviour of a species has to be explained rather than demonstrated, and it covers how different woods respond to fastenings and moisture.
Where the joint will be judged on durability
Where a furniture joint is tested rather than inspected, the frame of reference changes. The BIFMA furniture standards programme publishes the kind of durability expectations that commercial furniture has to meet, and those tests are about the joint and the adhesive rather than the pin that held the parts in line.
Where pins are the wrong answer
A headless pin is not a structural fixing, and it is not a substitute for a clamp. Where the joint is carrying load, or where the geometry is being set for the first time, the pin should not be the only thing holding the parts.
It is also a poor choice where a hole cannot be repaired at all, such as a pre-finished surface or a veneer that will not accept a filler. In those situations the assembly method has to change, not the pin gauge.
FAQ
Do headless pins for dowel alignment replace clamps?
No. They hold the parts in register while the clamp applies pressure and the adhesive cures.
How deep should the pin be set?
Just below the surface, far enough that a light sanding leaves nothing behind, and never so deep that it stops holding the parts together.
Which gauge suits visible joinery?
The smallest gauge that still holds the parts in register, tested on the same species first.
Why did my joint still step after pinning?
The pin removes sliding, not misalignment. A step usually comes from dowel position or a joint face that is not square.
Can I pin through a veneered panel?
It is risky. A veneer can chip around the entry point, and the hole may be impossible to hide in a clear finish.
Does glue type change the sequence?
It changes the open time, which changes how much time is available between gluing and pinning.
How many pins does a joint need?
Enough to stop rotation and sliding. One pin can act as a pivot, so most joints take two.
Should the pin be driven into the dowel?
No. It should pass through the joint faces into solid material beside the dowel, not into the end grain of a dowel.
What causes a dimple around a fine pin hole?
Tool pressure, or a species that compresses easily. Reducing pressure and testing on an offcut solves most of it.
What should a joinery sample include?
The species, the joint detail, the dowel sizes, the adhesive, the pin gauge and the finish the surface has to take.
What to include with a joinery sample
Send the offcut, not just the description. A photographed test hole in the same species answers more questions than a gauge number, and ProAirNails quotes staple pins, brad nails and pneumatic nails from a described joint rather than a remembered part number. Send it through Contact Us.





