

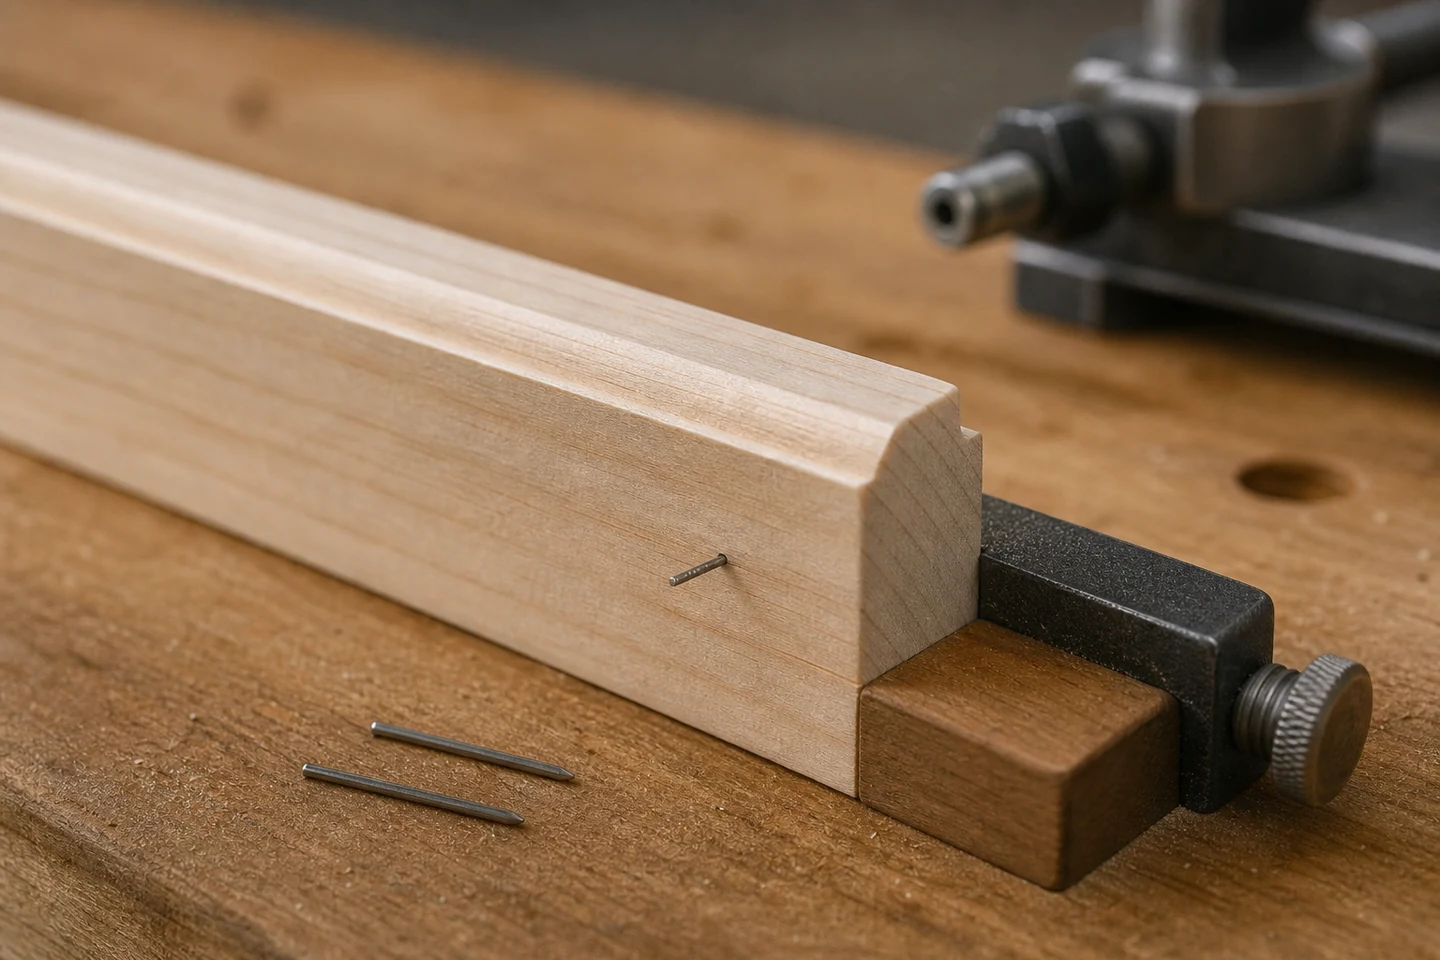
When a pin nail exits the side of trim, the visible point is the end of a hidden path. Grain runout, an angled tool, curved molding, insufficient support, excessive pin length, local density, point geometry, and a hard layer in the joint can redirect a slender fastener. Pulling it immediately can straighten or disturb the evidence.
Stop work at the affected profile and preserve the component. Mark the entry face, exit face, tool direction, trim orientation, and fastening sequence before cutting or extracting.
Record pin nail exits side of trim as a location-specific event, including the profile zone and distance from the end, so later samples can be compared to the same geometry.
Connect the entry and exit points
Measure the distance along and across the trim between the entry and exit. Sketch a straight line between them as the apparent exit vector, then compare that line with grain direction, profile thickness, edges, grooves, and the receiving material below.
The actual pin may curve rather than follow the straight sketch, but the vector shows whether the event generally follows grain, tool angle, or a boundary in the joint.
Open one representative path
Use an approved workshop sectioning method on a retained offcut or rejected part. Approach the pin path gradually and photograph the cross-section with a scale. Record where deflection begins: directly below entry, midway through the trim, at a glue line, inside the substrate, or near the exit surface.
Do not use one opened sample to declare a universal cause. Keep an apparently successful control from the same trim lot for comparison.
Rotate the variables around the vector
| Controlled change | Keep fixed | Question answered |
|---|---|---|
| Rotate trim grain | Tool direction and pin setup | Does the path follow the wood? |
| Change permitted tool orientation | Same marked trim zone | Does the path follow entry angle? |
| Add complete backing support | Pin, tool, and position | Does bounce or a gap start the curve? |
| Compare approved pin length | Profile, point family, and support | Does the exit occur after required engagement? |
Inspect the profile, not only its outside width
Decorative trim may contain a thin web beside a bead, groove, bevel, or hollow back. Mark the effective receiving thickness at each fastening zone. A tool resting on a curved face can also point the pin toward a side even when the operator appears square to the overall component.
Check for miter stress, clamps, adhesive beads, gaps, and hard substrates that can change the path. Record wood condition and visible grain runout near the entry.
Compare pin and tool condition
Confirm pin series, point, length, collation, magazine fit, driver, and nose condition. Inspect unused pins for straightness and damage. Use a confirmed serviceable compatible tool for controlled tests under the manufacturer's procedure.
Higher pressure does not make a redirected pin straight. It may drive the same curved path faster and increase side breakout or surface damage.
Release a profile-specific fastening map
Show permitted zones, prohibited thin areas, entry direction, pin reference, support, and inspection points. Retain accepted and rejected cross-sections. Repeat the validation when trim profile, wood lot, pin, tool, joint stack, or finish process changes.
The limitation is scope: an exit-vector study does not establish joint strength, long-term durability, suitability for every material lot, or compliance with a product design. Those decisions require the applicable performance method.
Review the Pin Nails category and the wider pneumatic fastener range. Send the pin series, tool, trim profile, entry and exit measurements, grain photographs, and cross-section through the inquiry page for a pin nail exits side of trim investigation.
FAQ
Why do headless pins curve inside wood?
Slender pins can follow grain, meet density changes or hard features, begin at an angle, or change path when the trim moves or lacks support.
Will a shorter pin prevent side breakout?
It may reduce travel distance, but it must still provide the required engagement. Grain, profile thickness, entry angle, support, point, and substrate remain important.
Can the exposed pin tip be clipped and filled?
That may hide the visible point without verifying the internal path or joint result. Follow the approved rework method after the component and fastening condition are assessed.
Tracing the internal vector makes a pin nail exits side of trim complaint a controlled geometry investigation.





