

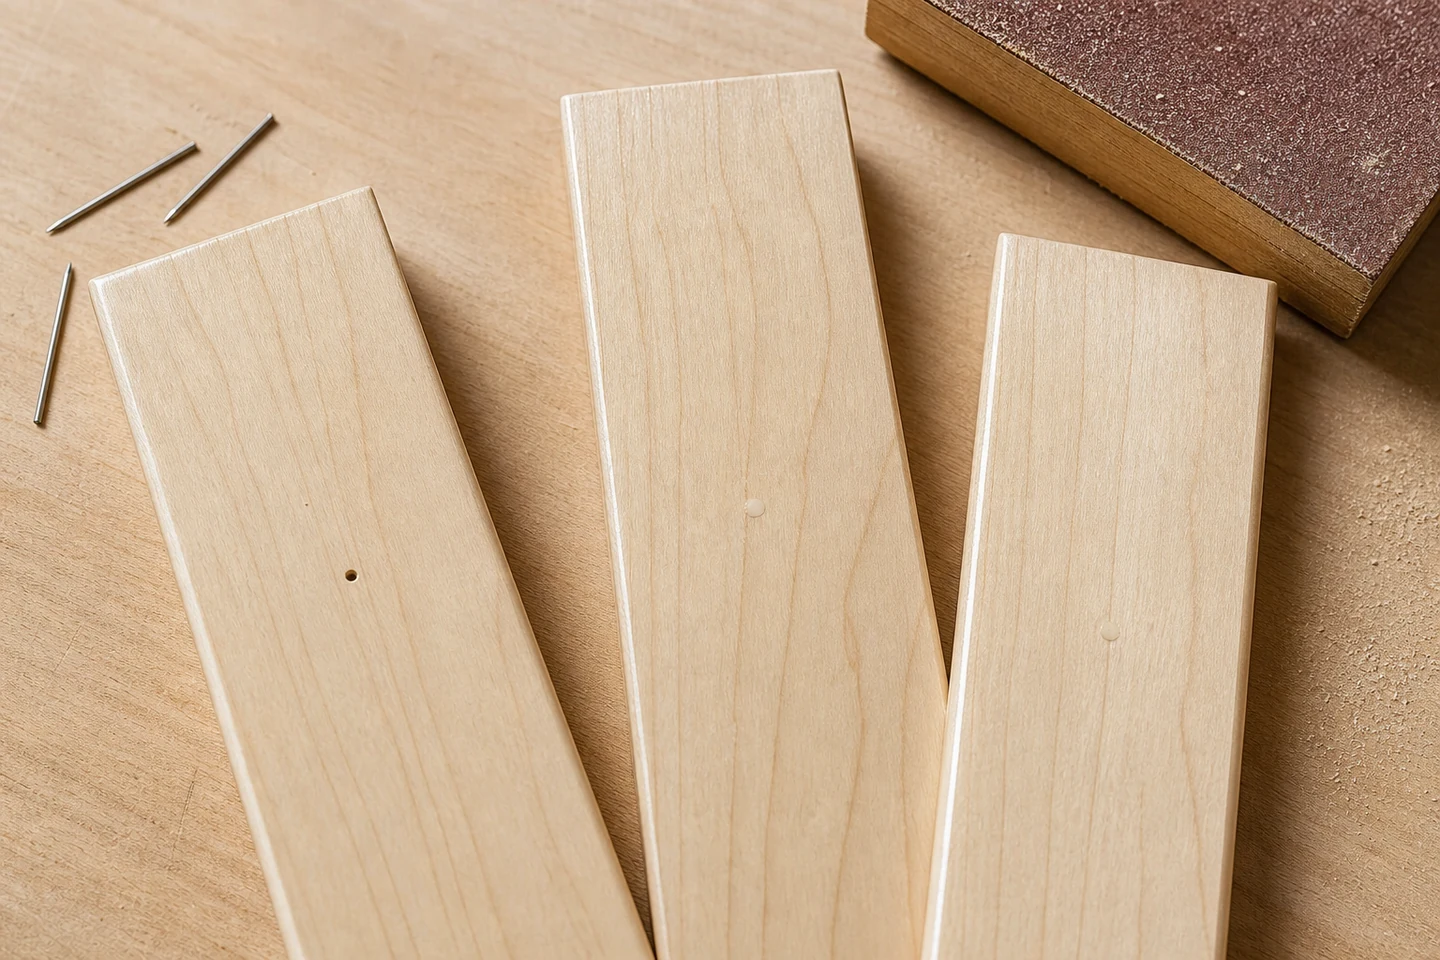
Pin nail holes visible after finishing are often created by the whole finishing sequence, not by hole diameter alone. Entry depth, crushed fibers, grain direction, filler color, sanding scratches, stain absorption, clear-coat sheen, and viewing light can make a tiny fastening point more noticeable after the work appears complete.
The most reliable prevention is a sample board that travels through the same fastening and finishing stages as the product. A raw-wood inspection cannot predict every mark after stain or a glossy topcoat.
Divide one sample board into finish stages
Use an offcut from the current wood, veneer, or molding batch. Mark several zones on the back: raw entry, filled, sanded, stained or colored, first coat, and final finish. Keep the face free of written labels that could contaminate the surface.
Install several pins in field grain, near a permitted edge, across darker and lighter grain, and at the actual working angle. Include accepted and intentionally borderline depth examples so the finish team can see which raw condition later becomes visible.
Photograph the hole under three lighting directions
View the sample under front light, raking side light, and the lighting expected in service. A filler match that disappears under diffuse workshop light may show as a dull dot beside a window or under cabinet lighting. Record the viewing distance and finish sheen.
| Visible clue | Possible source | Sample adjustment |
|---|---|---|
| Dark central dot | Open hole, deep shadow, stain collecting in the recess | Compare depth and filler sequence |
| Light halo | Filler color, over-sanding, sealed wood around the repair | Reduce affected area and compare filler behavior |
| Small raised circle | Pin not seated, filler proud, fiber rebound | Check entry depth before finishing |
| Gloss difference | Uneven sanding or local finish absorption | Evaluate the full coating schedule |
Keep pin variables fixed during the filler comparison
Use one confirmed pin series, tool, depth setup, wood condition, and operator for the first board. Compare filler or touch-up methods only after the entry result is stable. Otherwise a deeper hole in one zone can make the filler look better even though the application method changed.
Check the tool nose for debris or damage, hold it square, and support narrow molding so it does not bounce. A pin that sits proud should not be disguised with filler; correct the fastening result first.
Run the real color and coating schedule
Apply the production sanding sequence, stain or color system, sealer, and topcoat to the sample. Follow product instructions and allow the intended drying stages. Some fillers accept stain differently from surrounding wood; others may look correct before clear coat but change contrast when the grain deepens.
Retain a zone with no repair and a zone with an unacceptable repair. The comparison should show the boundary, not only the best result. Record whether the finish is natural, painted, dark stained, opaque, matte, or gloss because the same repair method may not transfer.
Release a surface standard with process notes
- Photograph accepted and rejected holes at normal viewing distance and close range.
- Record pin reference, length, tool, depth setup, wood or veneer, filler, sanding, color, and coating schedule.
- State which faces are visible in the final assembly and the inspection lighting.
- Define when a hole requires touch-up, component rework, or rejection.
The limitation is scope: a cosmetic sample does not establish joint strength, pin retention, wood movement, coating durability, or suitability for every material lot. Those questions need their own tests.
Repeat the board when a visible input changes
Repeat after a new wood lot, veneer, filler, stain, topcoat, pin, tool, or production lighting change. Store the approved sample away from sunlight and contamination, and date it so finish color drift is not mistaken for a current standard.
Review available products in the Pin Nails category and the wider pneumatic fastener range. Send the pin series, tool, wood, finish schedule, viewing light, and sample photographs through the inquiry page when reducing pin nail holes visible after finishing.
FAQ
Why do headless pin holes become darker after stain?
The recess or damaged fibers can collect color differently, and filler may absorb stain differently from the wood. Test the complete stain and topcoat schedule on the real material.
Should pin nails always be filled before clear coating?
That depends on the finish target, wood, hole condition, filler system, and product appearance standard. An approved sample should define when filling improves the result and when it creates a visible halo.
Can a deeper pin make the hole less visible?
A controlled recess may allow touch-up, but excessive depth can crush fibers, reduce the intended fastening result, or require a larger repair. Depth should be tested with the complete joint and finish.
A finish-stage reference board makes pin nail holes visible after finishing a controlled appearance issue rather than a final-inspection surprise.





