

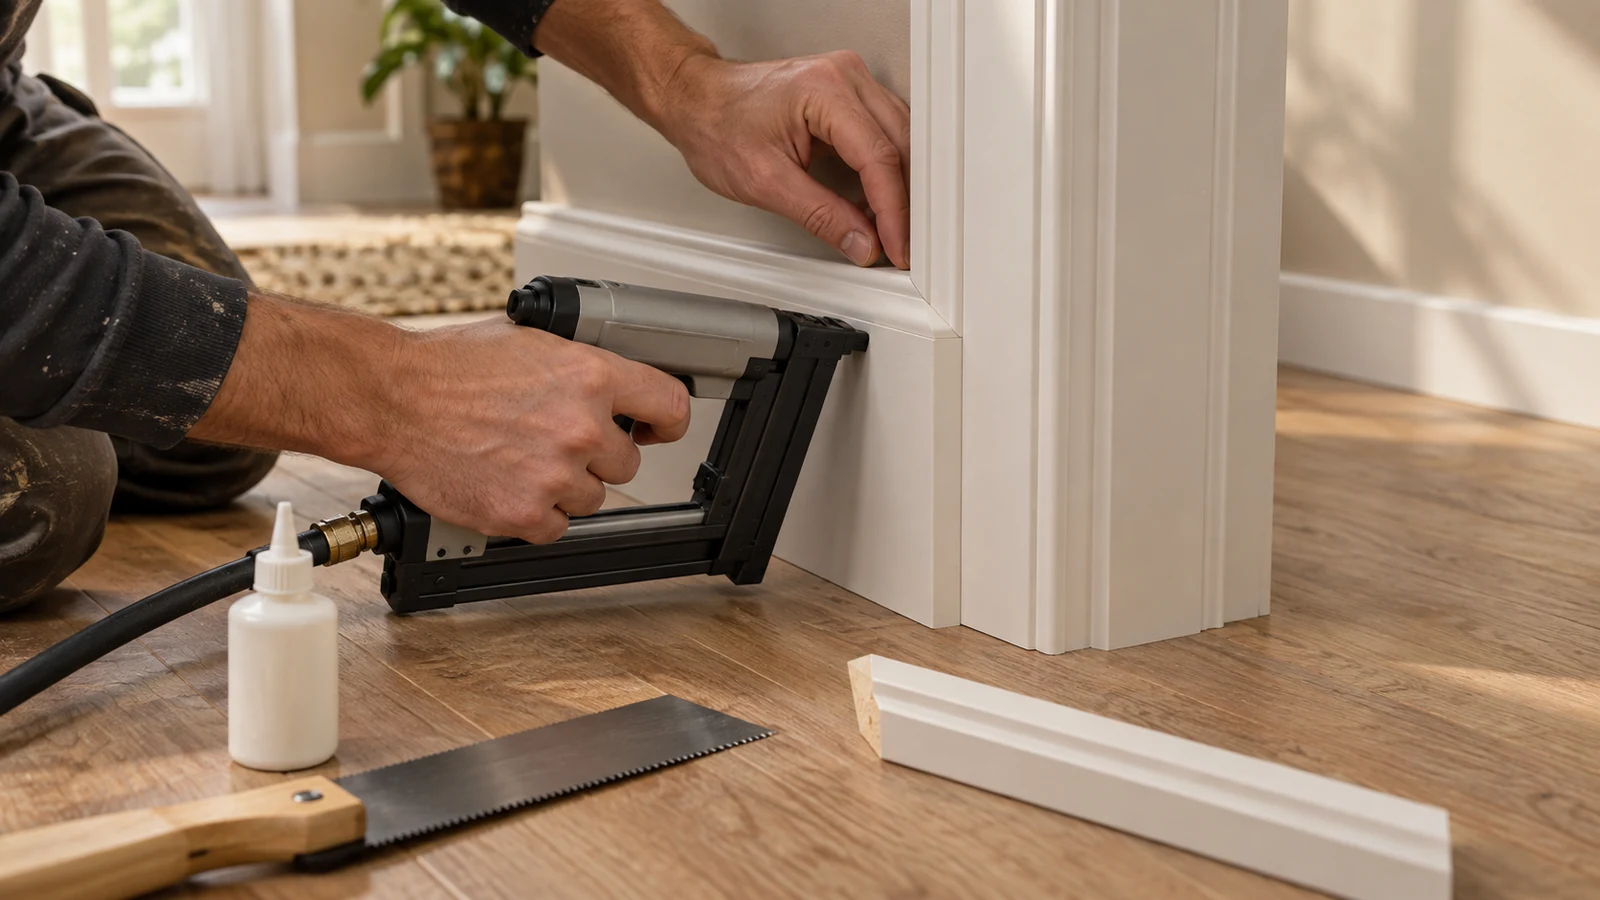
Pin nails for mitre joint returns do not hold the joint on their own, and treating them as if they do is how a return opens three weeks after the job is painted. The pin is a clamp that stays in the joint. The glue underneath it is what actually holds the return.
ProAirNails supplies headless pin nails into trim and joinery work, and the calls that come back are almost always about a mitre that looked closed at handover and opened afterwards. The pin was not the problem. The joint was closed without being glued, or it was closed while the moulding was still moving.
What pin nails for mitre joint returns can and cannot do
A headless pin has almost no withdrawal resistance compared with a brad, and it has almost no head to pull against. Its value is that it can be driven without leaving a mark on a finished face, which makes it the right tool for a joint that will be seen and the wrong tool for a joint that will be loaded.
Used properly, the pin holds the mitre closed while the glue sets and keeps it aligned afterwards. Used instead of glue, it holds the two pieces of moulding in contact and nothing more, and any movement in the trim goes straight into the joint line.
The return is a glued joint with a pin as a clamp
A mitre is an end-grain to end-grain joint on a trim profile, and end grain is the least cooperative surface in the piece. The glue is doing the work, and the pin's job is to hold the joint while the glue does it.
That is why the preparation matters more than the pin. A mitre that is cut short, or cut with a blade that has torn the end grain, will not close properly however many pins are driven into it. The pin can hold a clean joint shut. It cannot close a joint that does not fit.
Why the mitre opens after finishing
The joint usually opens because something moved after it was closed, and the movement has a short list of causes. Pin nails for mitre joint returns get blamed for movement that started in the timber, so the cause has to be identified before anything is re-fixed. A return that opens the same way on every unit is a process problem; one that opens on a single unit is a piece of timber.
| Cause | What you see | What to change |
|---|---|---|
| Timber still drying | The joint opens gradually over days | Condition the trim to the room before fixing |
| Glue-starved joint | A clean break with no wood fibre pulled | More glue and better surface preparation |
| Joint sprung by the pin | The mitre line opens on one side of the pin | Pin placement and tool angle |
| Painting over a moving joint | A hairline crack in the paint film only | Fill and finish after the joint has settled |
Pin placement: inside the mitre, not through the face
The pin should cross the joint line inside the thickness of the moulding, angled so it draws the two pieces together rather than pushing them apart. A pin that is driven square across the joint holds it in one plane only, and a pin that is driven too close to an edge can split the profile and open the very line it was meant to close.
Two pins per mitre, one towards each face, is a common starting point for trim work because the pair resists rotation as well as separation. Placement is where most pin nails for mitre joint returns are won or lost, and it is a starting point rather than a rule: a deep skirting profile and a small glazing bead do not want the same pattern.
| Profile | Pin pattern | What the trial has to prove |
|---|---|---|
| Small glazing bead | One pin, set back from the face | That the pin does not split the bead |
| Skirting and architrave | Two pins, one towards each face | That the mitre closes without force |
| Deep or steeply profiled moulding | Two pins, with a glue block behind | That the outer edge does not open |
| Clear-finished hardwood | Pattern set by the grain direction | That no pin shows after finishing |
Glue and moisture: the two variables you control
The moisture content of the trim when it is fixed decides what the joint will do in the following weeks. Trim that is installed wet will shrink across its width as it dries, and a narrow moulding can shrink enough to open a mitre even if the glue line was perfect. The USDA Forest Service Wood Handbook is the standard reference for how moisture movement works in wood products, and it explains why the same joint behaves differently in a dry room and a new build.
Conditioning the trim near its final location, or at least letting it acclimatise before it is cut, is cheaper than repairing a painted mitre. The pin cannot compensate for a material that has not finished moving.
Filling and finishing so the joint disappears
On a painted finish the joint line is hidden by filler, and the filler has to be applied at the right moment. Filling a joint that has not settled, then painting over it, produces the classic hairline crack that appears as a straight line in the paint film rather than as an open joint.
On a stained or clear-finished profile the options are narrower: the joint has to be tight in the wood, because filler cannot be hidden. That changes the pin pattern and the glue choice, and it is a decision that belongs before the trim is cut.
The repair sequence and what it costs
A repair on a finished mitre is more expensive than the original fixing, because the finish has to be opened, cleaned and rebuilt on material that has already moved once. It is worth doing in the right order, because pin nails for mitre joint returns are being placed a second time into a joint that has already proved it can open.
- Cut the joint open along the line, and remove the old glue rather than adding to it.
- Re-fit the two pieces dry, and check that the profile closes without force before any glue goes on.
- Re-glue, re-pin and clamp, then leave the joint longer than the first attempt needed.
- Fill and finish only after the joint has settled, and record the repair so the cause is not repeated.
Powered pin tools make this work quick, and the OSHA hand and power tool requirements cover the basics of tool condition and training that apply to any nailer in a joinery shop. The tool is not what decides whether the joint holds.
Trial pieces and the held sample
A short trial piece of the actual profile, glued and pinned the way the job will be, tells you more than any specification sheet. It shows whether the pin splits the profile, whether the glue line closes, and how the joint looks after the finish goes on.
ProAirNails supplies trim and joinery fixings into shopfitting and joinery workshops, and a trial piece is the fastest thing a shop can put in front of a supplier with an enquiry.
Keep the trial with the job record. When a return opens later, the sample is the fastest way to find out whether the process changed or the material did.
FAQ
Can pin nails for mitre joint returns hold without glue?
No. A headless pin has very little withdrawal resistance. It holds the joint closed while the glue sets, and the glue holds the return.
How many pins belong in a mitre?
Usually two, one towards each face, so the pair resists rotation. The right number depends on the profile and has to come from a trial piece.
Why did the mitre open after painting?
Because the joint was filled and finished before the timber had stopped moving, or because the glue line was starved.
Should the trim be acclimatised before cutting?
Yes. Trim that is cut and fixed wet will move as it dries, and a mitre is the most visible place for that movement to appear.
What angle should the pin be driven at?
Angled so that it draws the joint together rather than pushing the two pieces apart, and never square across the joint line.
Can a split profile be repaired?
Usually not invisibly. A profile that has split along the pin is better replaced than filled, because the split will return.
Does the finish change the fixing method?
Yes. A painted joint can be filled and finished; a stained or clear joint has to be tight in the wood.
Is a brad better than a pin for a mitre?
A brad holds more but leaves a mark. On a visible return the pin is normally the right choice, with the glue doing the structural work.
What should a trial piece prove?
That the profile closes without force, the pin does not split it, and the joint survives the finish.
What should an enquiry include?
The profile material and dimensions, the finish type, the tool being used and the pin length you intend to trial.
Send the profile, not just the pin length
ProAirNails supplies pin nails for mitre joint returns alongside staple pins, brad nails and pneumatic nails for trim, joinery and shopfitting work. Send the profile, the finish schedule and the joint detail through Contact Us, and the reply can describe a fixing pattern for the return rather than a single pin length.





