

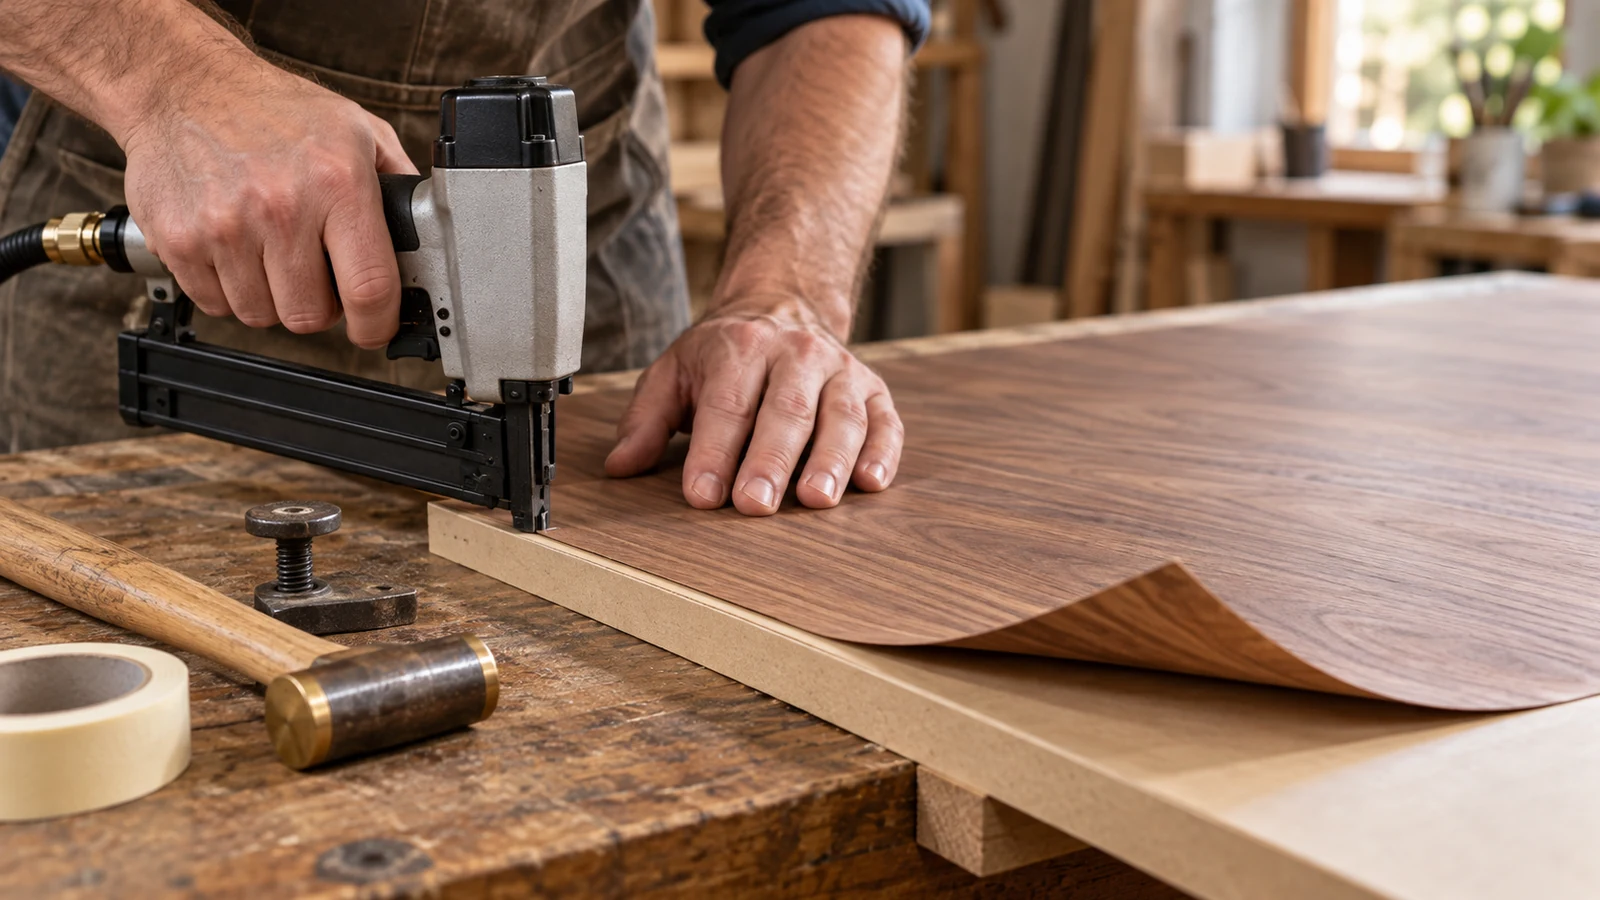
Pin nails for veneered panels work best as a witness, not as a clamp. A fine pin can keep a veneer stack from sliding while the press, vacuum bag, or caul takes over. The same pin can also leave a permanent mark, raise a blister, or create a hard spot under the finish if it is placed without a layup plan.
ProAirNails recommends a layup card that records the veneer direction, glue spread, open time, tack positions, press method, and the decision to keep or remove each pin. The card keeps the sample and the production panel aligned.
Decide whether the pin stays or leaves
Some layups use pins as temporary tacks that are removed before pressing. Others leave the pin in a hidden zone as a locating witness. Decide which one applies before the first pin is driven, because the removal route changes the tool, the position, and the surface repair.
The AWI casework supplemental guidance is a useful reference for veneer, interface, and finish expectations. It does not choose a pin for a particular layup, so the physical panel still controls the release.
Map pin nails for veneered panels by layup stage
| Stage | Pin role | Acceptance question |
|---|---|---|
| Dry layup | Hold the veneer leaves in sequence | Does the pattern stay aligned without slipping? |
| Glue spread | Keep the stack from sliding while it is moved | Does the pin avoid the glue-starved zone? |
| Press loading | Locate the stack before pressure is applied | Can the pin be removed before the press closes? |
| Hidden fixing | Leave a witness in a concealed area | Does the pin stay clear of the visible face? |
Mark the visible face, the veneer direction, and the allowable pin zones on the same drawing. A pin that is acceptable on a substrate panel can be unacceptable on a book-matched face.
Control the veneer direction and glue spread
Record how the leaves are sequenced, which direction they run, and how the joints are matched. Veneer moves with moisture, so the glue spread, open time, and press schedule all influence whether the pattern stays flat. A pin cannot correct a leaf that was placed against the grain of the design.
Keep the glue, veneer, and pin in one approval. A clean pin sample proves little if the adhesive was already tacking off when the stack was loaded.
Place witness tacks where the press cannot see
- Keep tacks away from the visible face and the finished edge.
- Use the smallest pin that still holds the stack during transfer.
- Angle the tool so the pin enters square to the substrate.
- Mark each tack position so it can be found after pressing.
- Photograph the layup before and after the press.
For pin nails for veneered panels, placement is a layup decision. Moving a tack closer to the edge may hold the sheet better and still show through the finished face.
Sample the pin on the real veneer stack
Build a representative stack with the production veneer, substrate, adhesive, and press cycle. Check whether the pin holds during transfer, whether it marks the face, and whether the mark changes after sanding and finishing. A pin tested on a scrap of solid wood does not represent a veneered panel.
The ASTM F1667 driven-fastener reference gives common language for pin dimensions, materials, and finishes. It does not approve a veneer layup, so the physical stack and press schedule remain in control.
Inspect after pressing, not only after tacking
| Observation | Check first | Do not assume |
|---|---|---|
| Visible witness mark | Pin position, pin size, veneer thickness, and finish | Filler always hides the mark |
| Raised blister | Glue spread, press pressure, and pin height | More pressure will flatten any pin |
| Slipped pattern | Tack position, transfer method, and open time | More pins always improve alignment |
| Hard spot under finish | Pin depth, substrate, and sanding step | The surface will level itself |
Inspect the panel in raking light and at the normal viewing distance. A mark that disappears under a work light can still show on a polished face.
Separate the tack decision from the final bond
A pin is not a substitute for a complete glue bond. State whether it is removed before pressing, left in a concealed zone, or used only to locate the stack. If a pin remains, record its position and the reason it is acceptable.
The NIOSH nail-gun safety guidance applies to pin nailers as well as larger tools. Follow the tool manual, keep hands clear of the discharge area, and use the approved trigger method.
Send a veneer layup RFQ
ProAirNails can help buyers compare headless pins and air staple pins, review related pneumatic nails, and submit a layup brief through Contact Us. Include the veneer species and cut, substrate, glue, press method, tool, candidate pin, quantity, and finish schedule.
Reorder from the approved layup sample
At reorder, compare pin gauge, length, point, head form, finish, collation, count, carton label, and lot identity. The approval for pin nails for veneered panels should name the veneer, substrate, glue, and press cycle it covers. ProAirNails keeps the retained panel attached to that boundary.
A tack sample cannot prove the final bond. Veneer moisture, glue spread, press pressure, and the finishing schedule all affect the finished face, so the release file should show the pressed and finished panel, not only the unpressed stack.
FAQ
Why use pin nails for veneered panels instead of larger nails?
A fine pin can locate the stack with a smaller entry mark, but it must still stay clear of the visible face.
Should the pin be removed before pressing?
Decide from the layup plan. If the pin is temporary, remove it before the press loads; if it stays, place it in a concealed zone.
Can a pin replace glue?
No. The adhesive carries the bond; the pin only holds the stack in position while the press does its work.
Where should tacks be placed?
Place them in concealed zones that still control the transfer and alignment of the veneer leaves.
Why test on the real veneer stack?
Veneer thickness, grain direction, and substrate density change how the pin enters and how the mark finishes.
What should the layup sample include?
Include the veneer, substrate, glue label, pin, tool setting, press record, and finished-face photograph.
What changes trigger a new layup sample?
Review changes to veneer, substrate, glue, press cycle, pin, tool, or finish schedule.
How should the finished face be inspected?
Check it in raking light and at the normal viewing distance after the final finish has cured.
What should a veneer RFQ include?
Send the veneer specification, substrate, glue, press method, tool, candidate pin, quantity, and finish requirement.
What is the final layup question?
Ask whether the pattern stayed aligned, the bond is complete, and the visible face is free of pin witness marks.





