

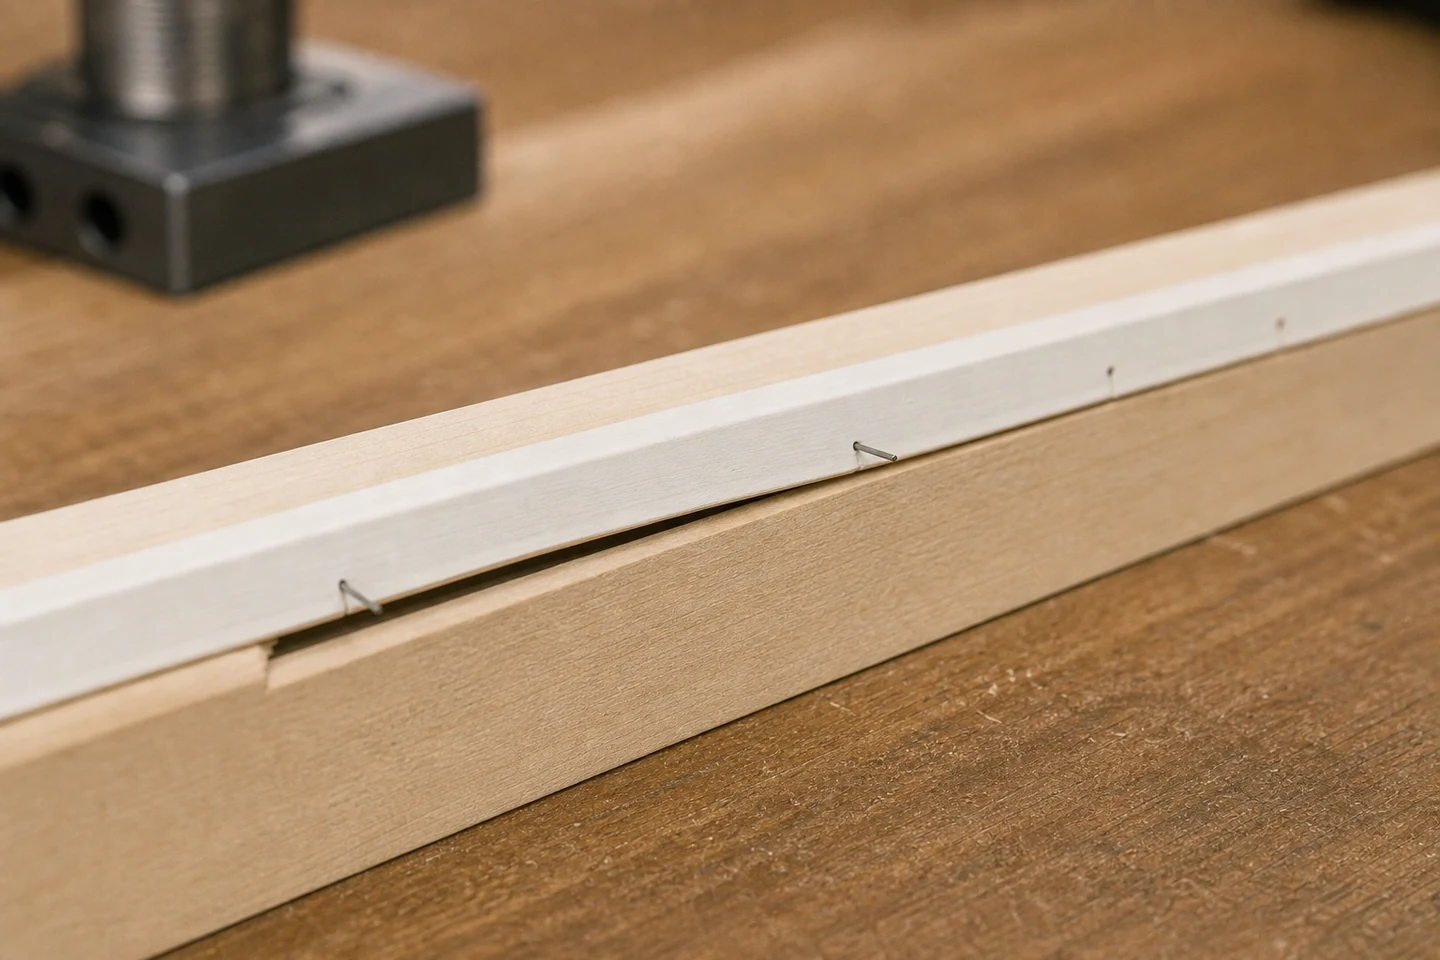
Pin nails not holding trim can describe immediate spring-back, a joint that opens during finishing, or separation after handling and service. The visible gap may result from insufficient pin engagement, a deflected path, loose receiving material, forced fit-up, adhesive shrinkage, wood movement, vibration, or a pin used to carry a load the joint design assigns elsewhere.
Do not press the trim closed before documenting the gap. Mark the fastening positions, joint ends, grain direction, adhesive zones, and time first observed.
Measure the gap as a profile
Use the approved inspection method to record separation at each pin and midway between pins. Note whether the gap is uniform, largest at an end, concentrated between fasteners, or accompanied by rotation of the trim. Photograph under side light with a scale.
A single maximum value cannot show whether the component is bowed, the backing is uneven, or individual pins are losing engagement.
Repeat the readings after a defined rest period without adding load. If the gap grows while the sample is undisturbed, record material recovery, adhesive condition, and environmental change before beginning a pull or cycle test.
Classify when the joint began to open
| Timing | Possible direction | Evidence to retain |
|---|---|---|
| Immediately after pinning | Spring force, poor fit, insufficient seating | Dry-fit gap and fastening sequence |
| During adhesive cure | Clamp release, adhesive movement, joint stress | Adhesive pattern and cure conditions |
| During finishing | Moisture, sanding, handling, hidden split | Process timing and material condition |
| After service cycles | Repeated load, vibration, wood movement | Cycle count and load direction |
Open one pin path without pulling it straight
Section a rejected sample and an accepted control using the approved workshop method. Mark entry direction before cutting. Inspect pin depth, curvature, exit direction, grain, receiving material, gaps, and whether the pin crossed the intended joint interface.
A pin may appear fully seated at the surface while bending within the trim or traveling along the joint rather than into the backing.
Separate pin retention from joint fit
Dry-fit representative parts without pins or adhesive and measure the force or clamping needed to close the gap. Look for bowed trim, tight miters, high spots, curved profiles, finish buildup, and uneven backing. A slender pin should not be expected to permanently flatten an unsuitable fit without validation.
Where adhesive is part of the design, record coverage, open time, clamp method, cure, contamination, and substrate condition. The pin and adhesive roles should be evaluated separately and together.
Build an engagement comparison
Use actual trim and backing offcuts. Keep tool, pressure, entry direction, spacing, edge distance, and operator fixed while comparing approved pin lengths or point families. After fastening, inspect the gap and apply only the defined test load or cycle.
Longer pins are not automatically better. They may deflect, exit, enter an unsuitable layer, or conflict with hidden conditions. Shorter pins may lack the required receiving engagement.
Release a joint-specific acceptance rule
Record the permitted gap, pin reference, joint stack, spacing, entry zone, adhesive process, support, and inspection timing. Define what requires rework, alternative fastening, or component replacement. Repeat the sample after material, profile, finish, pin, tool, or adhesive changes.
The limitation is scope: this joint-gap method does not establish structural capacity, complete product durability, or suitability for every material lot and use condition. Those decisions need the applicable design and performance verification.
Review the Pin Nails category and the wider pneumatic fastener range. Send pin series, tool, trim and backing, gap profile, adhesive process, pin sections, and service history through the inquiry page when investigating pin nails not holding trim.
FAQ
Are pin nails meant to hold trim without adhesive?
That depends on the joint design, materials, load, pin engagement, spacing, and appearance requirements. Do not assume the fastening and adhesive roles are interchangeable.
Will adding more pin nails close an open joint?
More pins may not correct bowed parts, poor fit, inadequate backing, deflection, or unsuitable joint stress. Diagnose the gap before changing spacing.
Can loose trim be repinned through the same area?
An existing hole or damaged grain may provide less support and hidden pin paths create risk. Use the approved repair and location method after inspection.
A measured gap profile turns pin nails not holding trim into a joint-system diagnosis rather than a simple fastener count problem.





