

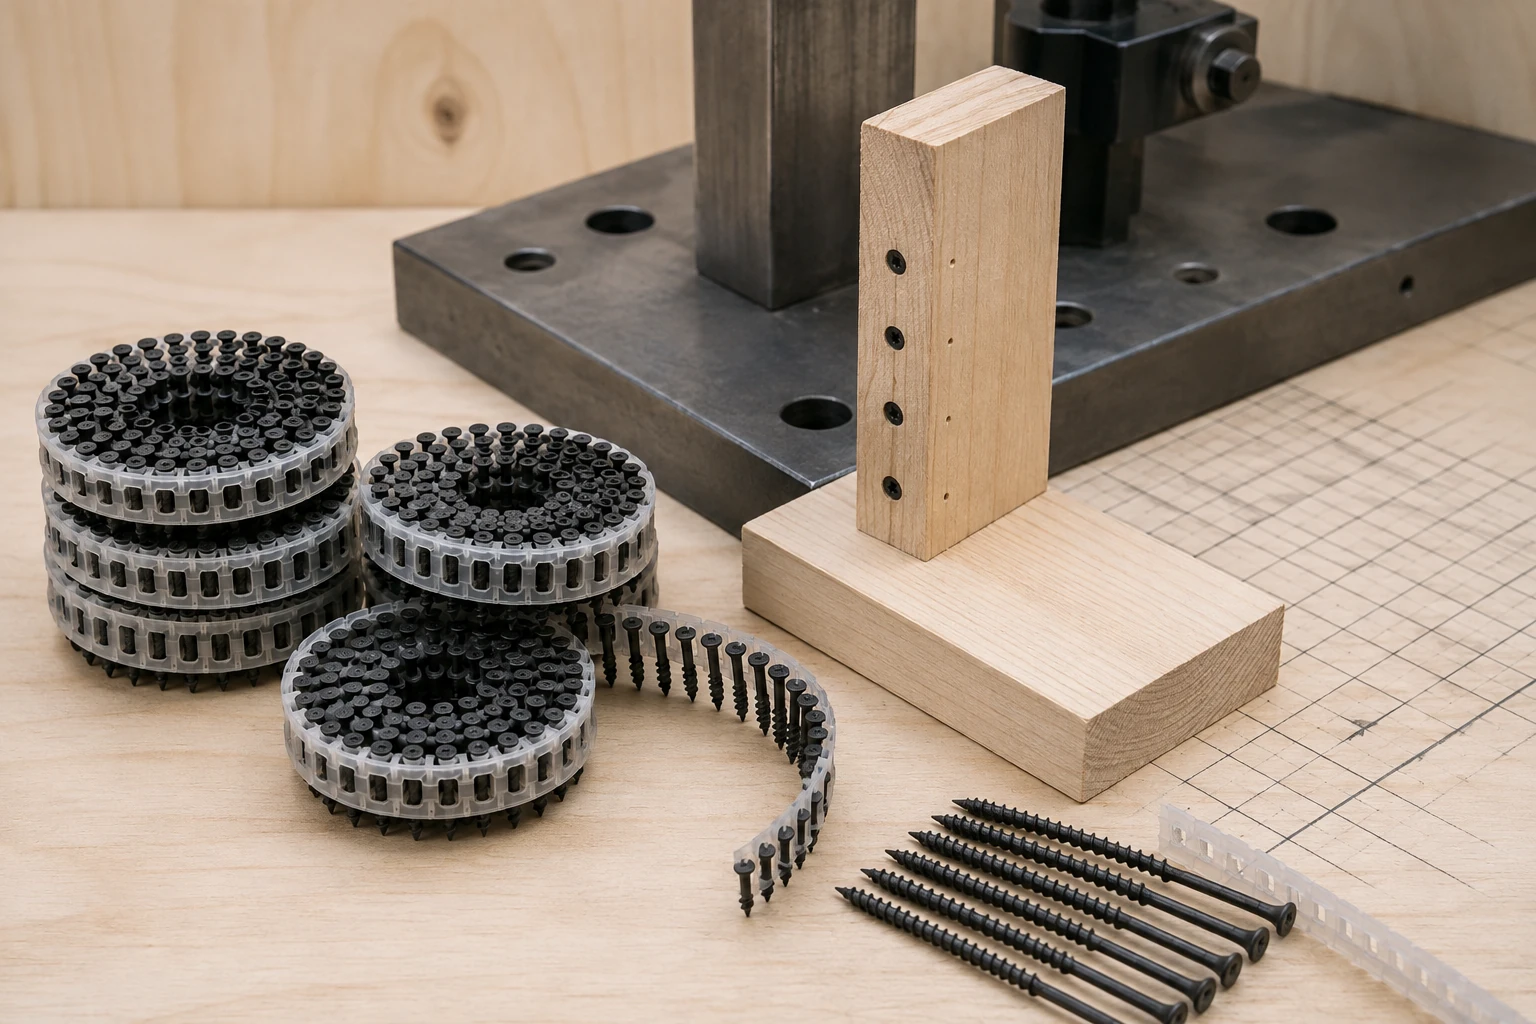
Screw shank coil nails are chosen when the buyer wants a threaded shank to be considered as part of the joint, not as a decorative variation on a smooth nail. The useful question is not whether a thread looks more aggressive. It is whether the specified shank, substrate, drive setup, and joint direction produce repeatable evidence in the actual assembly.
ProAirNails suggests a paired-joint review: keep the substrate, length, tool, and installation pattern constant, then compare the proposed screw shank with the approved baseline. This keeps the conversation about observed holding and installation behavior instead of a promise attached to one geometry word.
Start with the load story, not the shank photograph
Write down what the joint must resist. Is the fastener retaining a pallet board, closing a crate, fixing a light timber component, or holding a panel during handling? Note pull-out, shear, vibration, edge distance, repeated handling, and whether the assembly will be dismantled. A threaded shank cannot rescue a backing layer that is too thin or a joint that has no useful engagement.
Where screw shank coil nails can change the decision
The thread may alter insertion feel, withdrawal resistance, and the way the shank interacts with a wood fiber structure. Those effects depend on species, moisture condition, density, point form, diameter, length, and the distance to an edge. Treat the geometry as one variable in a joint test. Do not turn a catalog label into a universal strength ranking.
For screw shank coil nails, record the engaged length and the failure mode together; a thread that sits mostly in a thin face board is not the same joint as one that reaches the backing.
Freeze the paired-test inputs
| Input | Record before firing | Why it matters |
|---|---|---|
| Substrate | Material, thickness, grain direction, moisture condition | Changes engagement and splitting risk |
| Fastener | Diameter, length, point, head, shank form | Keeps the comparison attributable |
| Tool setup | Nailer, magazine, pressure, driver condition | Separates product effects from tool effects |
| Joint layout | Edge distance, spacing, overlap, support | Defines the actual assembly boundary |
| Acceptance rule | Seat, split, loose board, pull-out or handling result | Prevents a subjective pass decision |
Run a slow first pass before a production rhythm
Use a small, identified set of samples. Fire the first pieces at the intended angle and observe loading, first-shot behavior, head seating, recoil, and any visible surface damage. Then run a steady sequence. Record skips, doubles, jams, proud heads, deep seats, coil deformation, and operator interventions. The first and last turns of a coil deserve their own notes because packaging and handling can affect them differently from the middle.
- Mark each joint coupon with fastener type and lot reference.
- Photograph the entry face and the back or edge where failure could show.
- Separate installation defects from substrate defects.
- Keep failed coupons instead of discarding inconvenient evidence.
- Repeat a boundary case after a pause to check restart behavior.
Use two holding observations, not one headline number
For a practical screen, combine a controlled pull-out observation with a handling or shear observation that represents the job. If a formal test method is used, record the fixture, rate, conditioning, specimen geometry, and failure mode. A single peak value without that context is difficult to transfer to another board, operator, or joint.
Separate point entry from thread engagement
Inspect the hole and the surrounding fibers. A blunt or damaged point can create a false impression of strong engagement by crushing the surface, while a sharp point can split an edge that looked acceptable on a flat coupon. Note whether the shank thread is actually inside the backing layer or mostly within a thin face board. The joint drawing should show the intended engaged length.
Read the driven-fastener standard within its scope
The official ASTM F1667/F1667M-21a page describes requirements for driven fasteners, including dimensions, materials, physical properties, coatings, and finishes within its stated scope. It does not choose a joint design, predict service life in a buyer's substrate, or replace a named tool trial.
Keep torque language out of a nail approval
The ISO 16047:2005 page concerns torque/clamp-force testing for threaded fasteners. That is useful context for understanding why test setup matters, but it is not a shortcut for approving a driven coil nail. State exactly which method was used and which result it can support.
Compare the usable joint, not the lowest unit price
| Commercial line | Question to ask | Evidence to retain |
|---|---|---|
| Fastener price | Is the quoted geometry identical to the tested geometry? | Item code, drawing, lot label |
| Production speed | How many interventions occurred in the named run? | Event log and coil position |
| Joint rework | Did proud heads, splits, or loose boards create extra work? | Accepted and failed coupons |
| Packaging | Can coils arrive without crushed leaders or loose turns? | Carton photos and receiving check |
| Change risk | What happens if point, coating, or collation changes? | Approval rule and notification record |
Send ProAirNails the joint sketch
Include substrate species and thickness, overlap, edge distance, load direction, nailer model, magazine, pressure, coil count, shank request, packaging route, annual volume, and the pass/fail rule. ProAirNails can discuss coil nails, related pneumatic fasteners, the product range, and samples through the inquiry page.
Limit the conclusion to the tested assembly
A paired coupon does not prove every wood species, edge distance, tool condition, operator, coil position, or future production change. Screw shank coil nails should be released only for the identified joint envelope. ProAirNails can help organize product evidence; the buyer remains responsible for tool safety, structural review, maintenance, and production release.
FAQ
Are screw shank coil nails automatically stronger than smooth shanks?
No. Holding depends on geometry, substrate, engagement, installation, and the joint load. Compare identified samples in the real assembly.
What should be paired in a fair comparison?
Keep substrate, dimensions, tool, pressure, layout, and installation pattern fixed while changing the shank variable.
Why record the first and last coil turns?
Leaders and tails can experience different packaging and feed conditions from the center of a coil.
Does a pull-out screen replace joint design?
No. It is evidence for a declared test setup and cannot replace engineering review of the finished assembly.
What is a useful failure description?
Record whether the nail withdrew, the board split, the head pulled through, or the joint failed elsewhere.
Can a different nailer be used after approval?
Recheck the tool, magazine, driver, pressure, and seating because installation conditions are part of the approval.
Should the coil be reshaped before testing?
Document its received condition first. Reshaping can remove evidence of packaging or collation damage.
How do I compare two quotations?
Compare the tested geometry, usable feed events, rework, packaging, change controls, and delivery terms with price.
When should the trial be repeated?
Repeat after changes to shank, point, coating, collation, tool, substrate, pressure, layout, or acceptance limits.
What should a supplier receive with an RFQ?
Send a joint sketch, material stack, load direction, tool details, sample quantity, packaging route, and pass/fail rule.





