

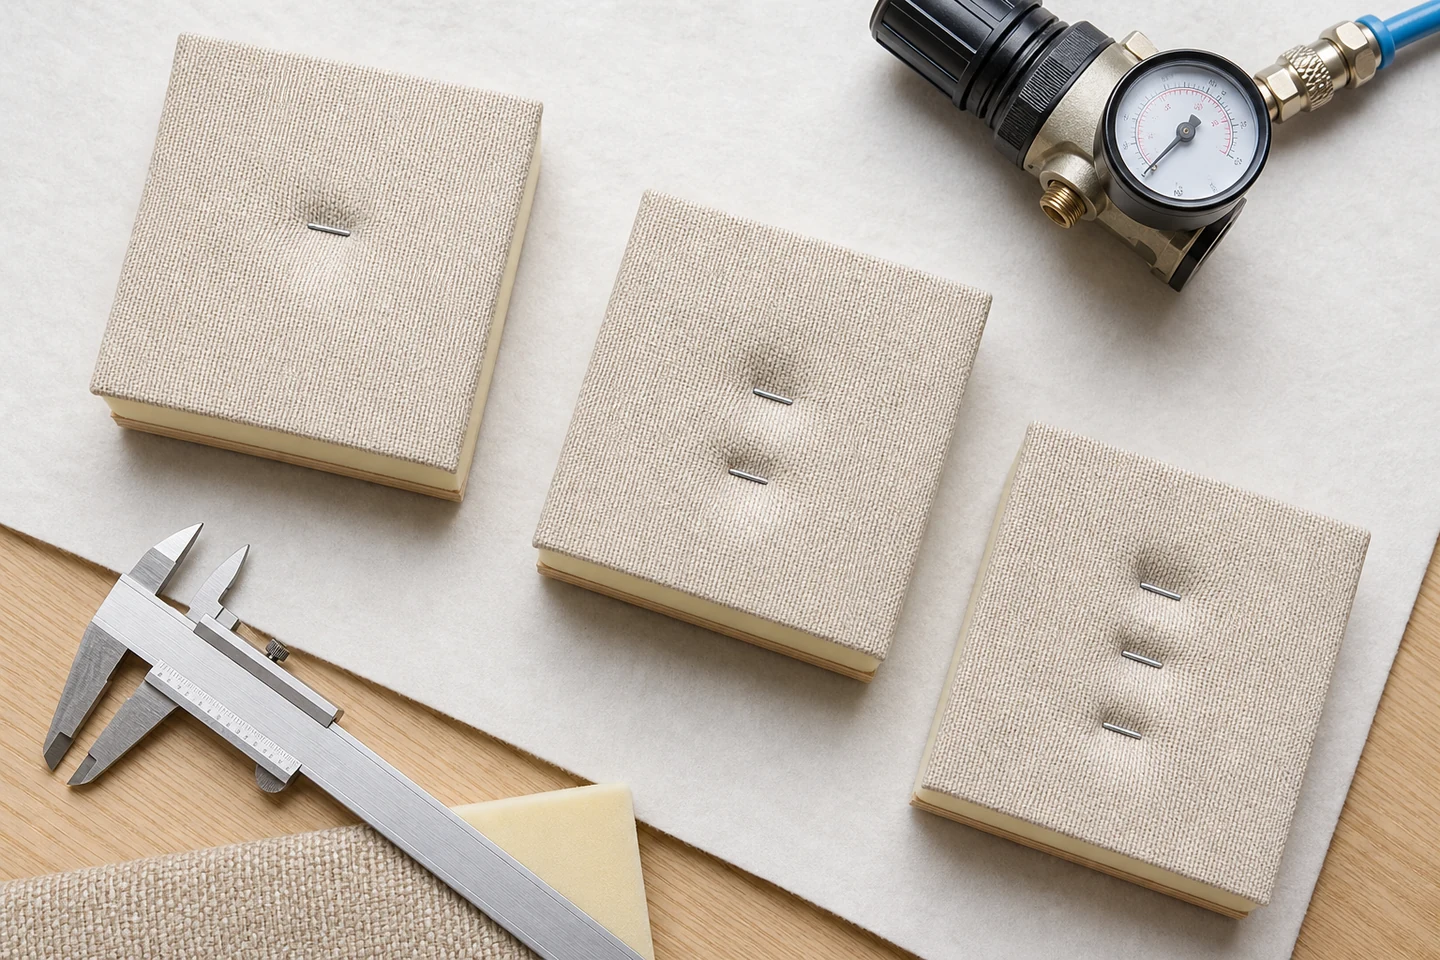
Staple crown marks on material usually reflect an interaction between the tool and the whole material stack. Air setting matters, but so do the safety nose, driver condition, tool angle, crown and wire format, fabric tension, foam recovery, substrate density, and whether the work is supported directly beneath the fastening point.
The fastest useful diagnosis is a controlled sample series. Do not adjust pressure, change staples, tighten the fabric, and replace the backing at the same time. That may improve the appearance without showing which variable caused the change.
Define the mark before changing the setup
Photograph the face under side lighting and classify what is visible. A shallow compression ring, cut fiber, polished line, puckered fabric, exposed crown, and crown buried below the surface are different results. Check the reverse side and the edge of the stack as well.
Also decide what “acceptable” means for the actual product. A hidden fastening line inside a frame may have different appearance requirements from a visible decorative surface. The sample target should come from the product design and quality plan, not from an abstract desire to remove every impression.
Prepare three identical sample stacks
Use the production fabric, foam or padding, backing layer, and receiving material. Cut the specimens in the same orientation and condition them together. Keep crown series, leg length, wire, finish, stapler, hose, and operator unchanged for the first comparison.
Support each sample on the same rigid bench area. An unsupported edge can flex under the tool nose and create a deeper local mark even when the regulator setting is unchanged.
Run the pressure ladder without chasing one perfect shot
Begin from a setting allowed by the tool manufacturer and workplace procedure. Produce a small group at the lower test condition, a group at the current production condition, and a group after one controlled adjustment. Use several staples per condition because one position may land over a different grain area, foam cell, or fabric tension.
| Test result | Possible interpretation | Next single change |
|---|---|---|
| Crown sits high and material is unmarked | Drive energy or engagement may be insufficient | Confirm tool, hose, pressure, and fastener compatibility |
| Crown is seated with a light recoverable impression | Potential process window | Repeat across harder and softer substrate zones |
| Crown is buried or fibers are cut | Excess drive, sharp nose contact, unsupported stack, or unsuitable wire/crown | Reduce one variable and inspect the tool nose |
| Marks vary widely at one setting | Material support, angle, tool behavior, or stack variation may dominate | Map the location and repeat with fixed support |
Separate nose contact from crown impact
A mark around the fastener may come from the tool nose touching the surface, not only from the staple crown. Compare the shape of the impression with the nose profile. Check for burrs, debris, wear, or a contact element unsuitable for the finish surface. Hold the tool perpendicular and use consistent downward force during the sample run.
If the surface is delicate, a protective contact element may be appropriate only when approved for the tool and application. An improvised pad can interfere with the safety mechanism, change depth, or make the tool unstable.
Challenge the apparent winner
Repeat the best-looking condition near an edge, over a denser substrate area, after the tool has cycled repeatedly, and with a second representative operator. Then inspect pull-through, looseness, reverse-side penetration, and the stability of the attached layer. A surface with no visible mark is not successful if the staple has not completed the fastening task.
This bench comparison has limits. It does not establish structural capacity, long-term fabric recovery, corrosion life, or universal settings for every material batch. It identifies a repeatable starting window for the tested tool, staple, and stack.
Release a visual standard, not only a regulator number
Keep one accepted sample and one rejected sample with face, side, and reverse photographs. Record the staple reference, tool, test stack, support method, pressure condition, and date. A regulator reading alone is weak guidance because hoses, tools, gauges, and material resistance differ.
When staple crown marks on material reappear, operators can compare the physical result before changing the process. Review the Air Staple Pin category and the broader pneumatic fastener range. Send the staple series, tool model, material stack, acceptable sample, and rejected sample through the ProAirNails inquiry page.
FAQ
Does lower air pressure always remove staple crown marks?
No. Lower pressure may leave crowns proud or reduce engagement, while nose contact, tool angle, material support, and staple geometry can still mark the surface. Test the complete result rather than the face alone.
Why are marks deeper near the edge of a panel?
The stack may flex more near an unsupported edge, the receiving material may behave differently, or the operator may tilt the tool. Reproduce the edge position with controlled support to separate these factors.
Should a wider crown be used on delicate fabric?
A wider crown changes the bearing footprint, but wire shape, crown profile, tool compatibility, fabric, backing, and appearance target also matter. Compare approved candidates in the real stack.
A repeatable sample method turns staple crown marks on material from a vague complaint into an observable process decision.





