

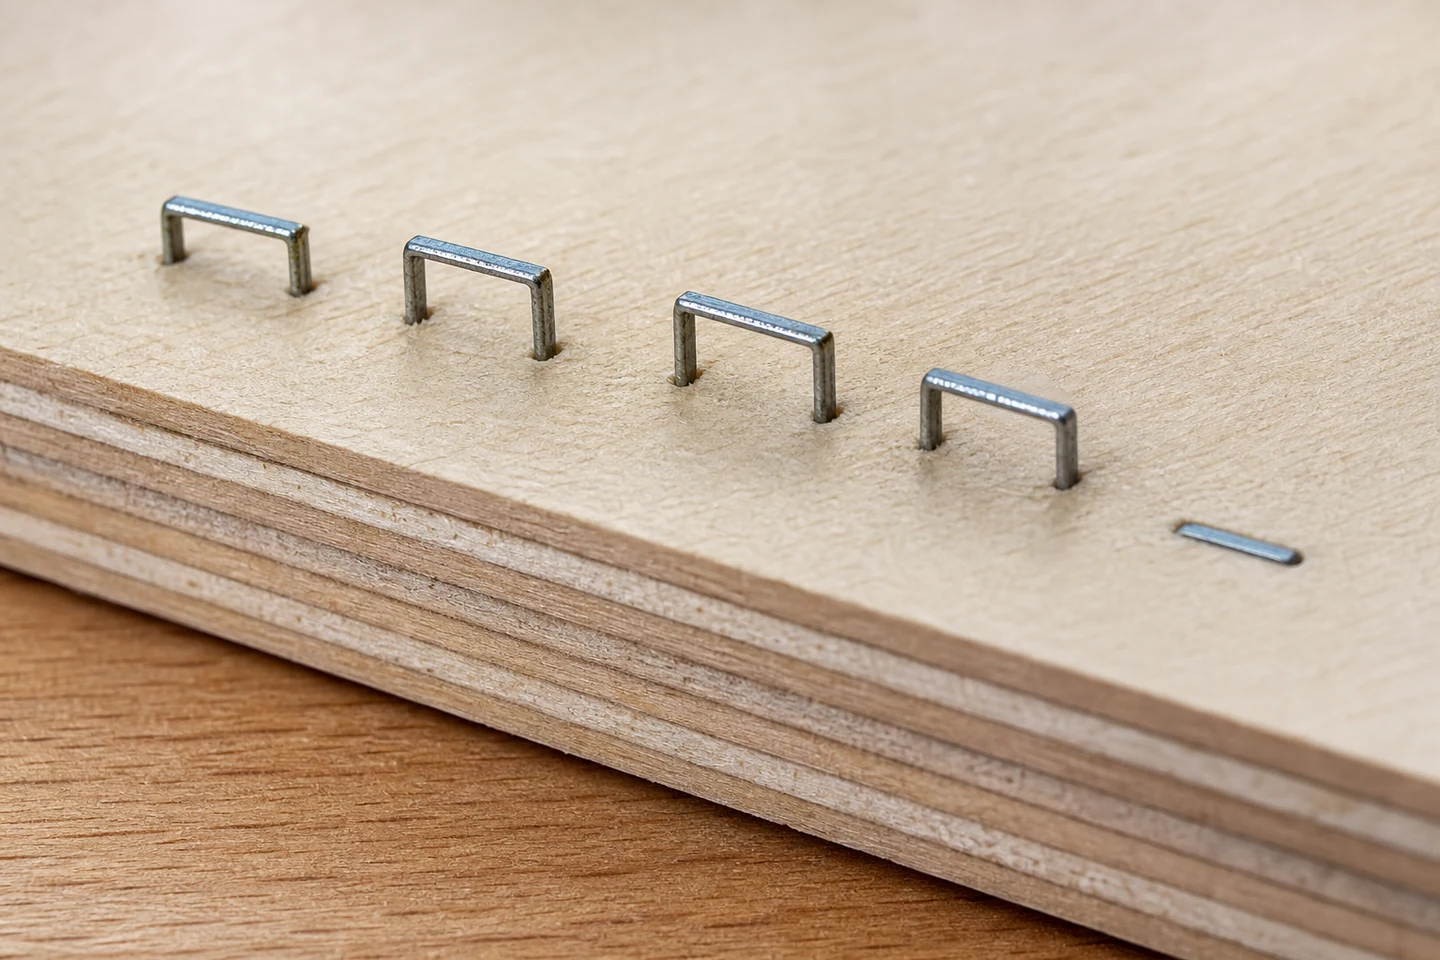
When staples not penetrating plywood appear across a job, measure the remaining crown height instead of sorting every result into pass or fail. A series of shallow drives can reveal whether resistance changes with veneer direction, panel location, support, staple leg behavior, tool recovery, or setup. Driving the same staple again destroys that depth information.
Mark the panel face, veneer direction, sheet location, tool direction, shot order, and support points. Retain both shallow and apparently acceptable samples.
Create a depth ladder across the panel
Measure crown height above the surface using the approved method and assign each drive a position number. Include entry near the center, supported edges, unsupported spans, face-grain changes, and representative production locations. Photograph under side light with a scale.
Plot the values in shot order as well as physical position. A gradual rise in crown height may point toward tool recovery or supply behavior, while a location cluster may follow the panel or support.
Read the surface without hiding it
Record crown tilt, crushed face veneer, raised fibers, unequal leg entry, visible buckling, and any mark from the driver. Do not hammer the crown flush or sand the area before inspection. A level crown stopped uniformly presents a different event from one side remaining high.
Note coatings, laminates, fillers, knots, patches, and overlaps. Plywood is layered and locally variable, so one offcut cannot represent every point in a production sheet.
Open selected staple paths
| Section clue | Possible direction | Controlled check |
|---|---|---|
| Both legs straight and shallow | Drive energy, length, dense stack | Confirmed tool and representative panel |
| One leg bends at first veneer | Entry angle, staple damage, hard feature | Square contact and unused staples |
| Legs spread in opposite directions | Grain boundaries or point geometry | Rotate panel and compare point family |
| Crown tilts with one deep leg | Uneven resistance or driver contact | Tool nose, crown, and section path |
Use an approved sectioning method that does not straighten the legs. Keep the staple position and shot number with every section photograph.
Confirm staple and tool compatibility
Record crown width, wire gauge, leg length, point, coating, collation, and tool reference. Inspect unused strips for damaged crowns, uneven spacing, adhesive buildup, bent legs, and mixed sizes. Have qualified personnel inspect the driver, nose, magazine, seals, and depth control where applicable.
Higher supply pressure is not a universal correction. Stay within the tool specification. Excess energy can crush the face, mark the crown, damage the panel, and conceal a compatibility or support issue.
Control the support and contact sequence
Repeat a small trial on representative plywood with full support under the fastening zone. Keep tool angle, contact pressure, pace, staple strip, panel, and operator fixed. Change only one variable at a time, such as support condition or permitted depth setting.
Allow the tool to recover at a defined pace and record supply conditions at the tool, not only at the compressor. Compare early, middle, and late shots in the strip to detect feed or recovery patterns.
Set acceptance by surface and path
Define permitted crown height, surface damage, leg path, pull-through risk, and action for shallow drives. A flush crown is not sufficient if the legs are deflected or the face veneer is crushed. A slightly proud crown may also be unacceptable for appearance or assembly clearance.
The limitation is important: a depth ladder does not establish joint strength, tool safety, staple conformity, or suitability for every plywood grade and service load. Use the applicable design, test, and quality requirements.
Review the Air Staple Pin category and the broader pneumatic fastener range. Send staple dimensions, tool reference, plywood construction, support map, depth readings, pressure record, and sections through the inquiry page when diagnosing staples not penetrating plywood.
FAQ
Can I drive a proud staple again?
A second drive changes the original evidence and may bend the legs or damage the crown. Follow the approved rework method after recording the first result.
Is hardwood plywood always harder to staple?
Species, veneer density, adhesive, thickness, patches, moisture, grain direction, and local construction all matter. Test the actual panel stack.
Will shorter staples penetrate more easily?
They may reduce resistance but can also reduce required engagement. Select length and geometry from the joint and performance criteria, not penetration alone.
A measured depth ladder turns staples not penetrating plywood into a controlled comparison across material, support, fastener, and tool conditions.





